Canadian Blogger eh!
March 17, 2016
Thankful for daughters!
Category Knitting
placard Layette Plus 4 ply 100% Acrylic “Baby Special” yarn
Baby blanket is 48″ by 48″

Beacon Tate
Canadian Blogger eh!
March 17, 2016
Thankful for daughters!
placard Layette Plus 4 ply 100% Acrylic “Baby Special” yarn
Baby blanket is 48″ by 48″
Beacon Tate
Canadian Blogger eh!
December 20, 2015
Thankful for friends!
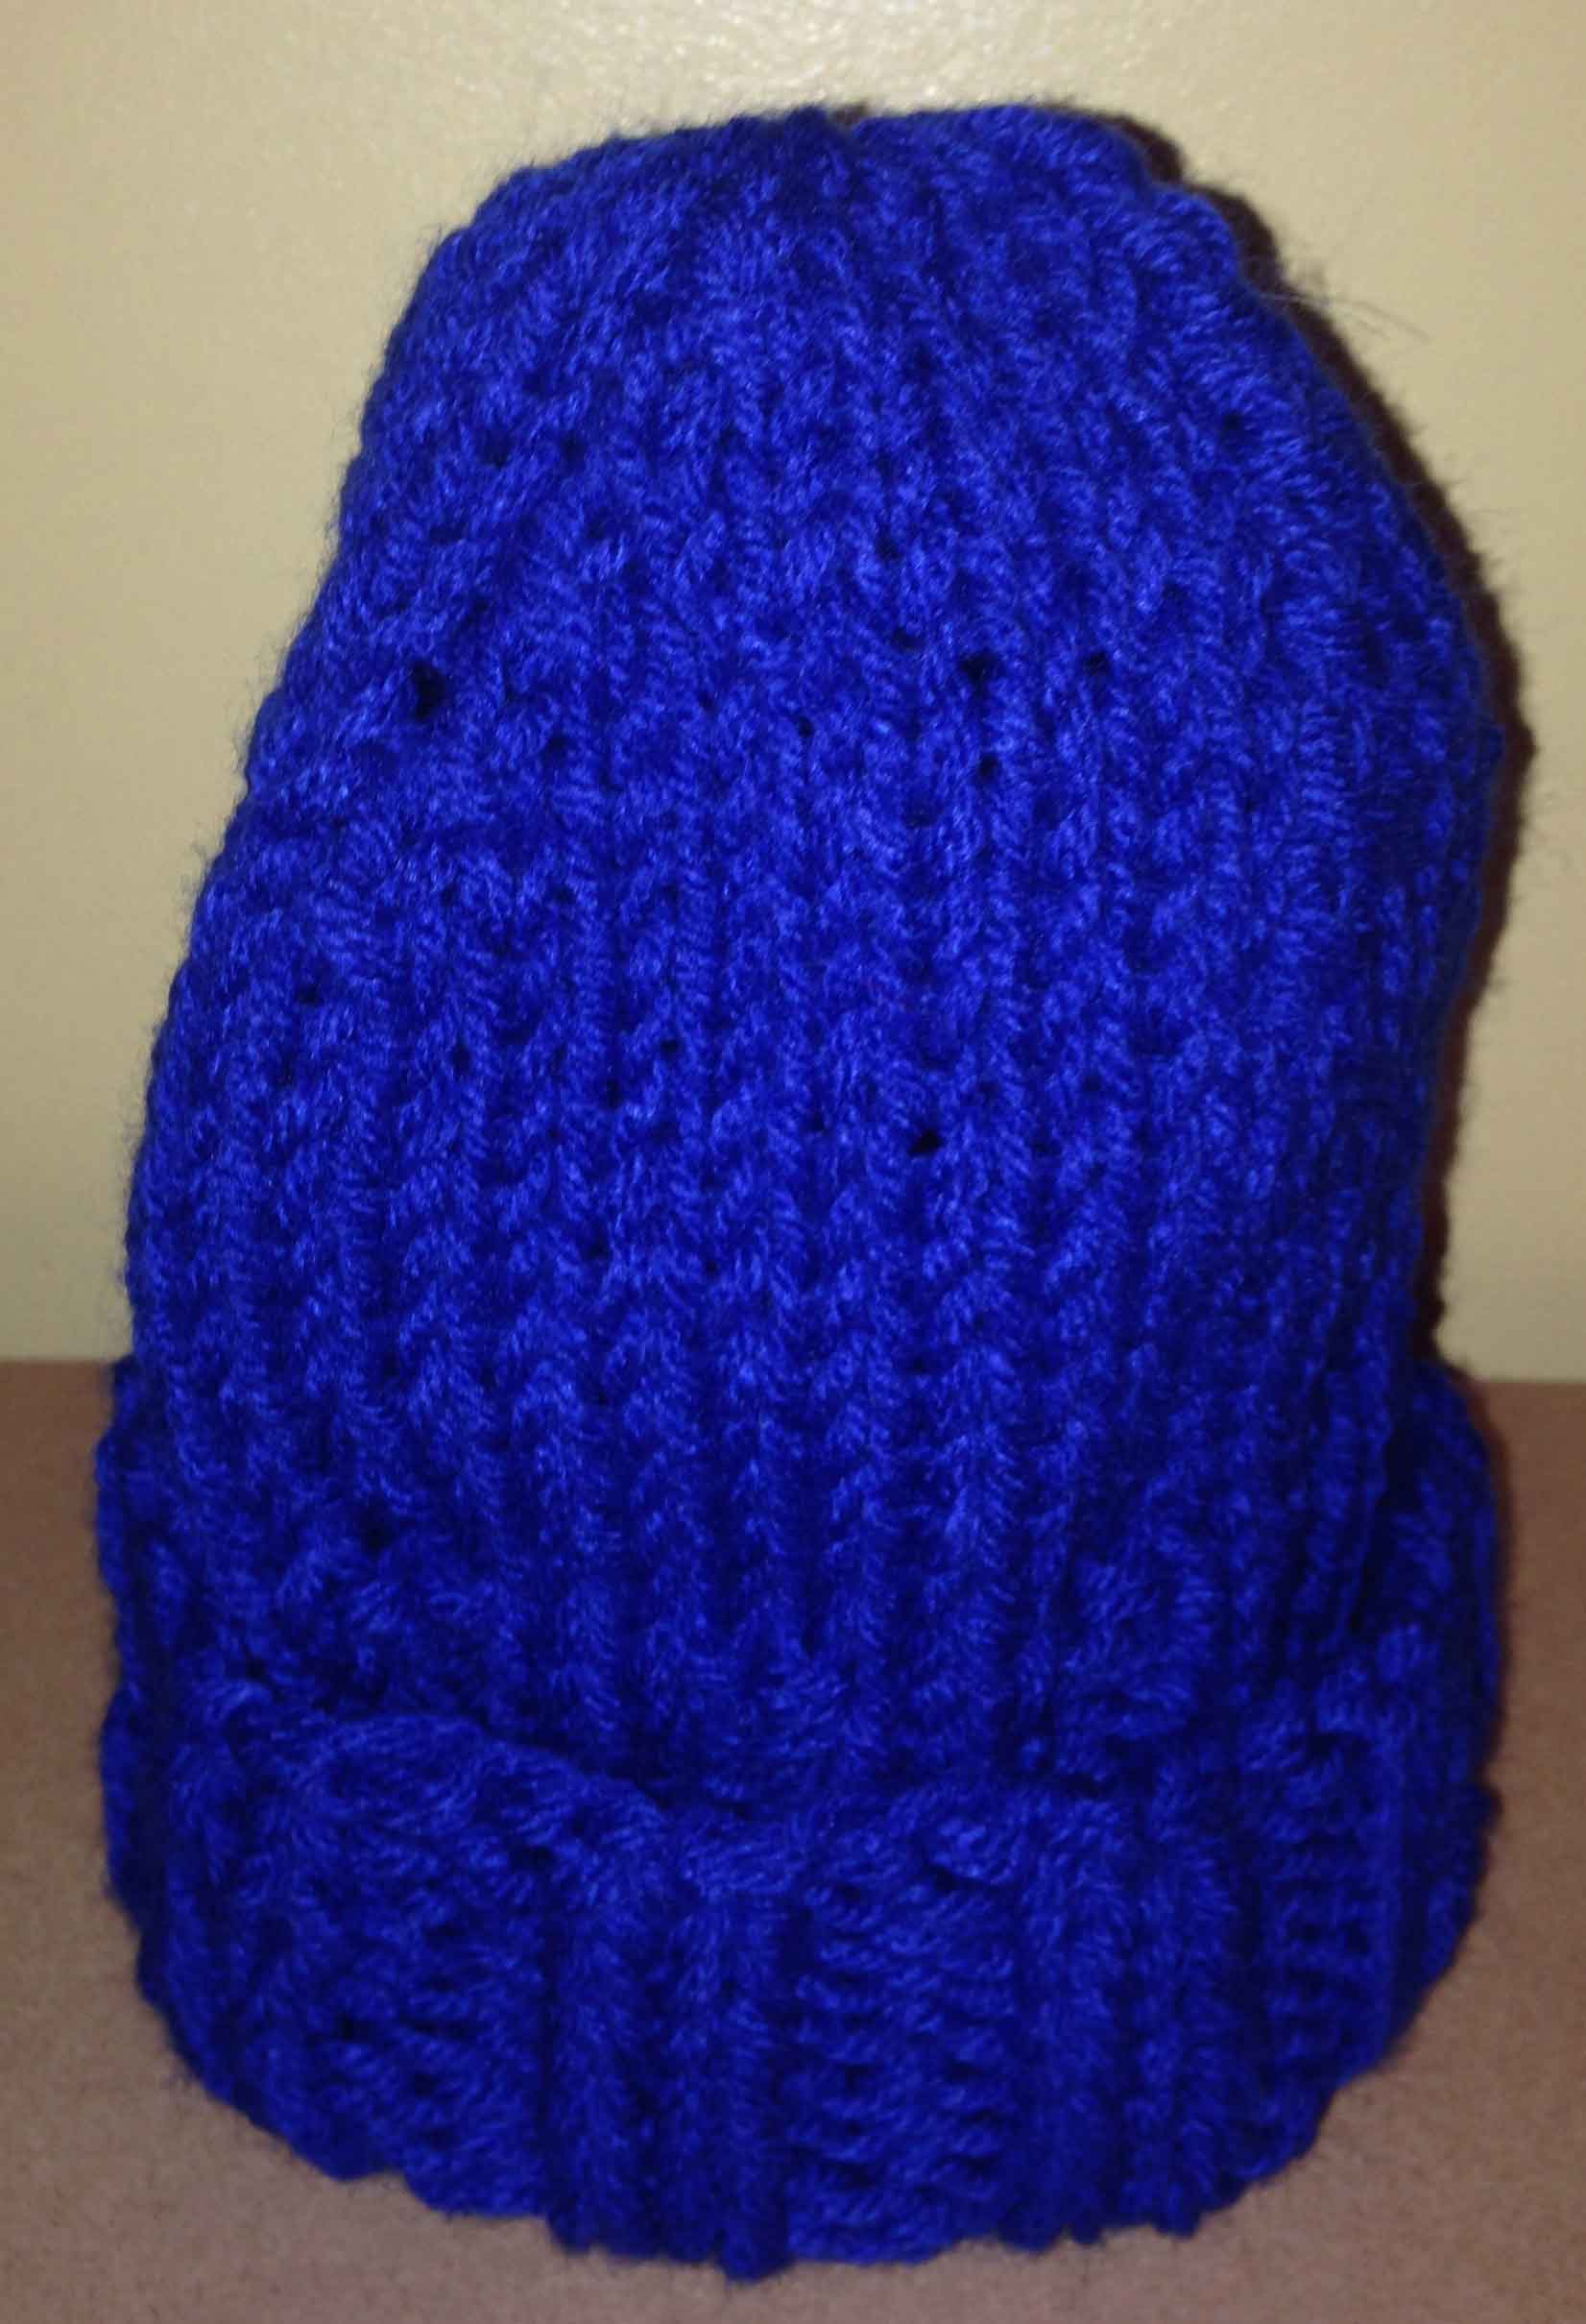
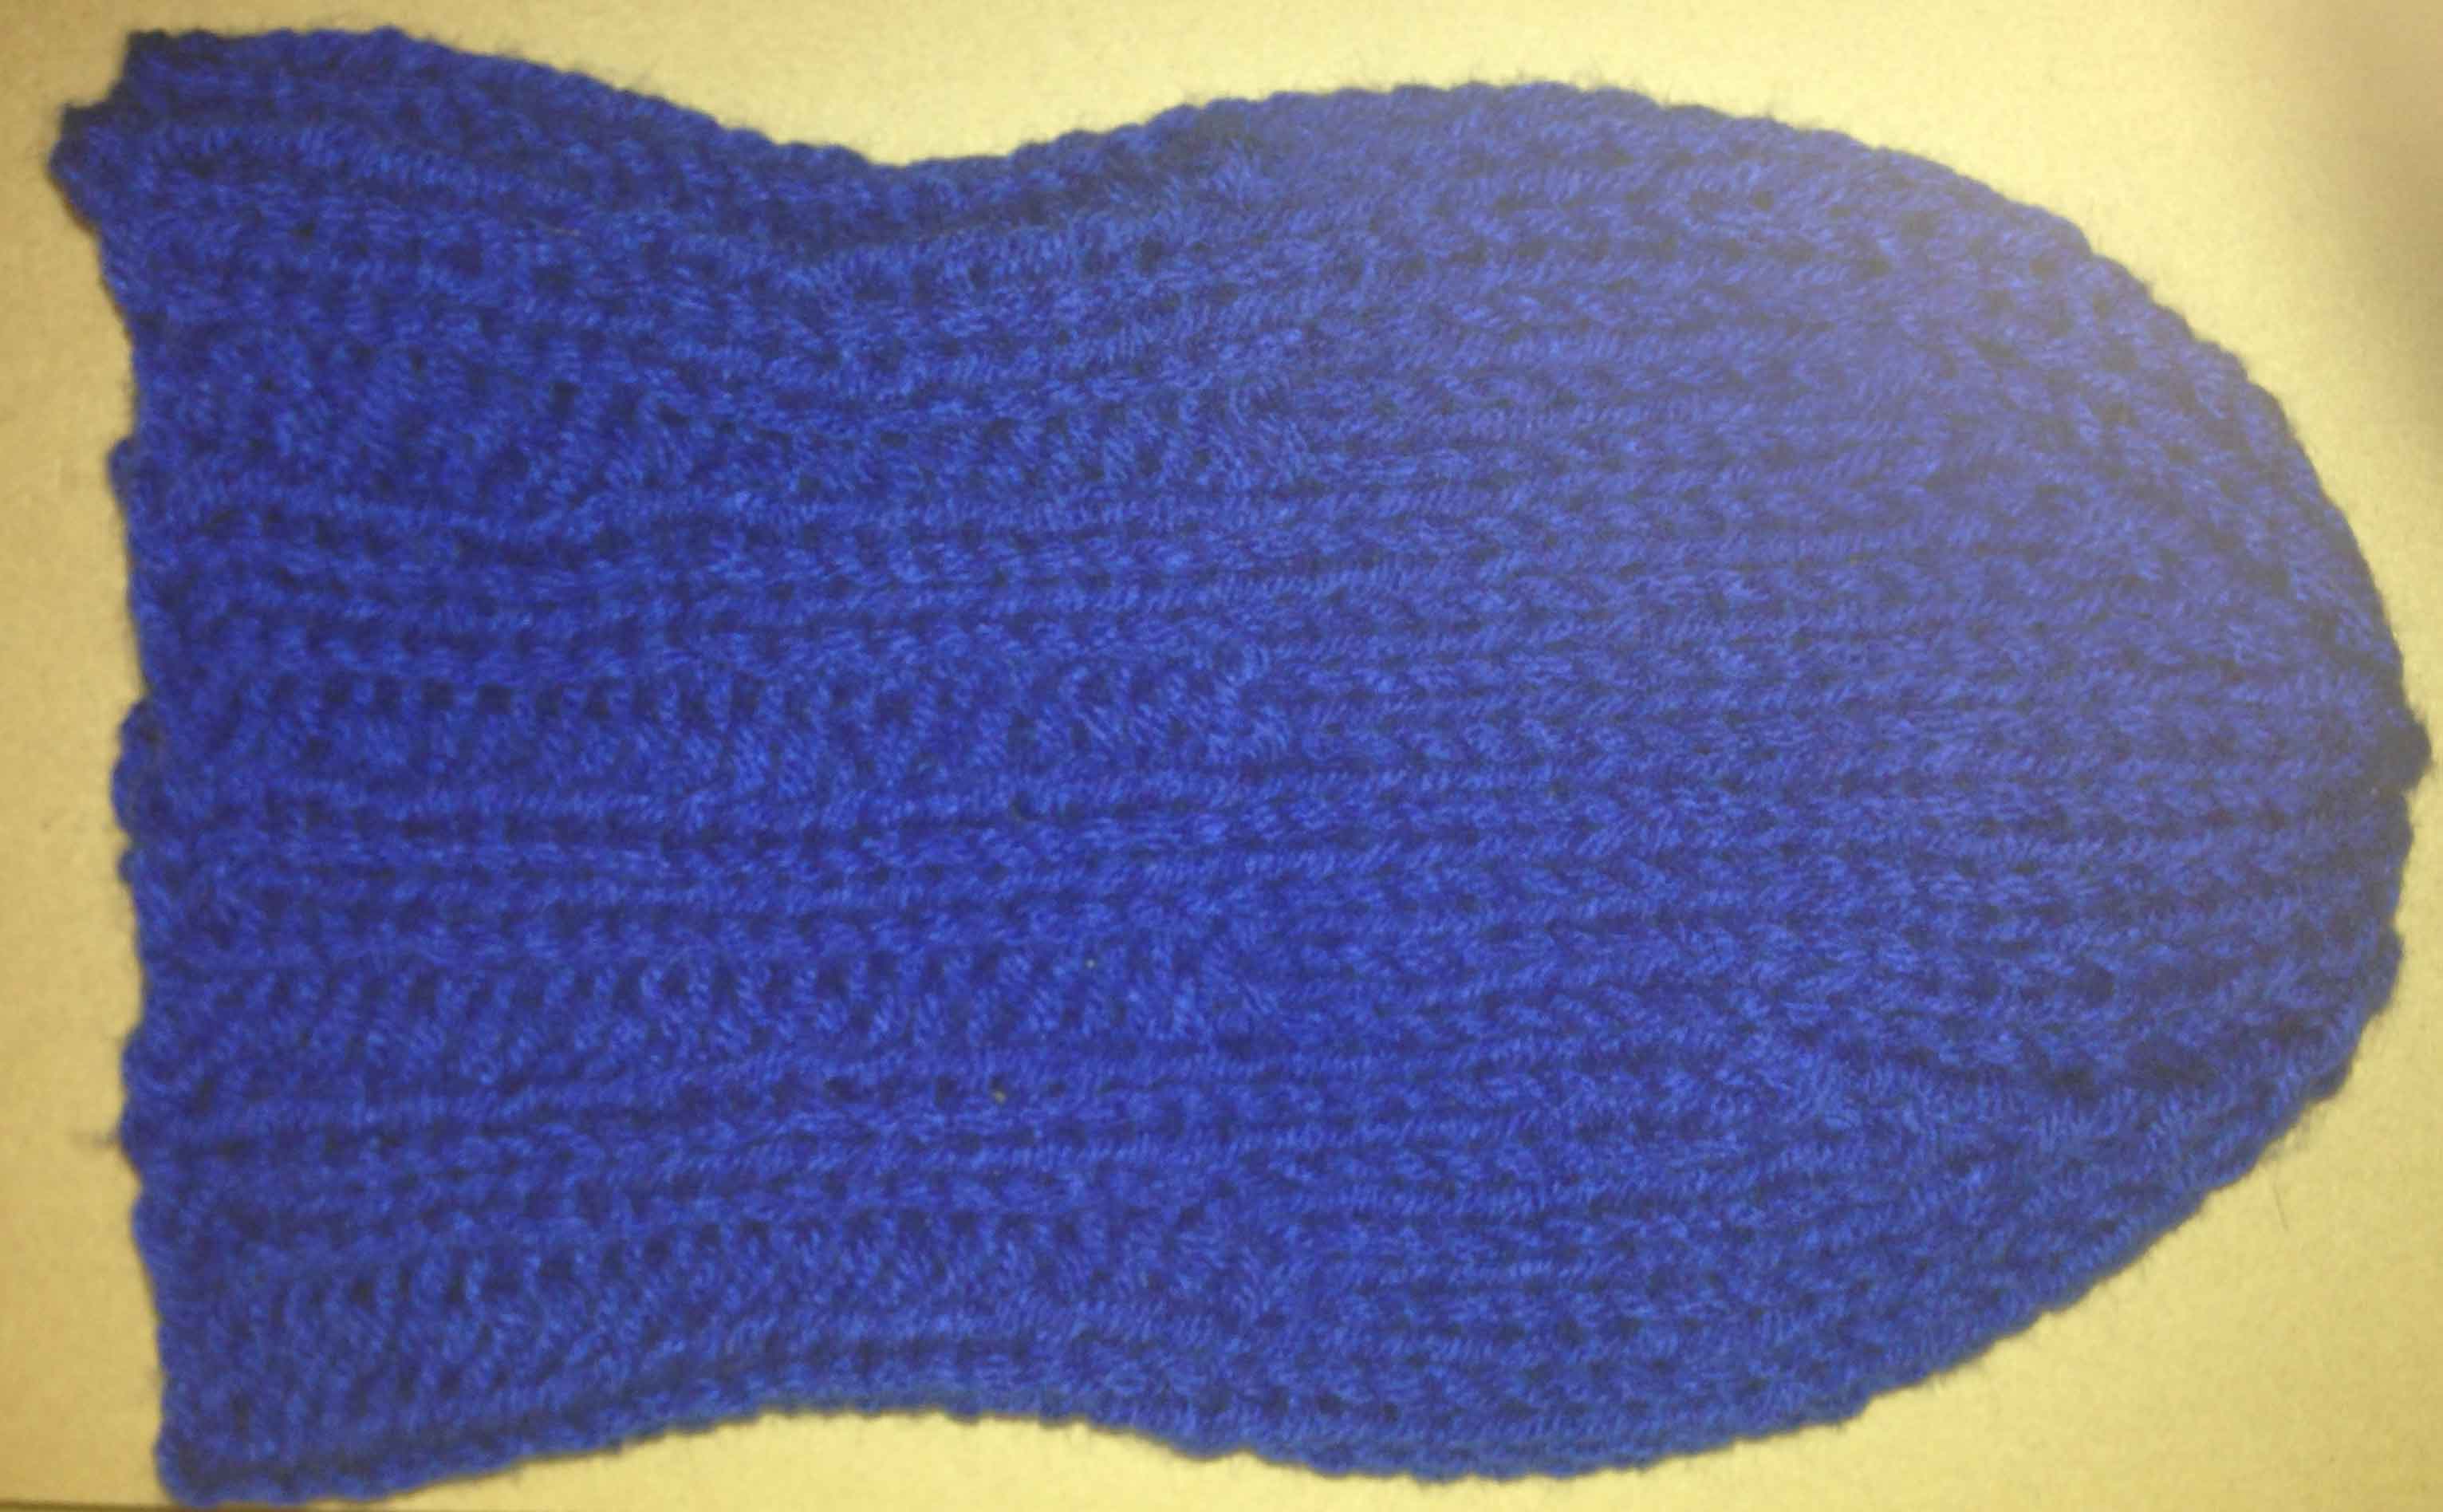
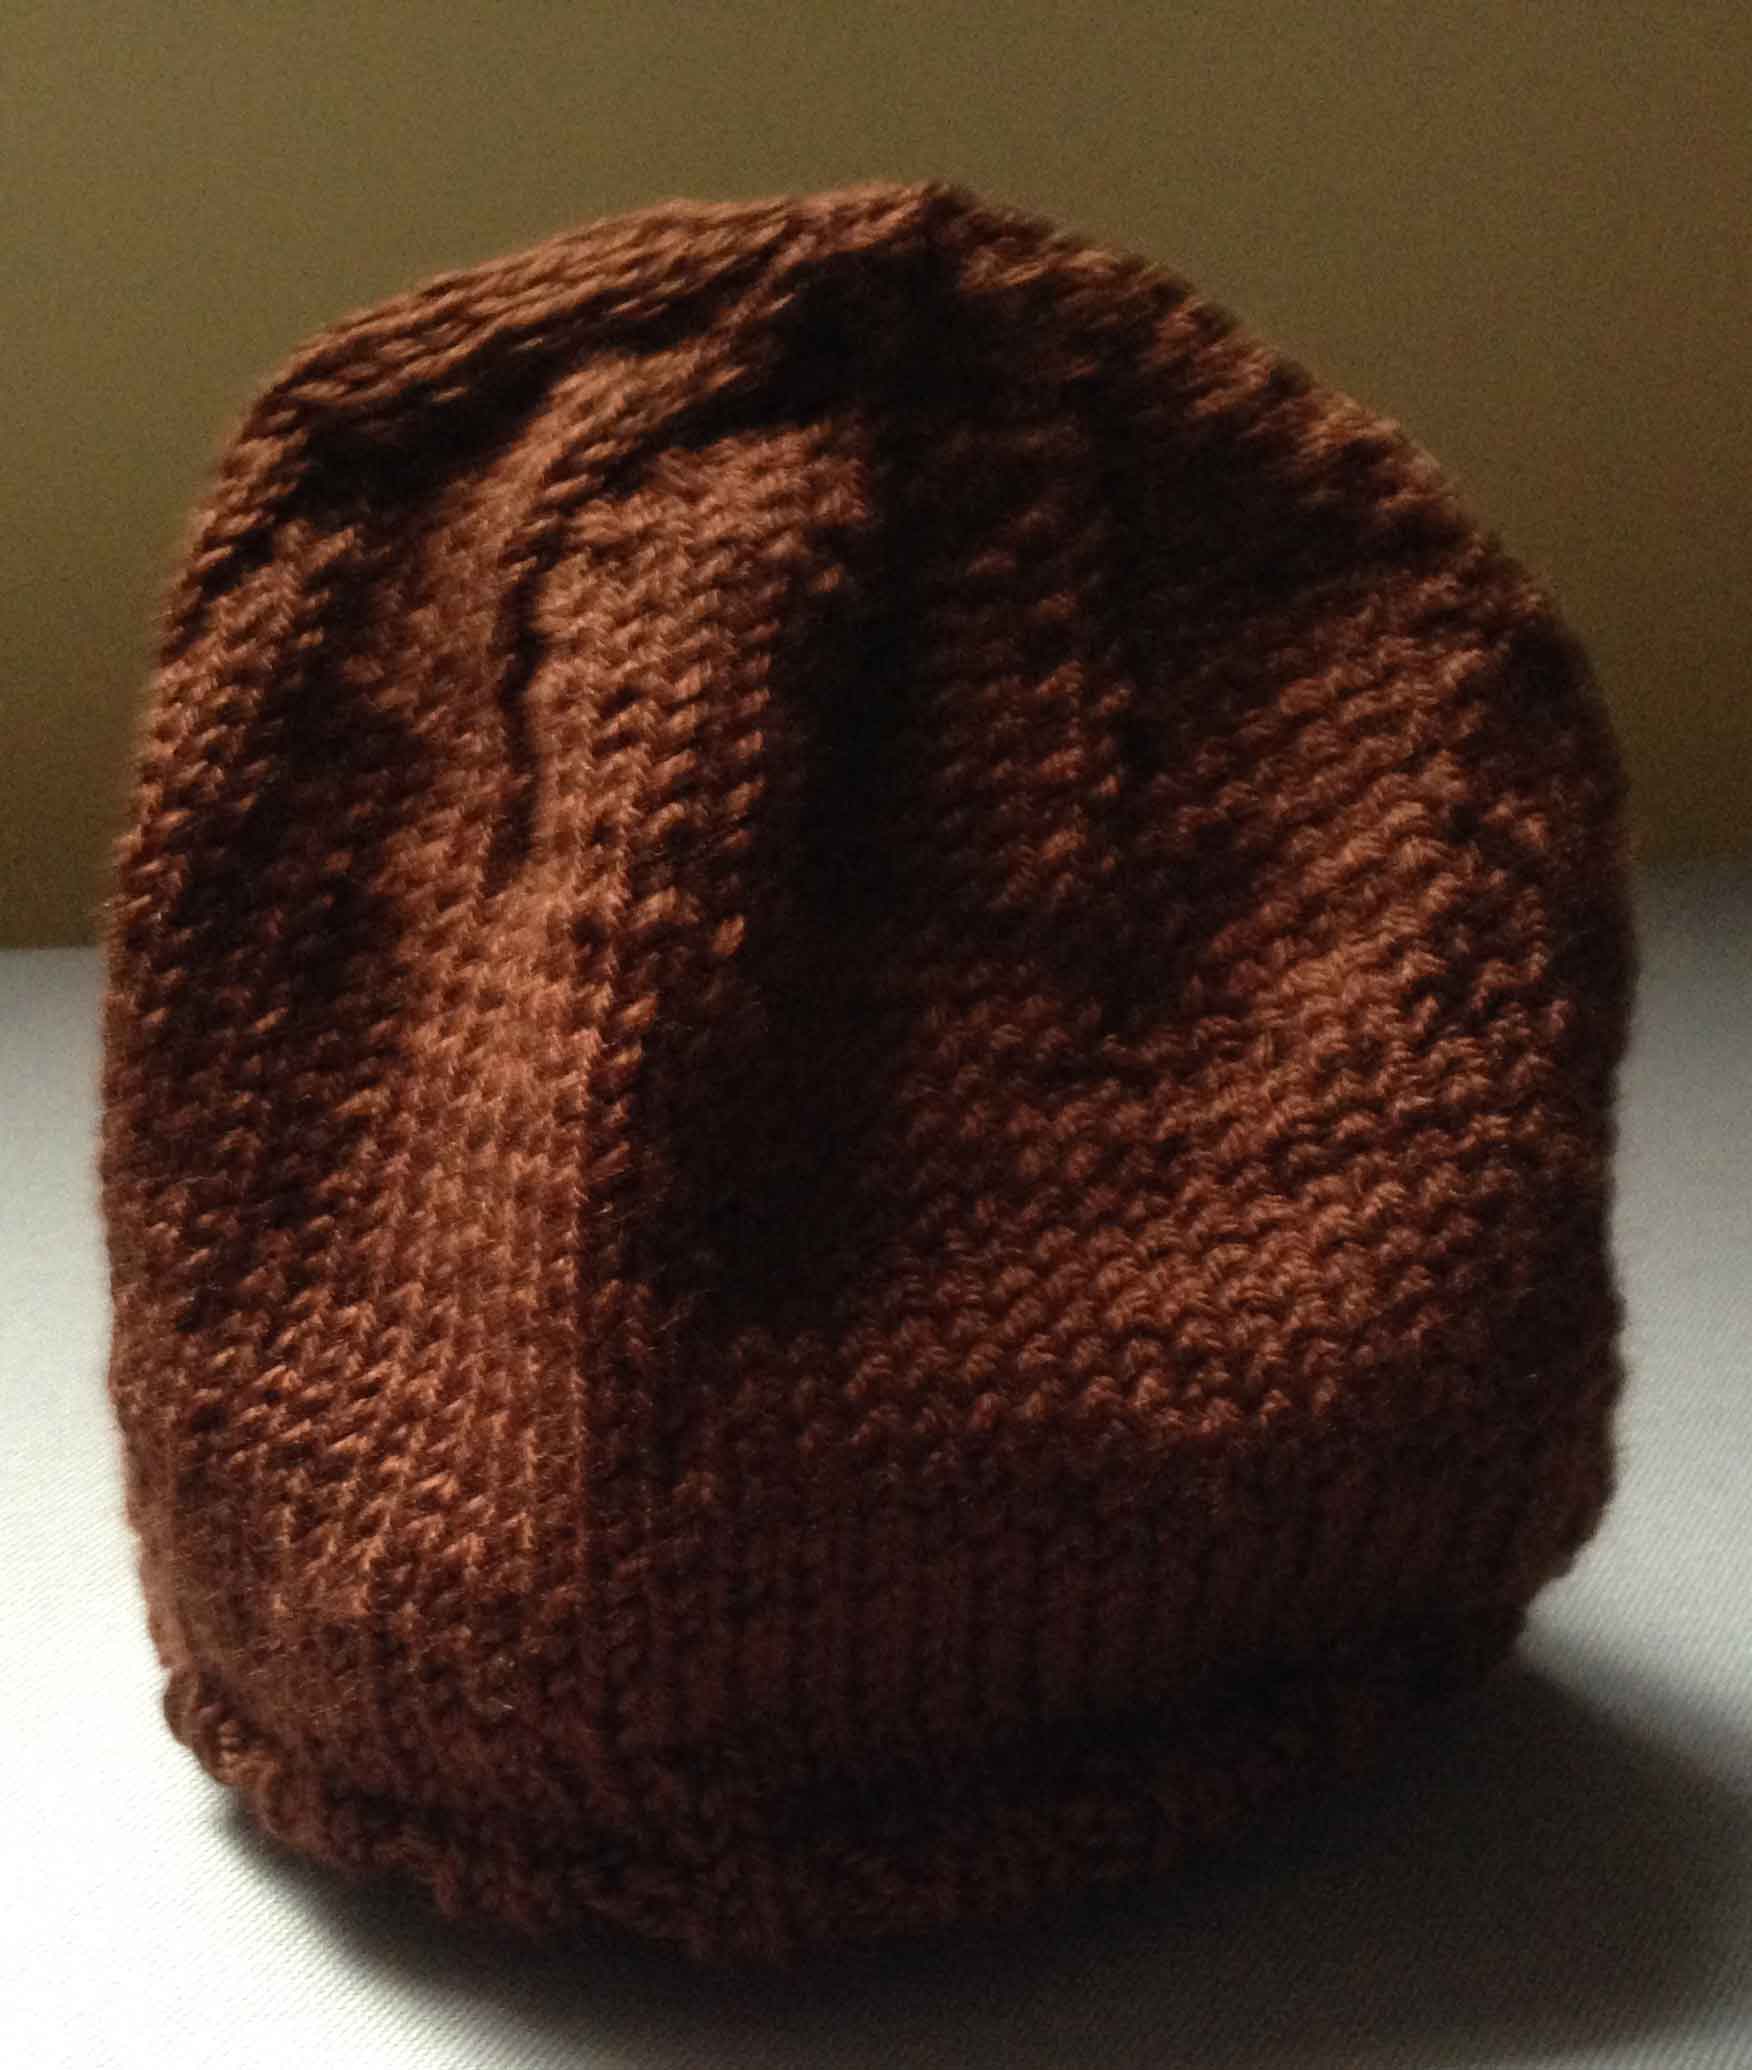
I used Lion Brand yarns – Wool-Ease – Thick & Quick 6 Super Bulky 79% Acrylic, 20% Wool, 1% Other Fiber 140 g / 5 oz
It’s machine washable and dryable; comes in great colours, very warm. It can be quickly knit up in a evening.

Cast on 40 stitches on 16 inch (41 CM) number 11 (8.00 mm) circular knitting needles. I prefer Clover Bamboo Circular Knitting Needles.
Rib (Knit 2 Purl 2) for 6 inches.
Change to 16 inch (41 CM) number 13 (9.00 mm) circular knitting needles, continue in stocking stitch until work measures 8 1/2 inches in length.
To shape the crown:
Row 1 – Knit (k) 8 Slip 1 knit-wise(sl1k) Knit(k) 1 Pass Slip Stitch Over (psso) continue until end of row
Row 2 and every other row – Knit
Row 3 – k7 sl1k k1 psso continue until end of row
Row 5 – k6 sl1k k1 psso continue until end of row
Row 7 -k5 sl1k k1 psso continue until end of row
Row 9 -k4 sl1k k1 psso continue until end of row
Row 11 -k3 sl1k k1 psso continue until end of row
Break yarn, leaving a long end, draw through remaining 16 stitches. Pull through top inside the toque. Work in ends.
Canadian Blogger eh!
November 21, 2015
Thankful for rainy days!
Required two balls 50 g / 1.75 oz in light 3 – 100% Acrylic yarn – I used: Patons Astra yarn.
With two strands of yarn cast on 40 stitches on 16 inch (41 CM) number 11 (8.00 mm) circular knitting needles. I prefer Clover Bamboo Circular Knitting Needles.
Rib (Knit 2 Purl 2) for 6 inches.
Change to 16 inch (41 CM) number 13 (9.00 mm) circular knitting needles, continue in stocking stitch until work measures 8 1/2 inches in length.
To shape the crown:
Row 1 – Knit (k) 8 Slip 1 knit-wise(sl1k) Knit(k) 1 Pass Slip Stitch Over (psso) continue until end of row
Row 2 and every other row – Knit
Row 3 – k7 sl1k k1 psso continue until end of row
Row 5 – k6 sl1k k1 psso continue until end of row
Row 7 -k5 sl1k k1 psso continue until end of row
Row 9 -k4 sl1k k1 psso continue until end of row
Row 11 -k3 sl1k k1 psso continue until end of row
Break yarn, leaving a long end, draw through remaining 16 stitches. Pull through top inside the toque. Work in ends.
 Works up in a few hours. Enjoy!
Beacon Tate
Canadian Blogger eh!
November 7, 2015
Thankful for beautiful fall colours!
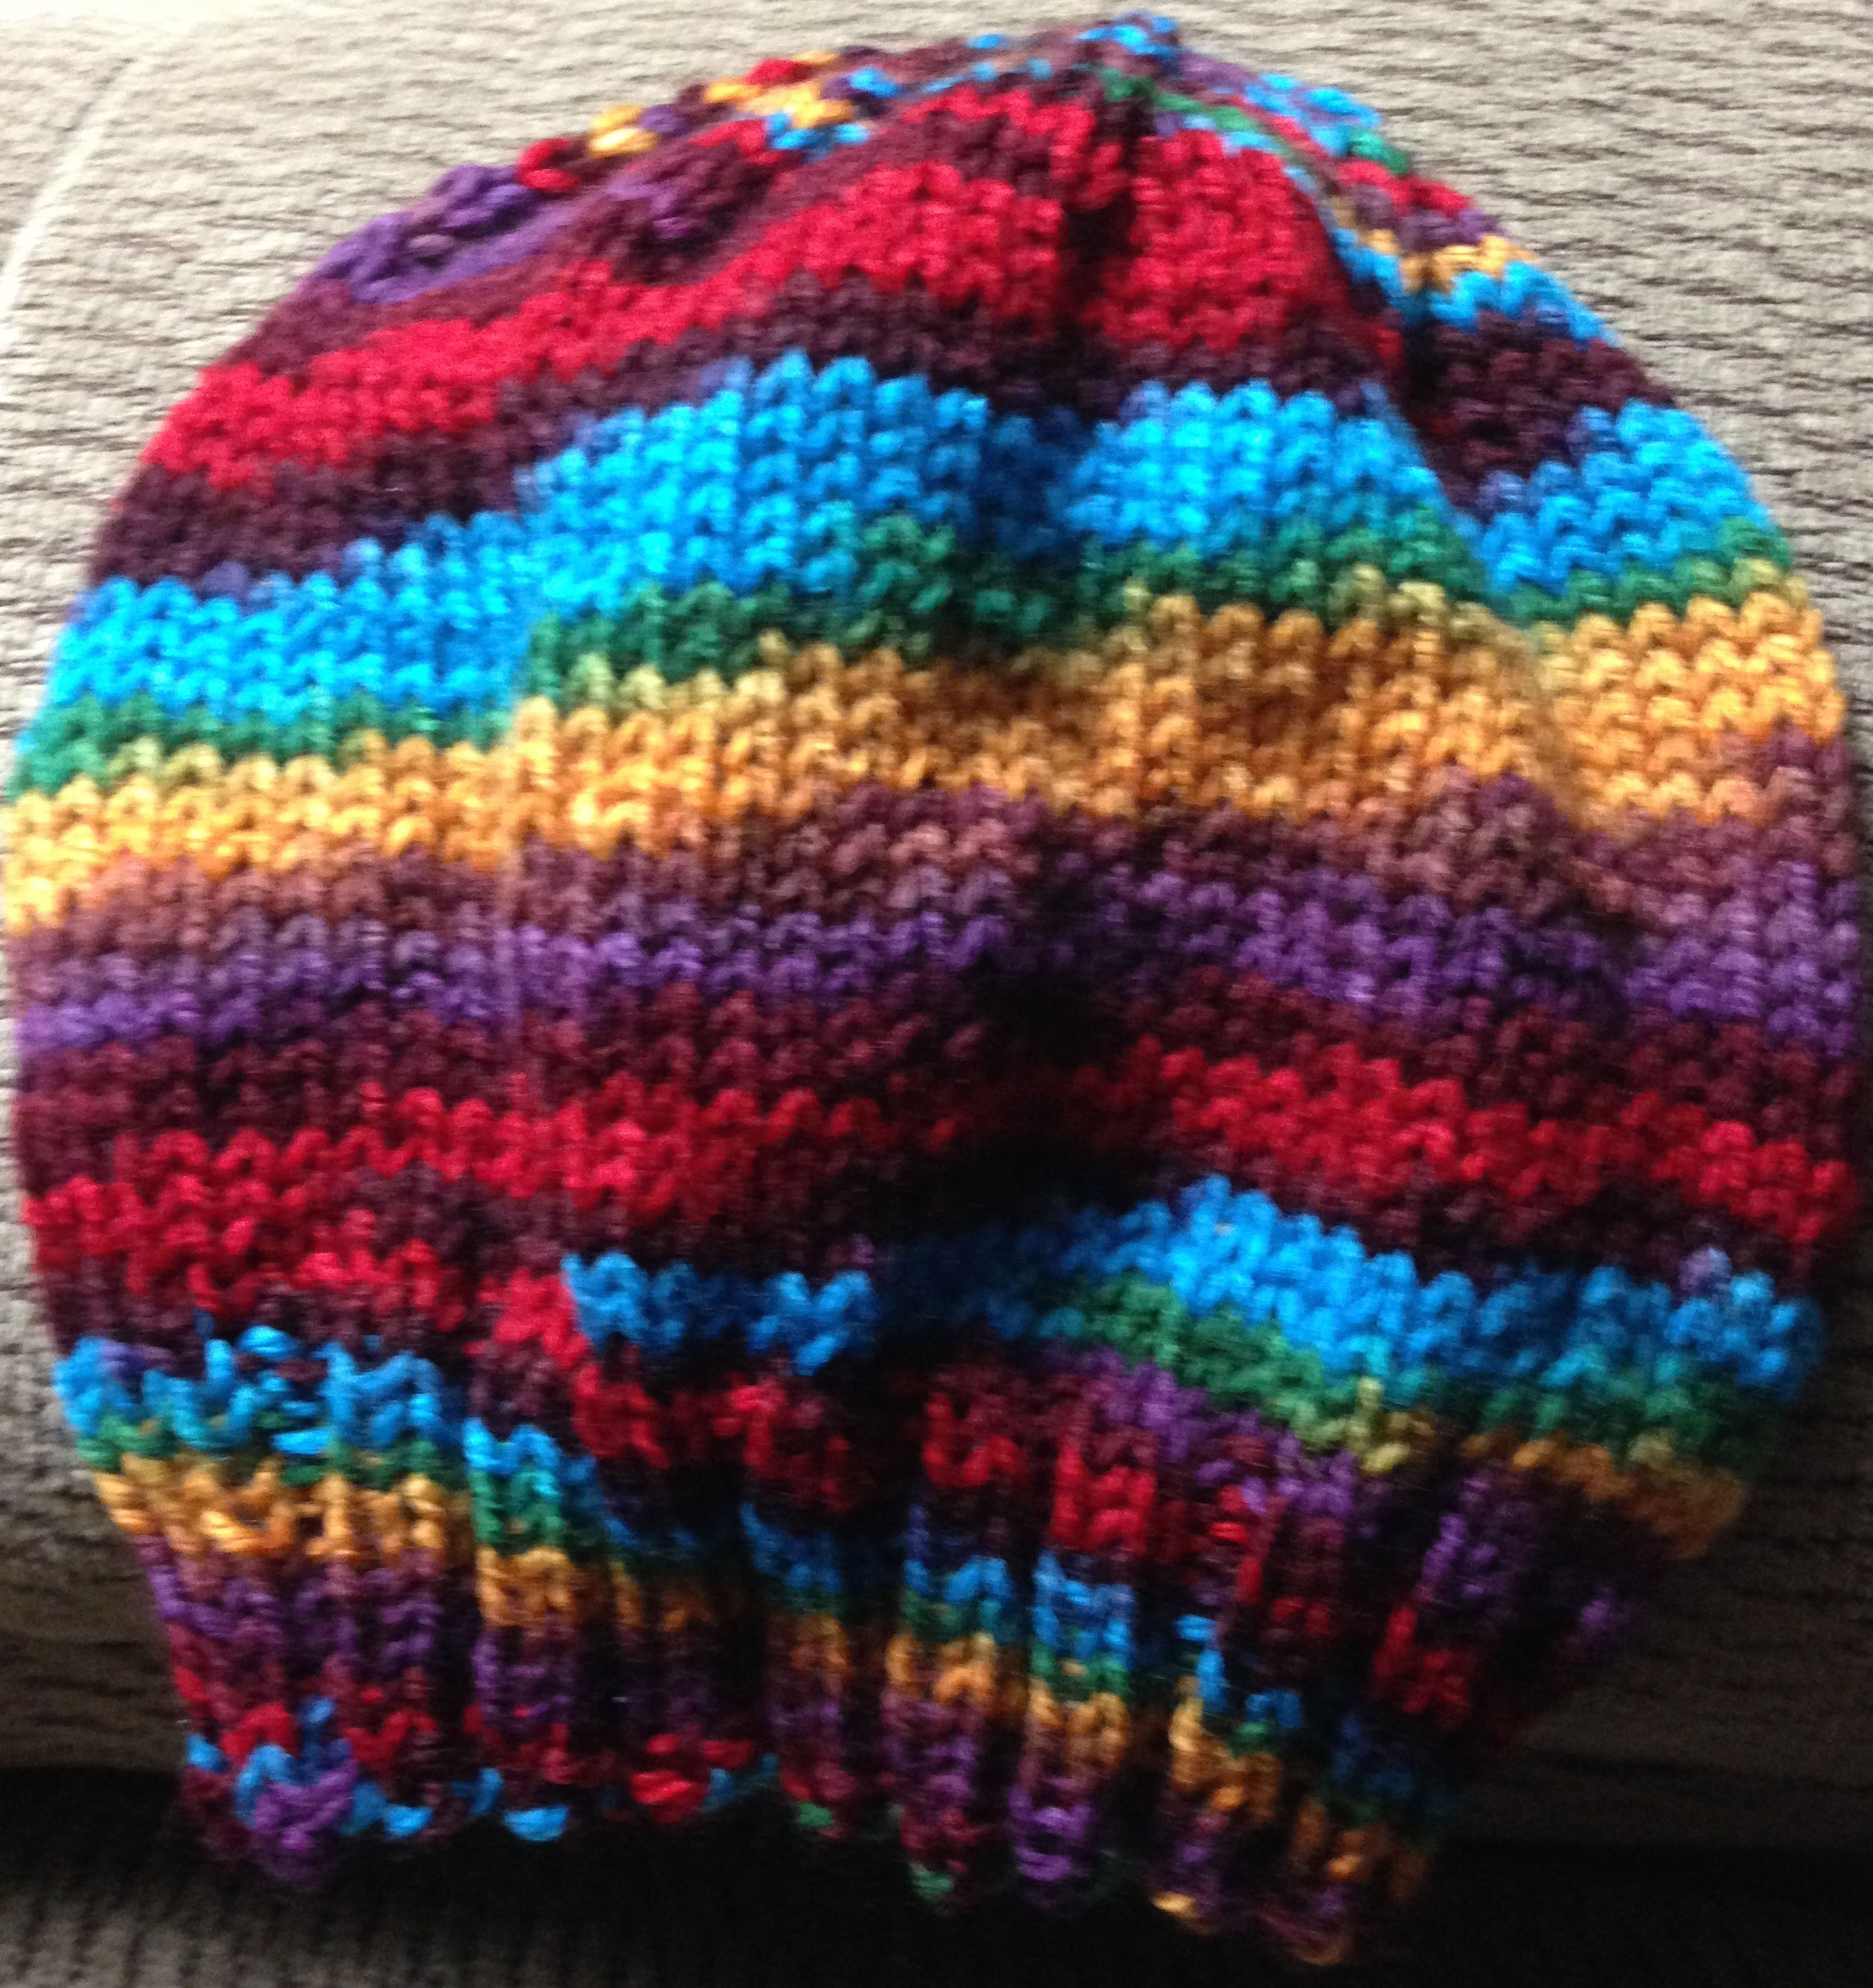

Required one ball 1.75 OZ ( 50g) in light 3 – 100% Acrylic yarn – I used: Patons Astra “Wild Wizard” yarn.
Cast on 80 stitches on 16 inch (41 CM) number 4 (3.50 mm) circular knitting needles.
I prefer Clover Bamboo Circular Knitting Needles.
Rib (Knit 2 Purl 2) for 2 inches.
Change to number 6 (4.00mm) circular knitting needles and increase 1 stitch (to 81 stitches); continue knitting in stocking stitch for 5 inches. With circular needles you knit each round. Please refer to the post “Toque” to shape the crown. NOTE – this is a lighter weight yarn – therefore smaller needles were used.
Beacon Tate
Canadian Blogger eh!
October 26, 2015
Thankful for support!
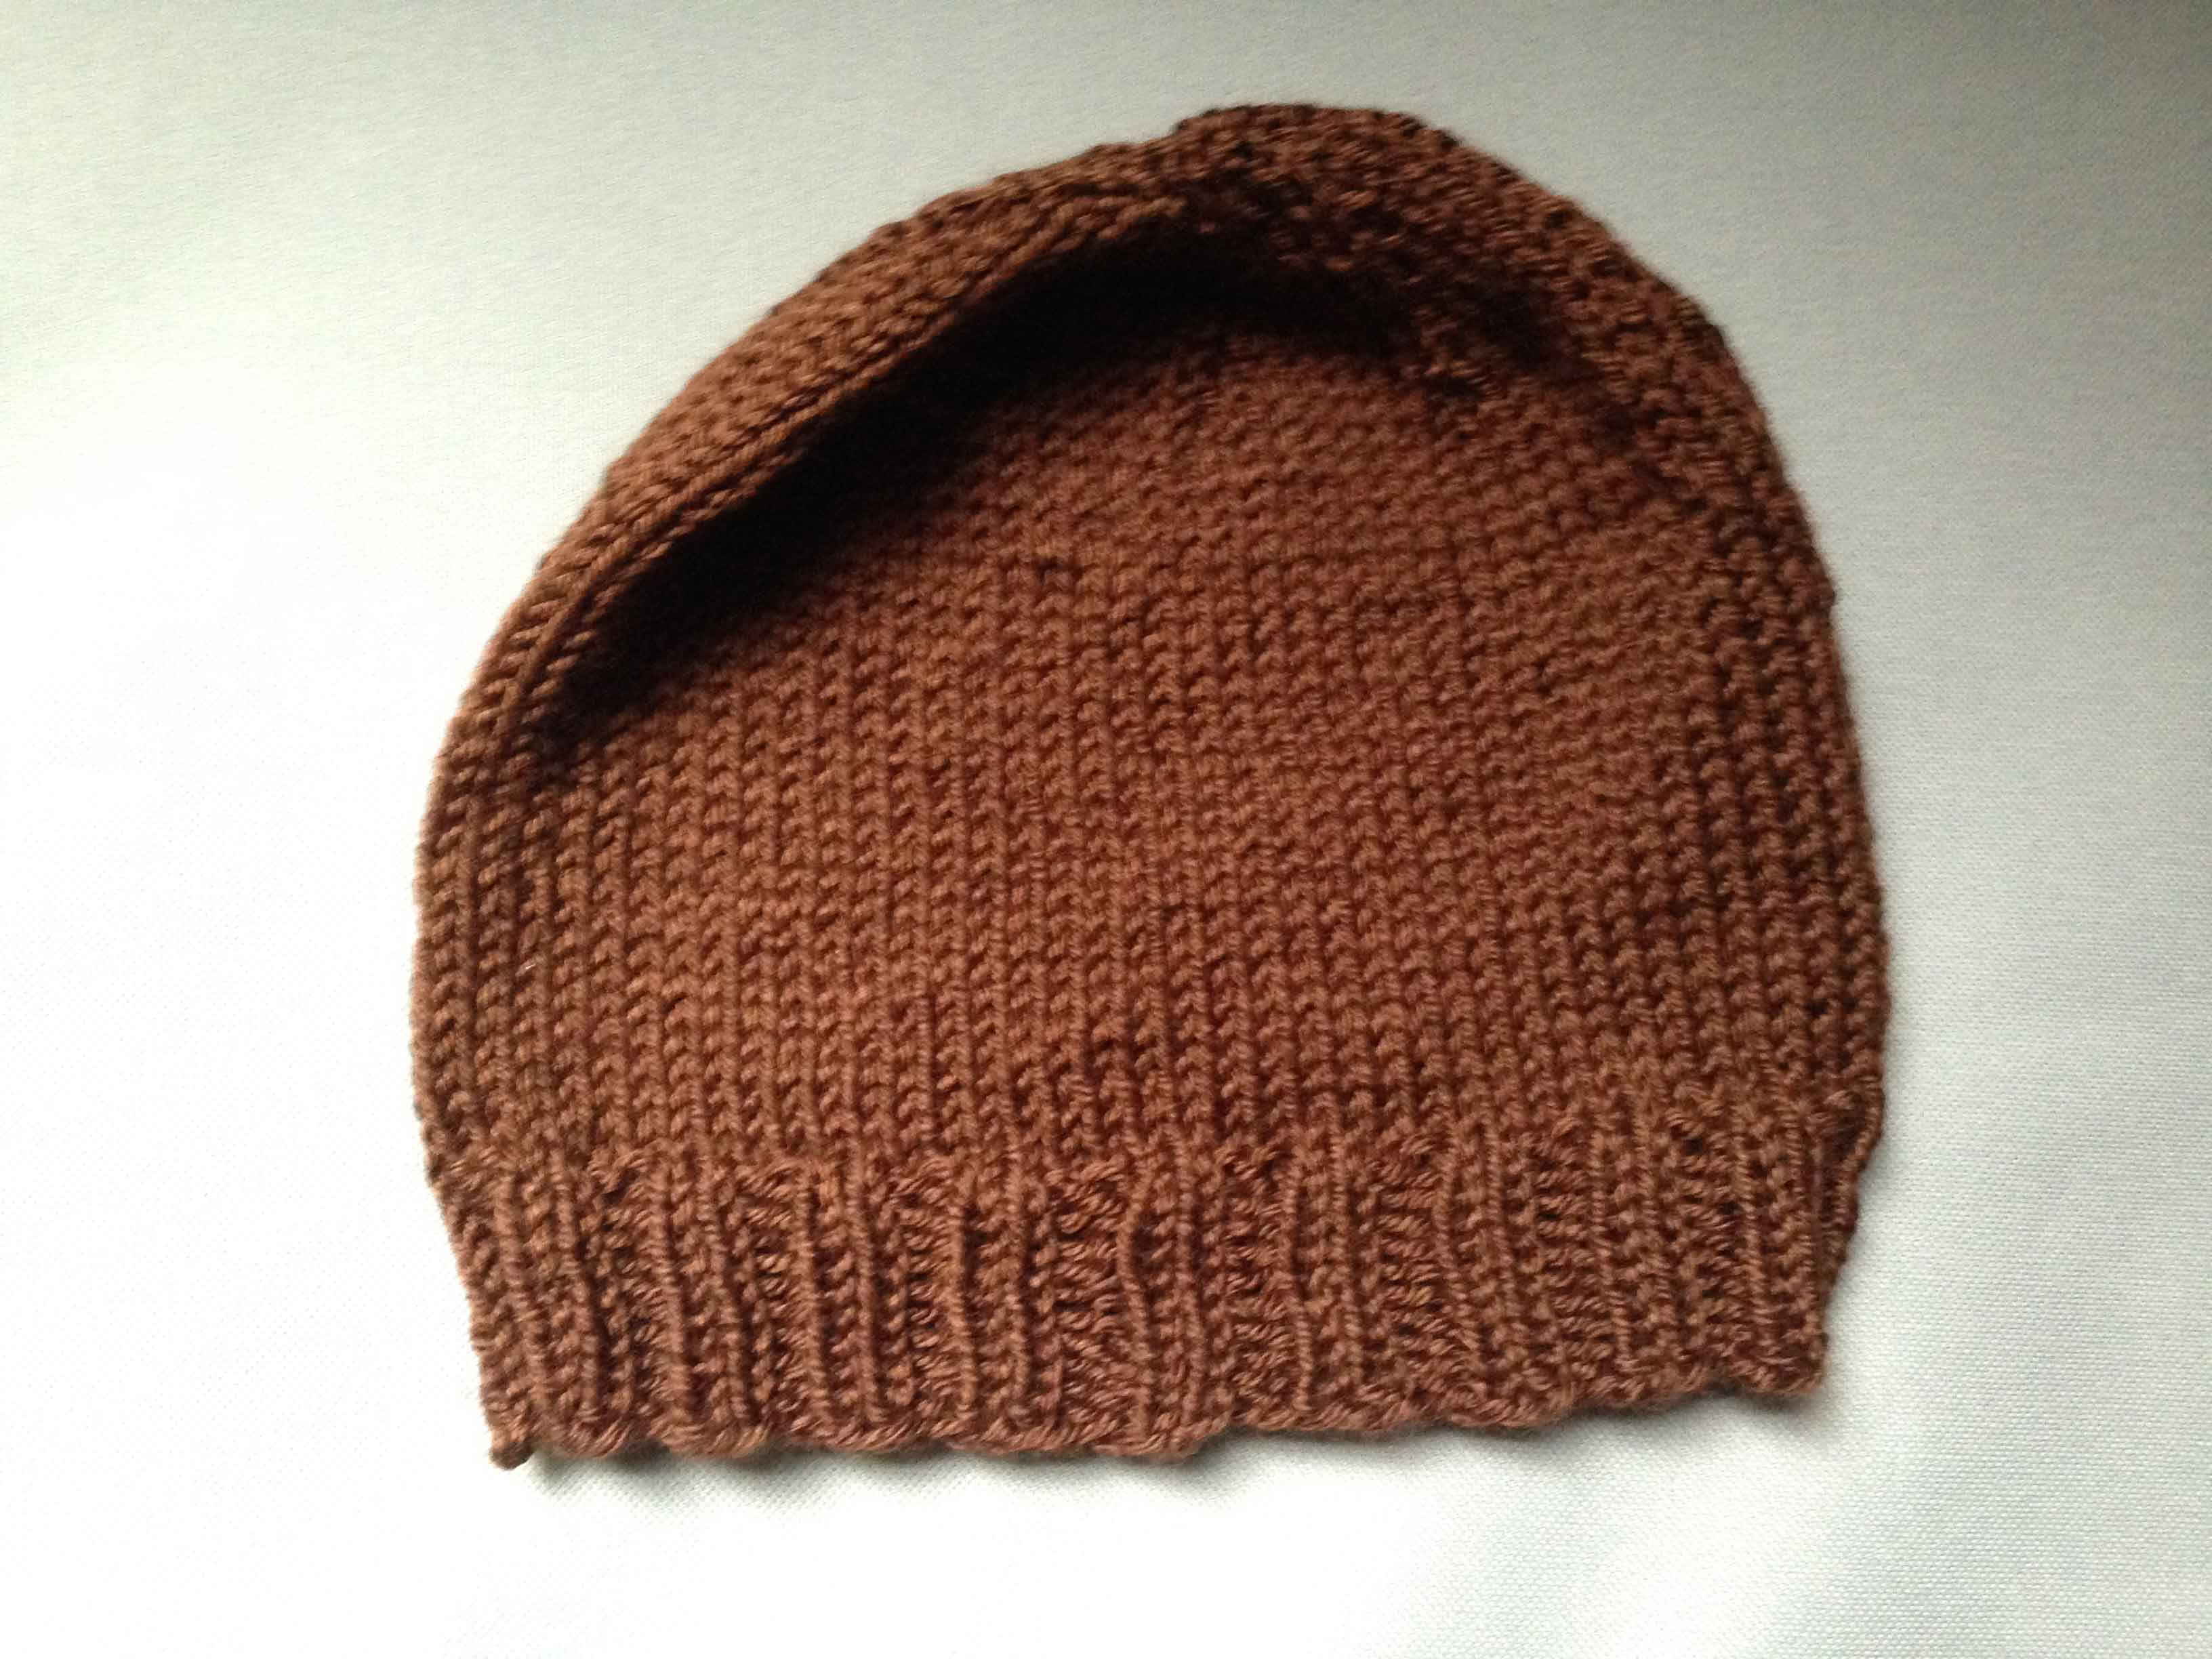
Required one ball in medium 4 – 100% Acrylic yarn – I used: Red Heart Soft yarn.
Cast on 80 stitches on 16 inch (41 CM) number 6 (4.00 mm) circular knitting needles.
I prefer Clover Bamboo Circular Knitting Needles.
Rib (Knit 2 Purl 2) for 2 inches.
Change to number 7 (4.50mm) circular knitting needles and increase 1 stitch (to 81 stitches); continue knitting in stocking stitch for 5 inches. With circular needles you knit each round.
To shape the crown.
Row 1 – Knit 7 stitches knit 2 together for whole round
Row 2 – Knit and every other round
Row 3 – Knit 6 stitches knit 2 together for whole round
Row 5 – Knit 5 stitches knit 2 together for whole round
Row 7 – Knit 4 stitches knit 2 together for whole round
Row 9 – Knit 3 stitches knit 2 together for whole round
Row 11 – Knit 2 stitches knit 2 together for whole round
Row 13 – Knit 1 stitches knit 2 together for whole round
Row 14 – Knit
Row 15 – Knit 2 together for the whole round
Break off enough to feed through remaining 10 stitches. Turn inside out and pull yarn so the top comes nicely together. Work in remaining yarn threads.
Ribbing measures 16 inches around; stocking stitch at ribbing 19 inches around. The top of the crown to end of ribbing measures 9 inches.
Beacon Tate
Canadian Blogger eh!
September 28, 2015
Thankful for walks in the rain!
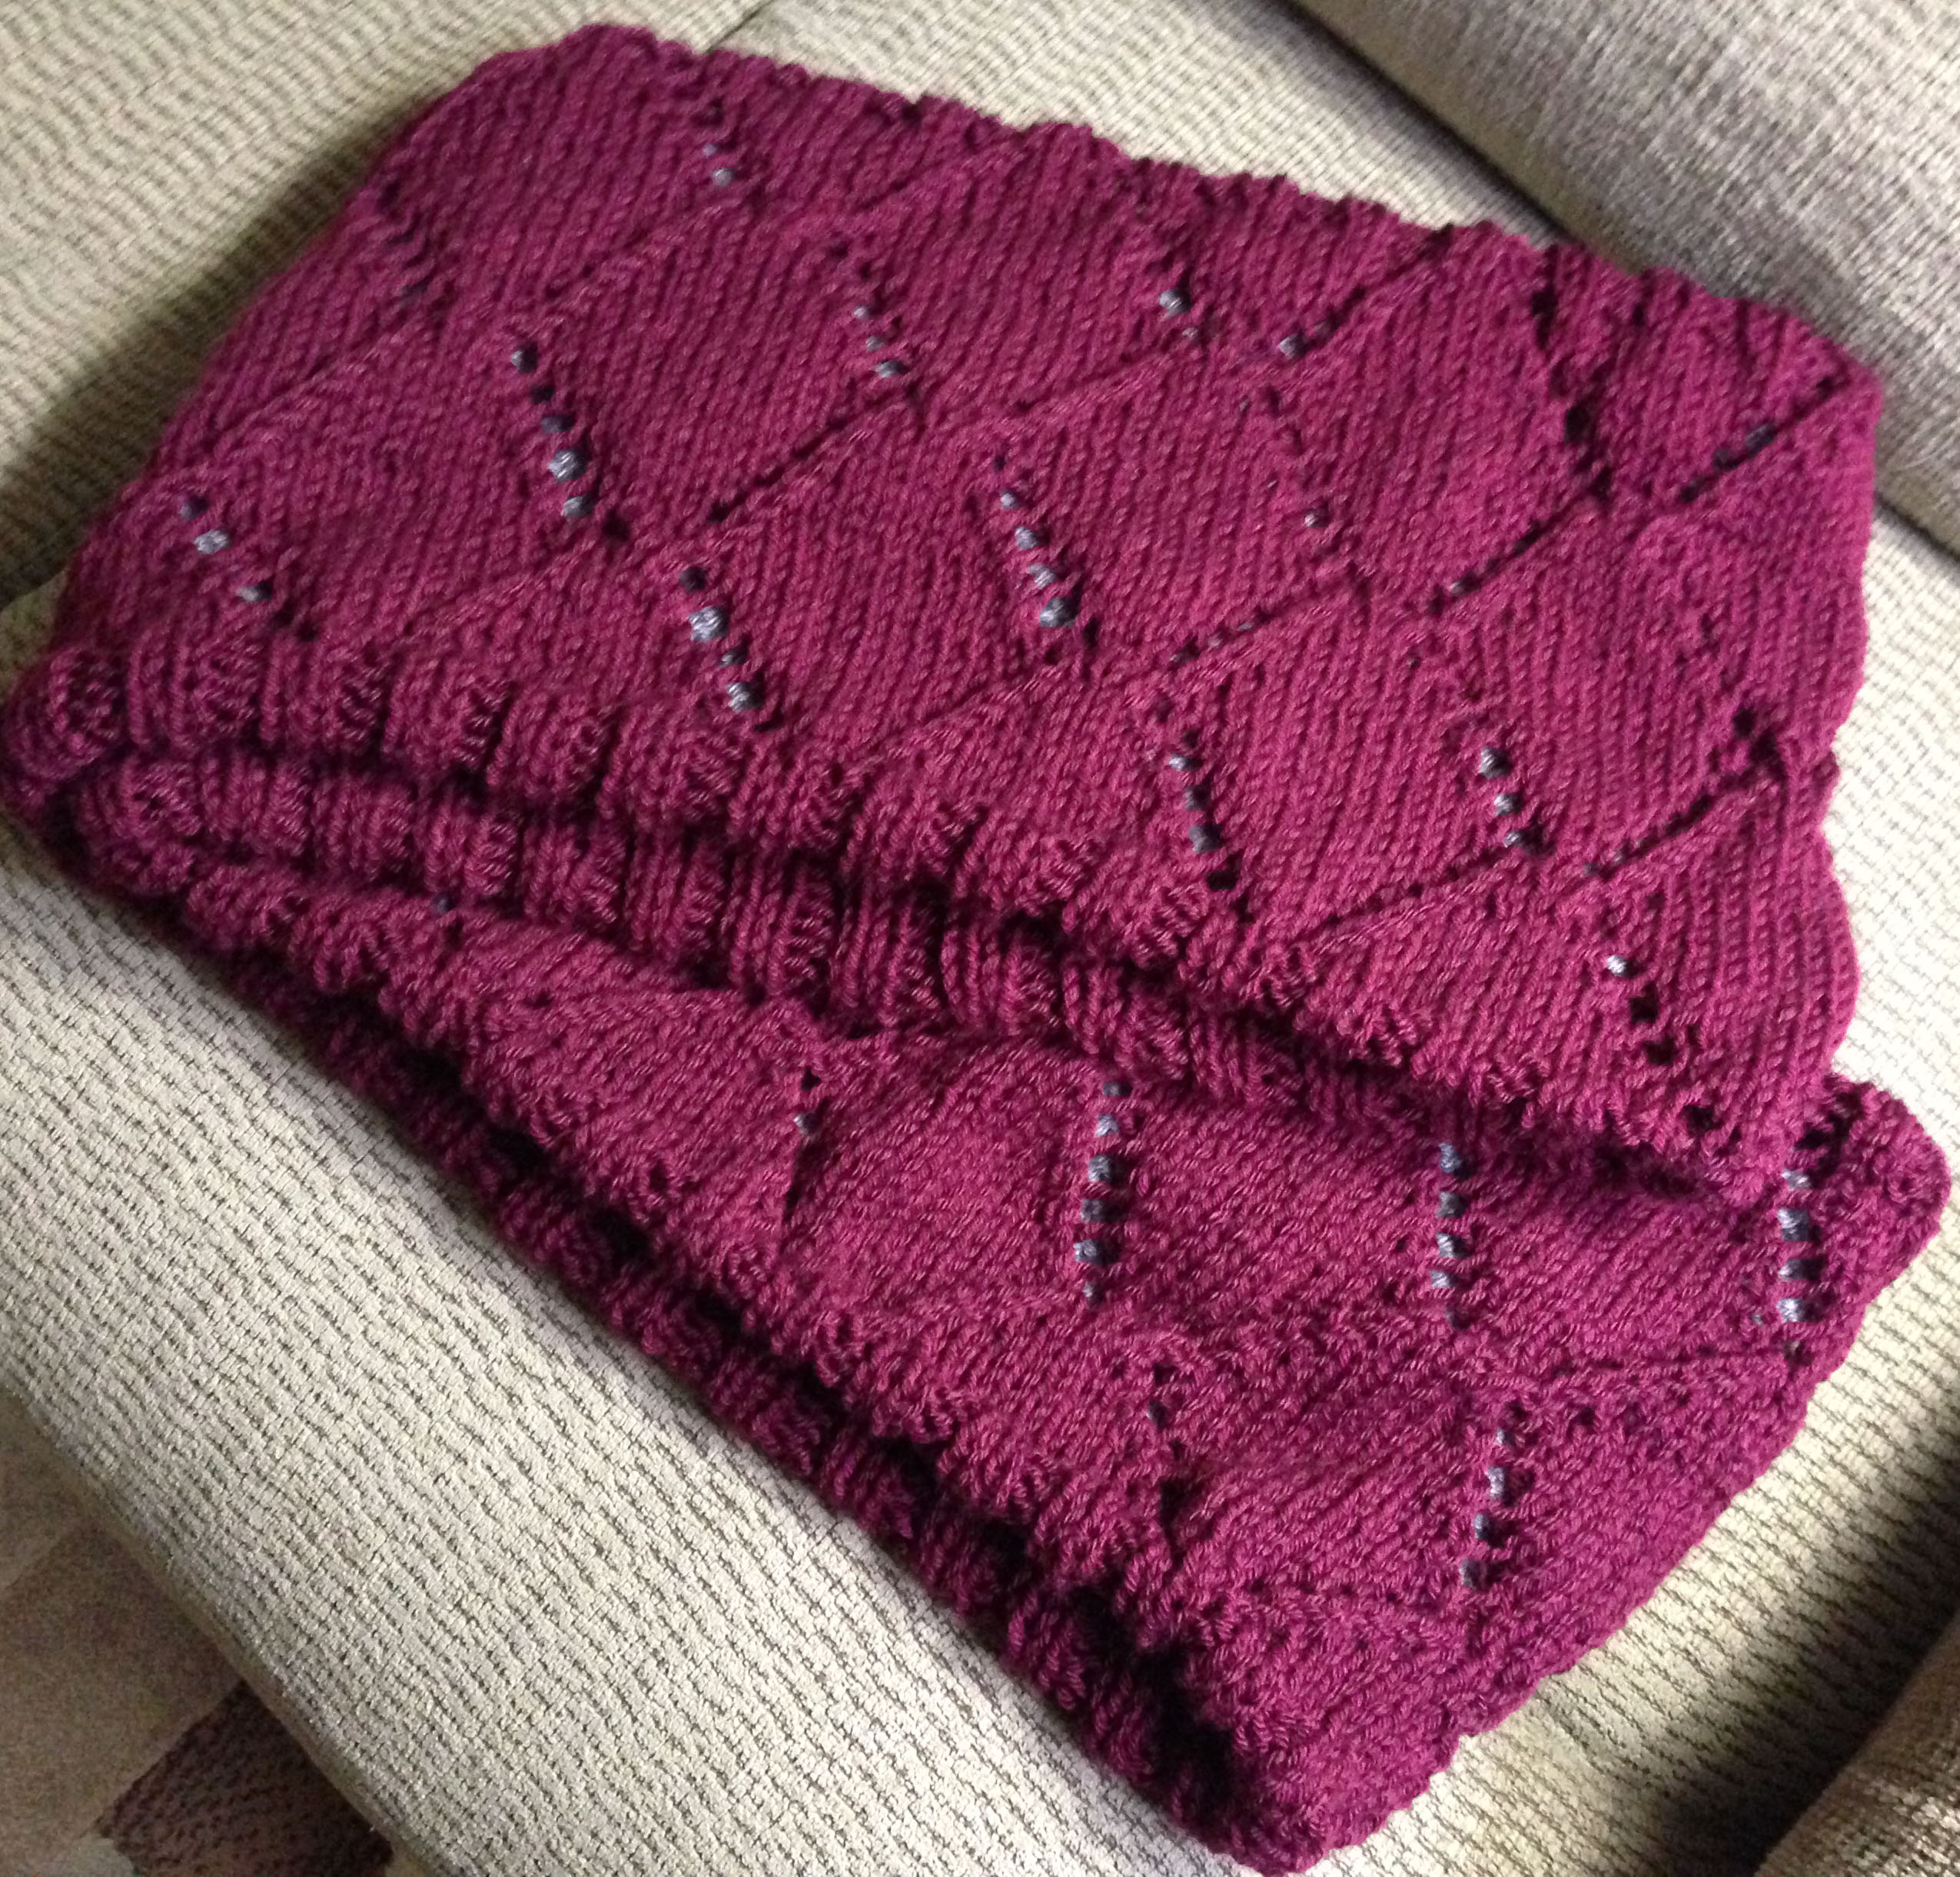
Required three 3.5oz (100g) in pattern colour and two 3.5oz (100g) back colour medium 4 100% Acrylic yarn – I used:
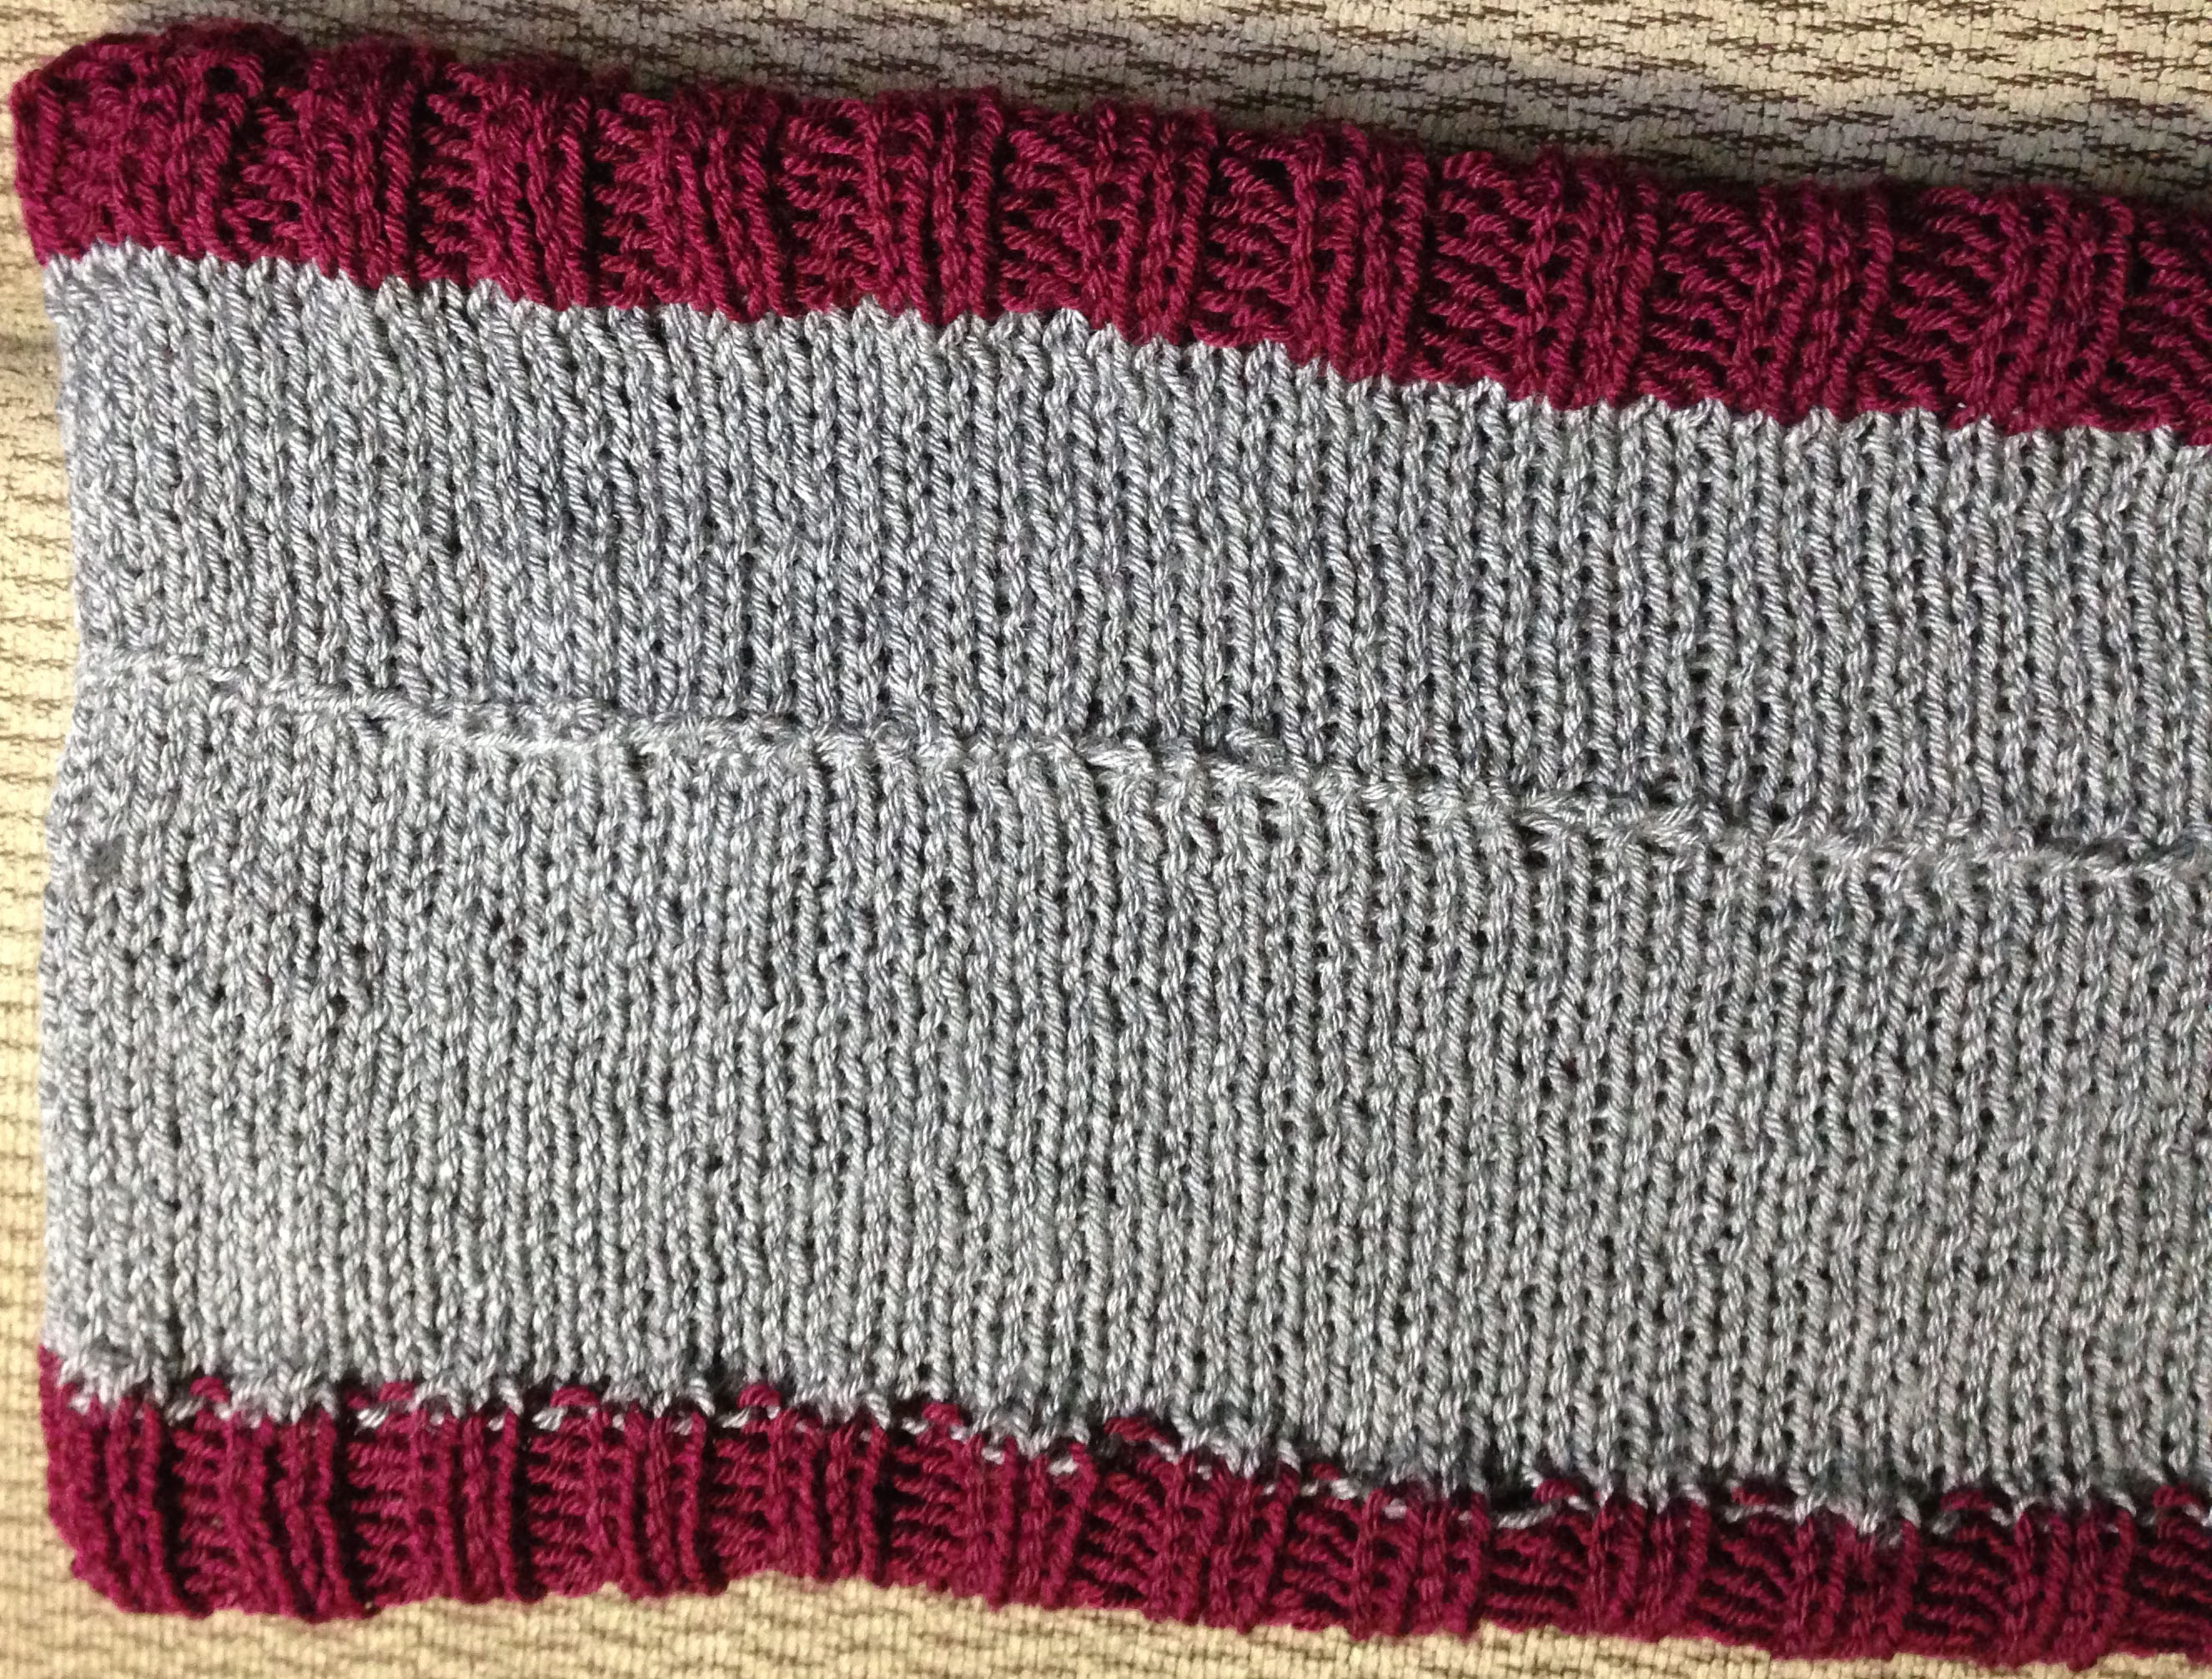
Cast on 240 stitches in the back colour (grey), on 29 inch (74 CM) number 10.5 (6.5 MM) circular knitting needles. I prefer Clover Bamboo Circular Knitting Needles.
Place yarn from another project through each of the 240 stitches. This makes it easier to pick up the 240 used when grafting scarf together.
Join the end stitch to the first stitch being careful not to twist and place a marker. Knit until the first ball of 3.5 oz (100 G) of back colour yarn is done, ending on last stitch. Change to main colour
K2 P2 – ribbing for 2 1/2 inches, ending on the last stitch
Begin pattern.
Pattern
Row 1 – K6 K2tog M1 K1 M1 K2tog K5
Row 2 and every other row knit
Row 3 – K5 K2tog M1 K3 M1 K2tog K4
Row 5 – K4 K2tog M1 K5 M1 K2tog K3
Row 7 – K3 K2tog M1 K7 M1 K2tog K2
Row 9 – K2 K2tog M1 K9 M1 K2tog K1
Row 11 – K1 K2tog M1 K11 M1 K2tog
Row 13 – K1 M1 K2tog K11 K2tog M1
Row 15 – K2 M1 K2tog K9 K2tog M1 K1
Row 17 – K3 M1 K2tog K7 K2tog M1 K2
Row 19 – K4 M1 K2tog K5 K2tog M1 K3
Row 21 – K5 M1 K2tog K3 K2tog M1 K4
Row 23 – K6 M1 K2tog K1 K2tog M1 K5
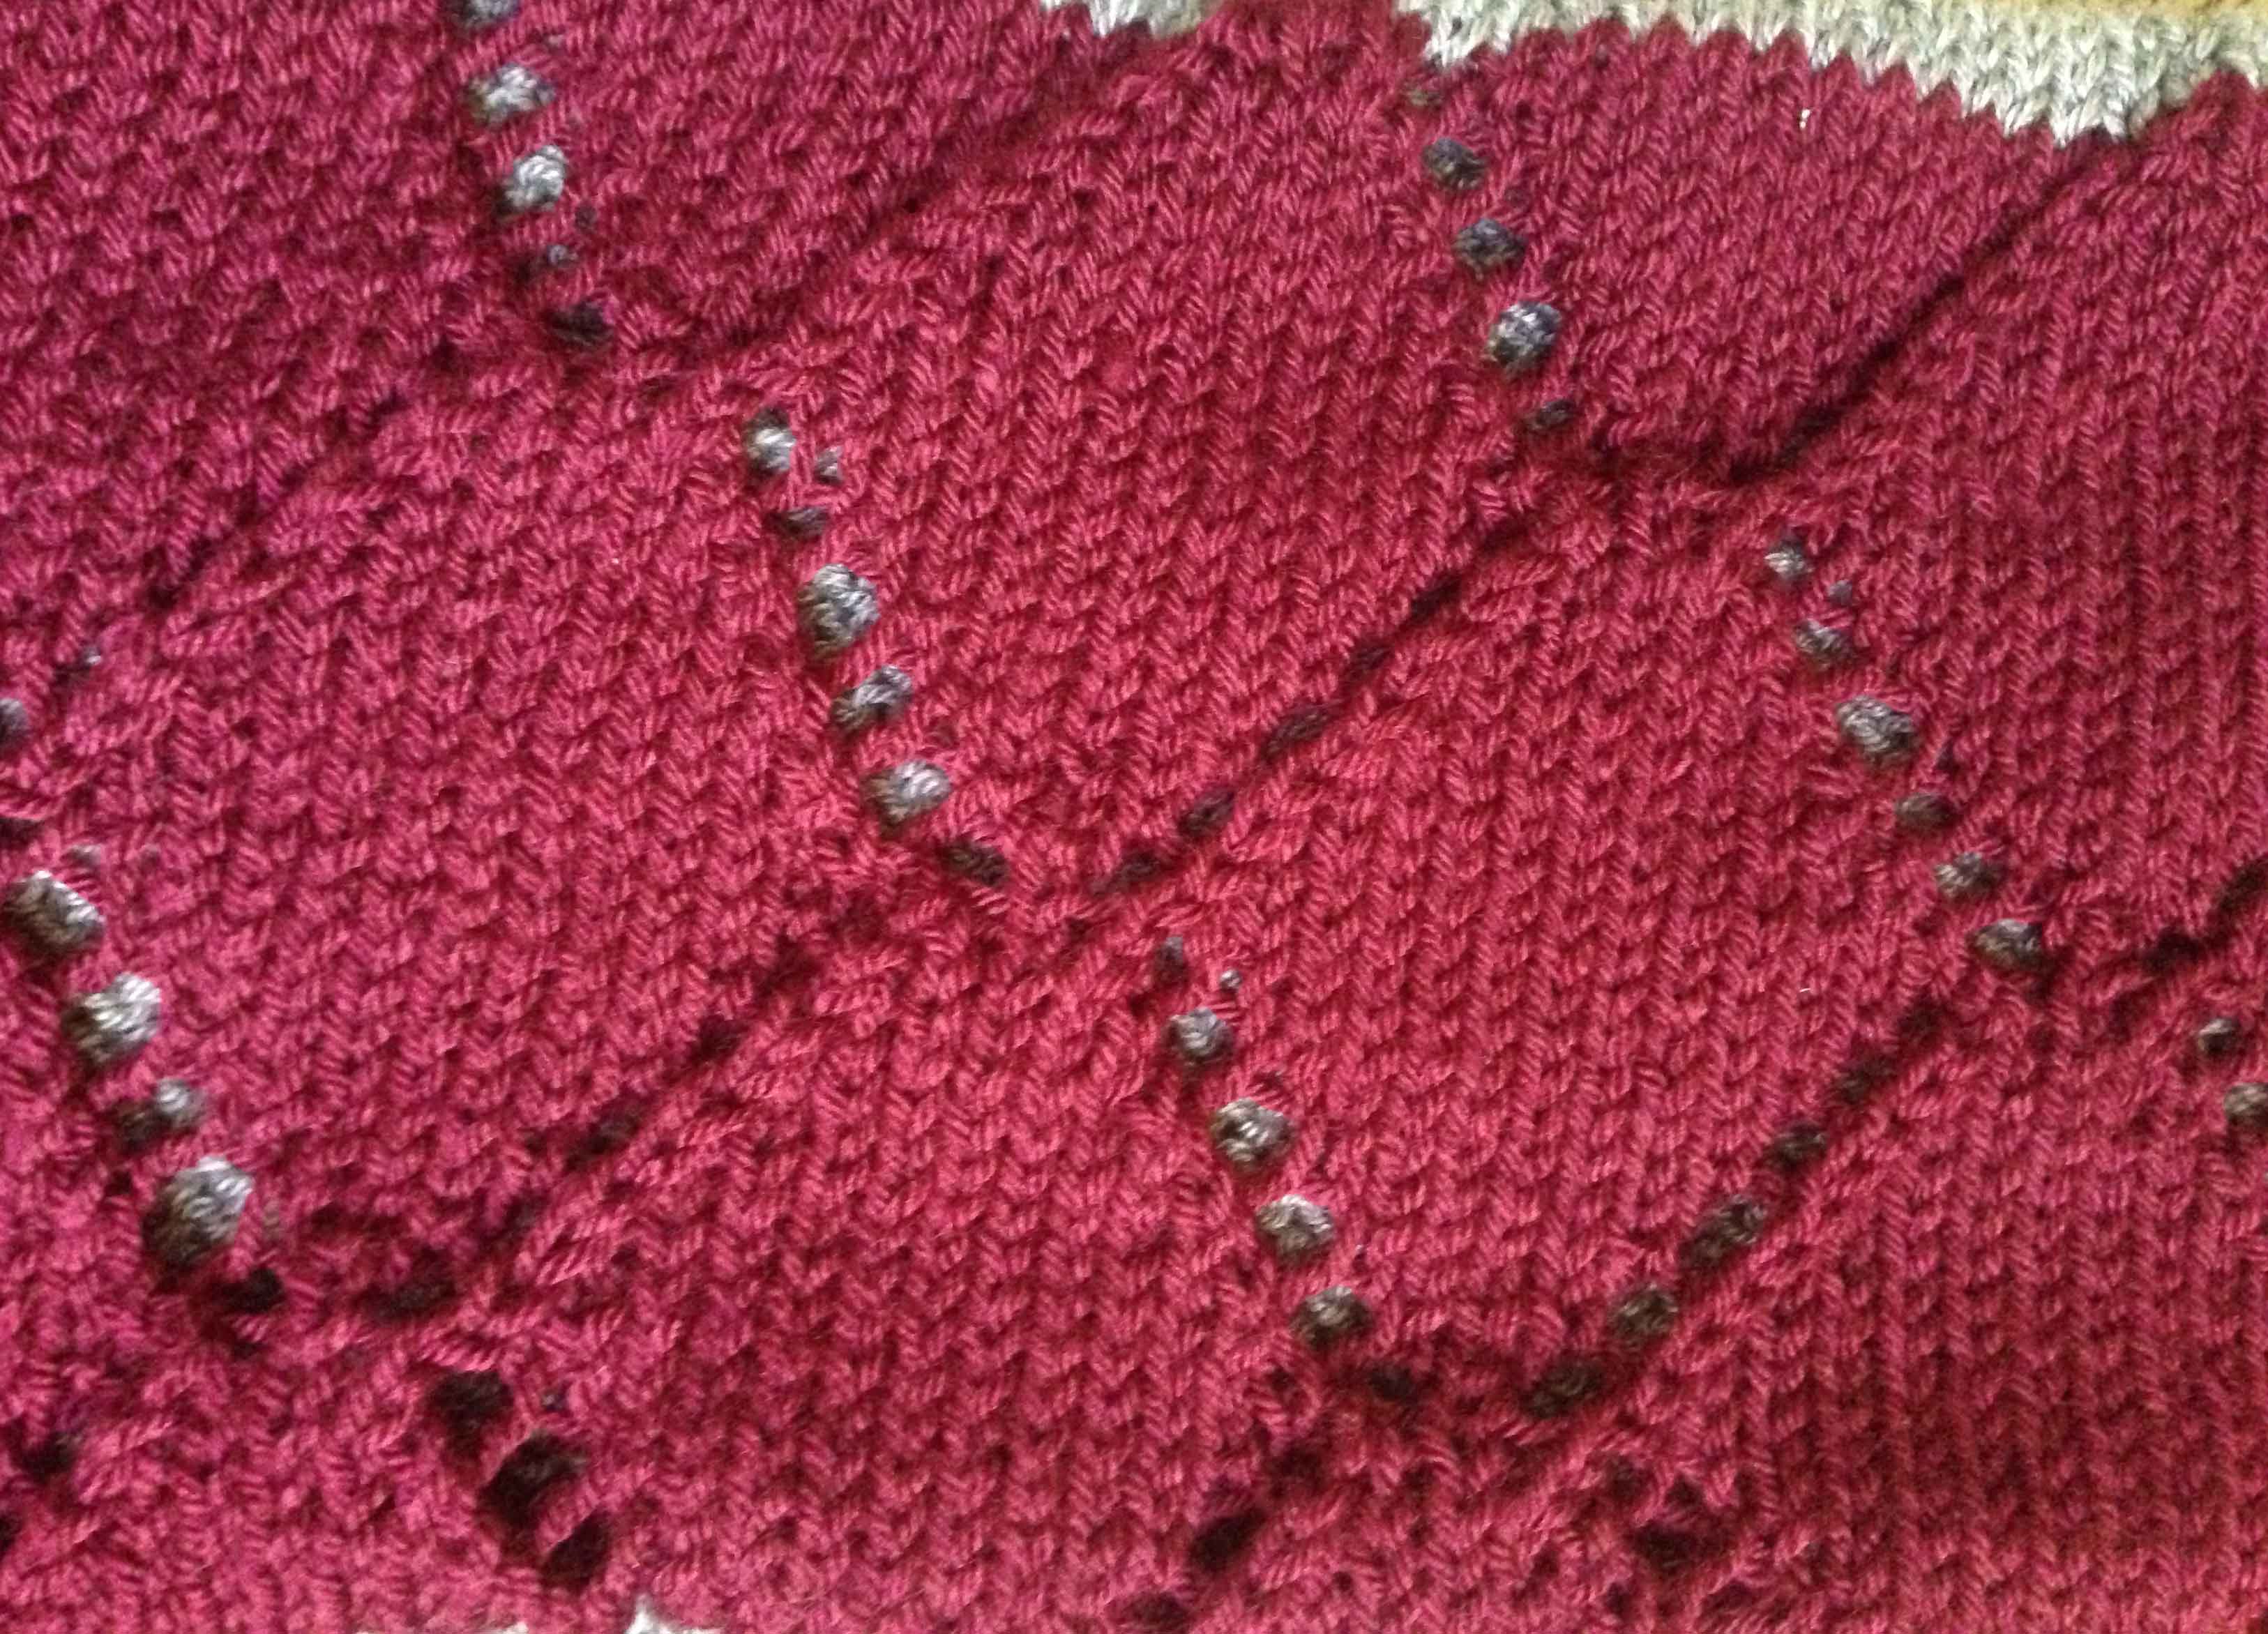
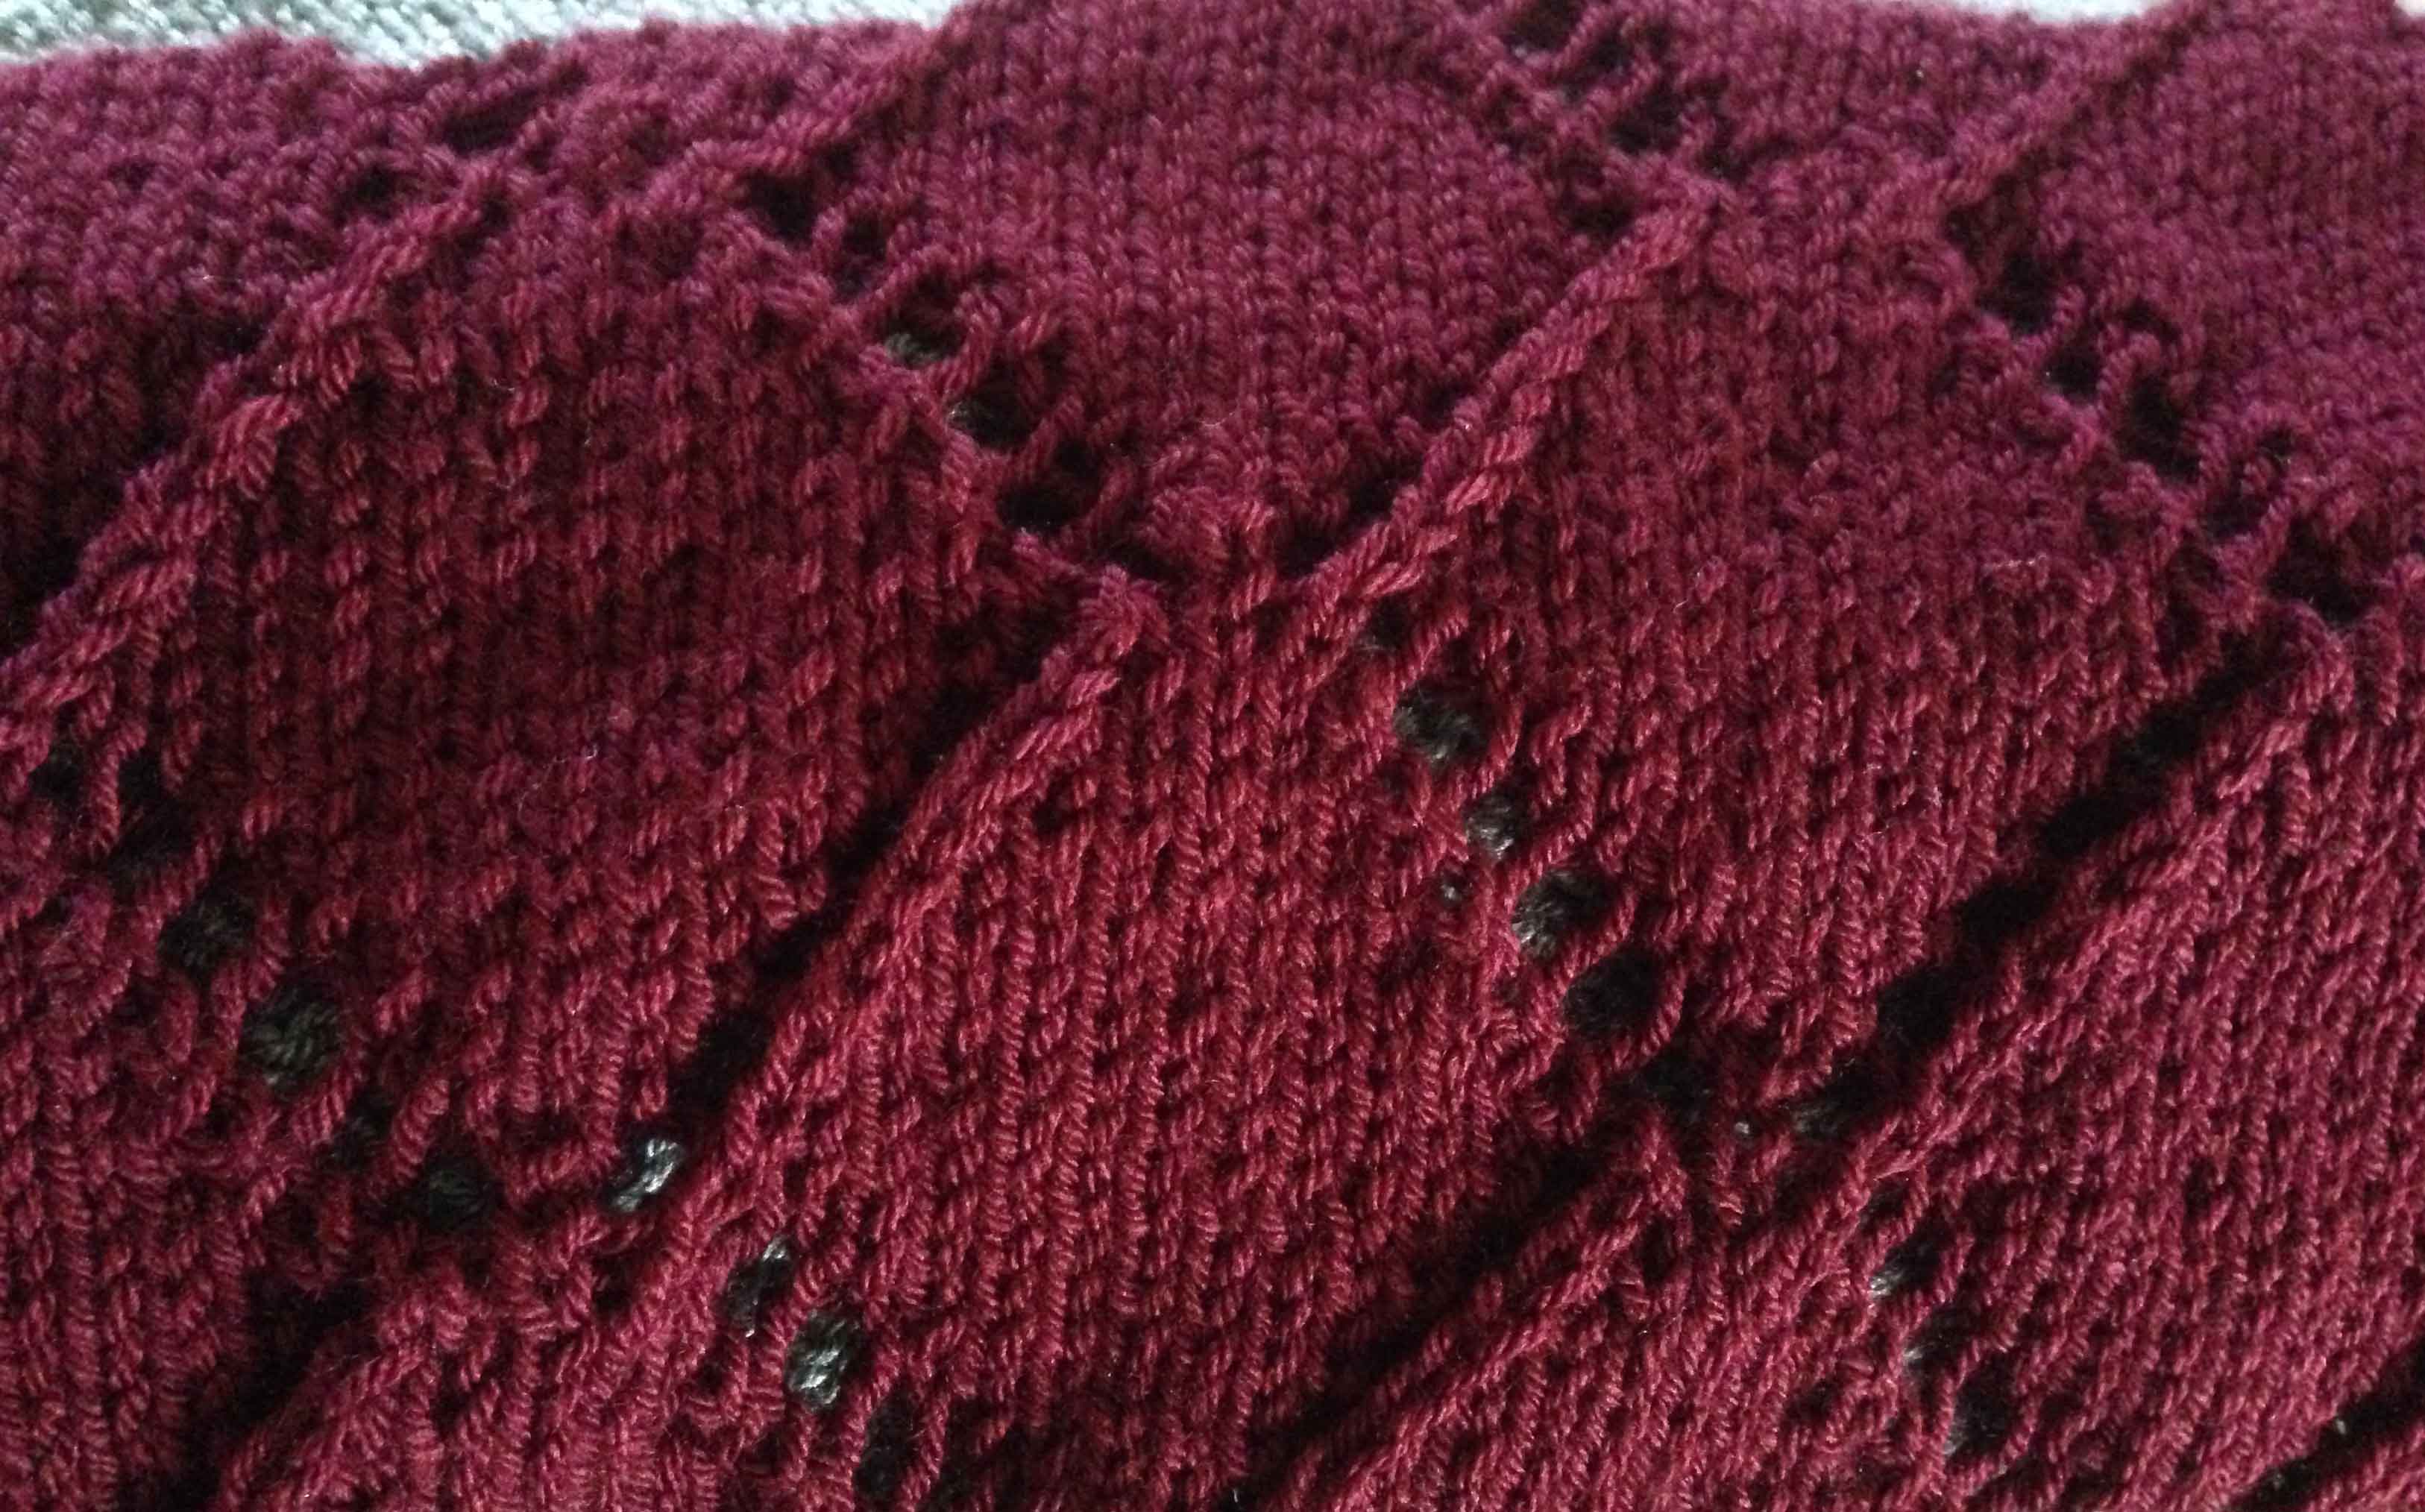
Knit these twenty four rows twice in the main colour.
K2 P2 – ribbing for 2 1/2 inches, ending on the last stitch.
Change to back colour knit until the total (first ball and these) back colour measures the same as the pattern and two inches of ribbing (approximately 11″ length ). Leaving 1 1/2 inch ribbing border of the main colour on the back. Total length over all 22inches.
Pick up the stitches from the start (remove the off setting yarn) and graft the two sections of the back colour together. Be careful not to twist. Break off yarn leaving an end of 10 inch thread. (note you actually need more length but better to do it in several to graft 240 stitches).
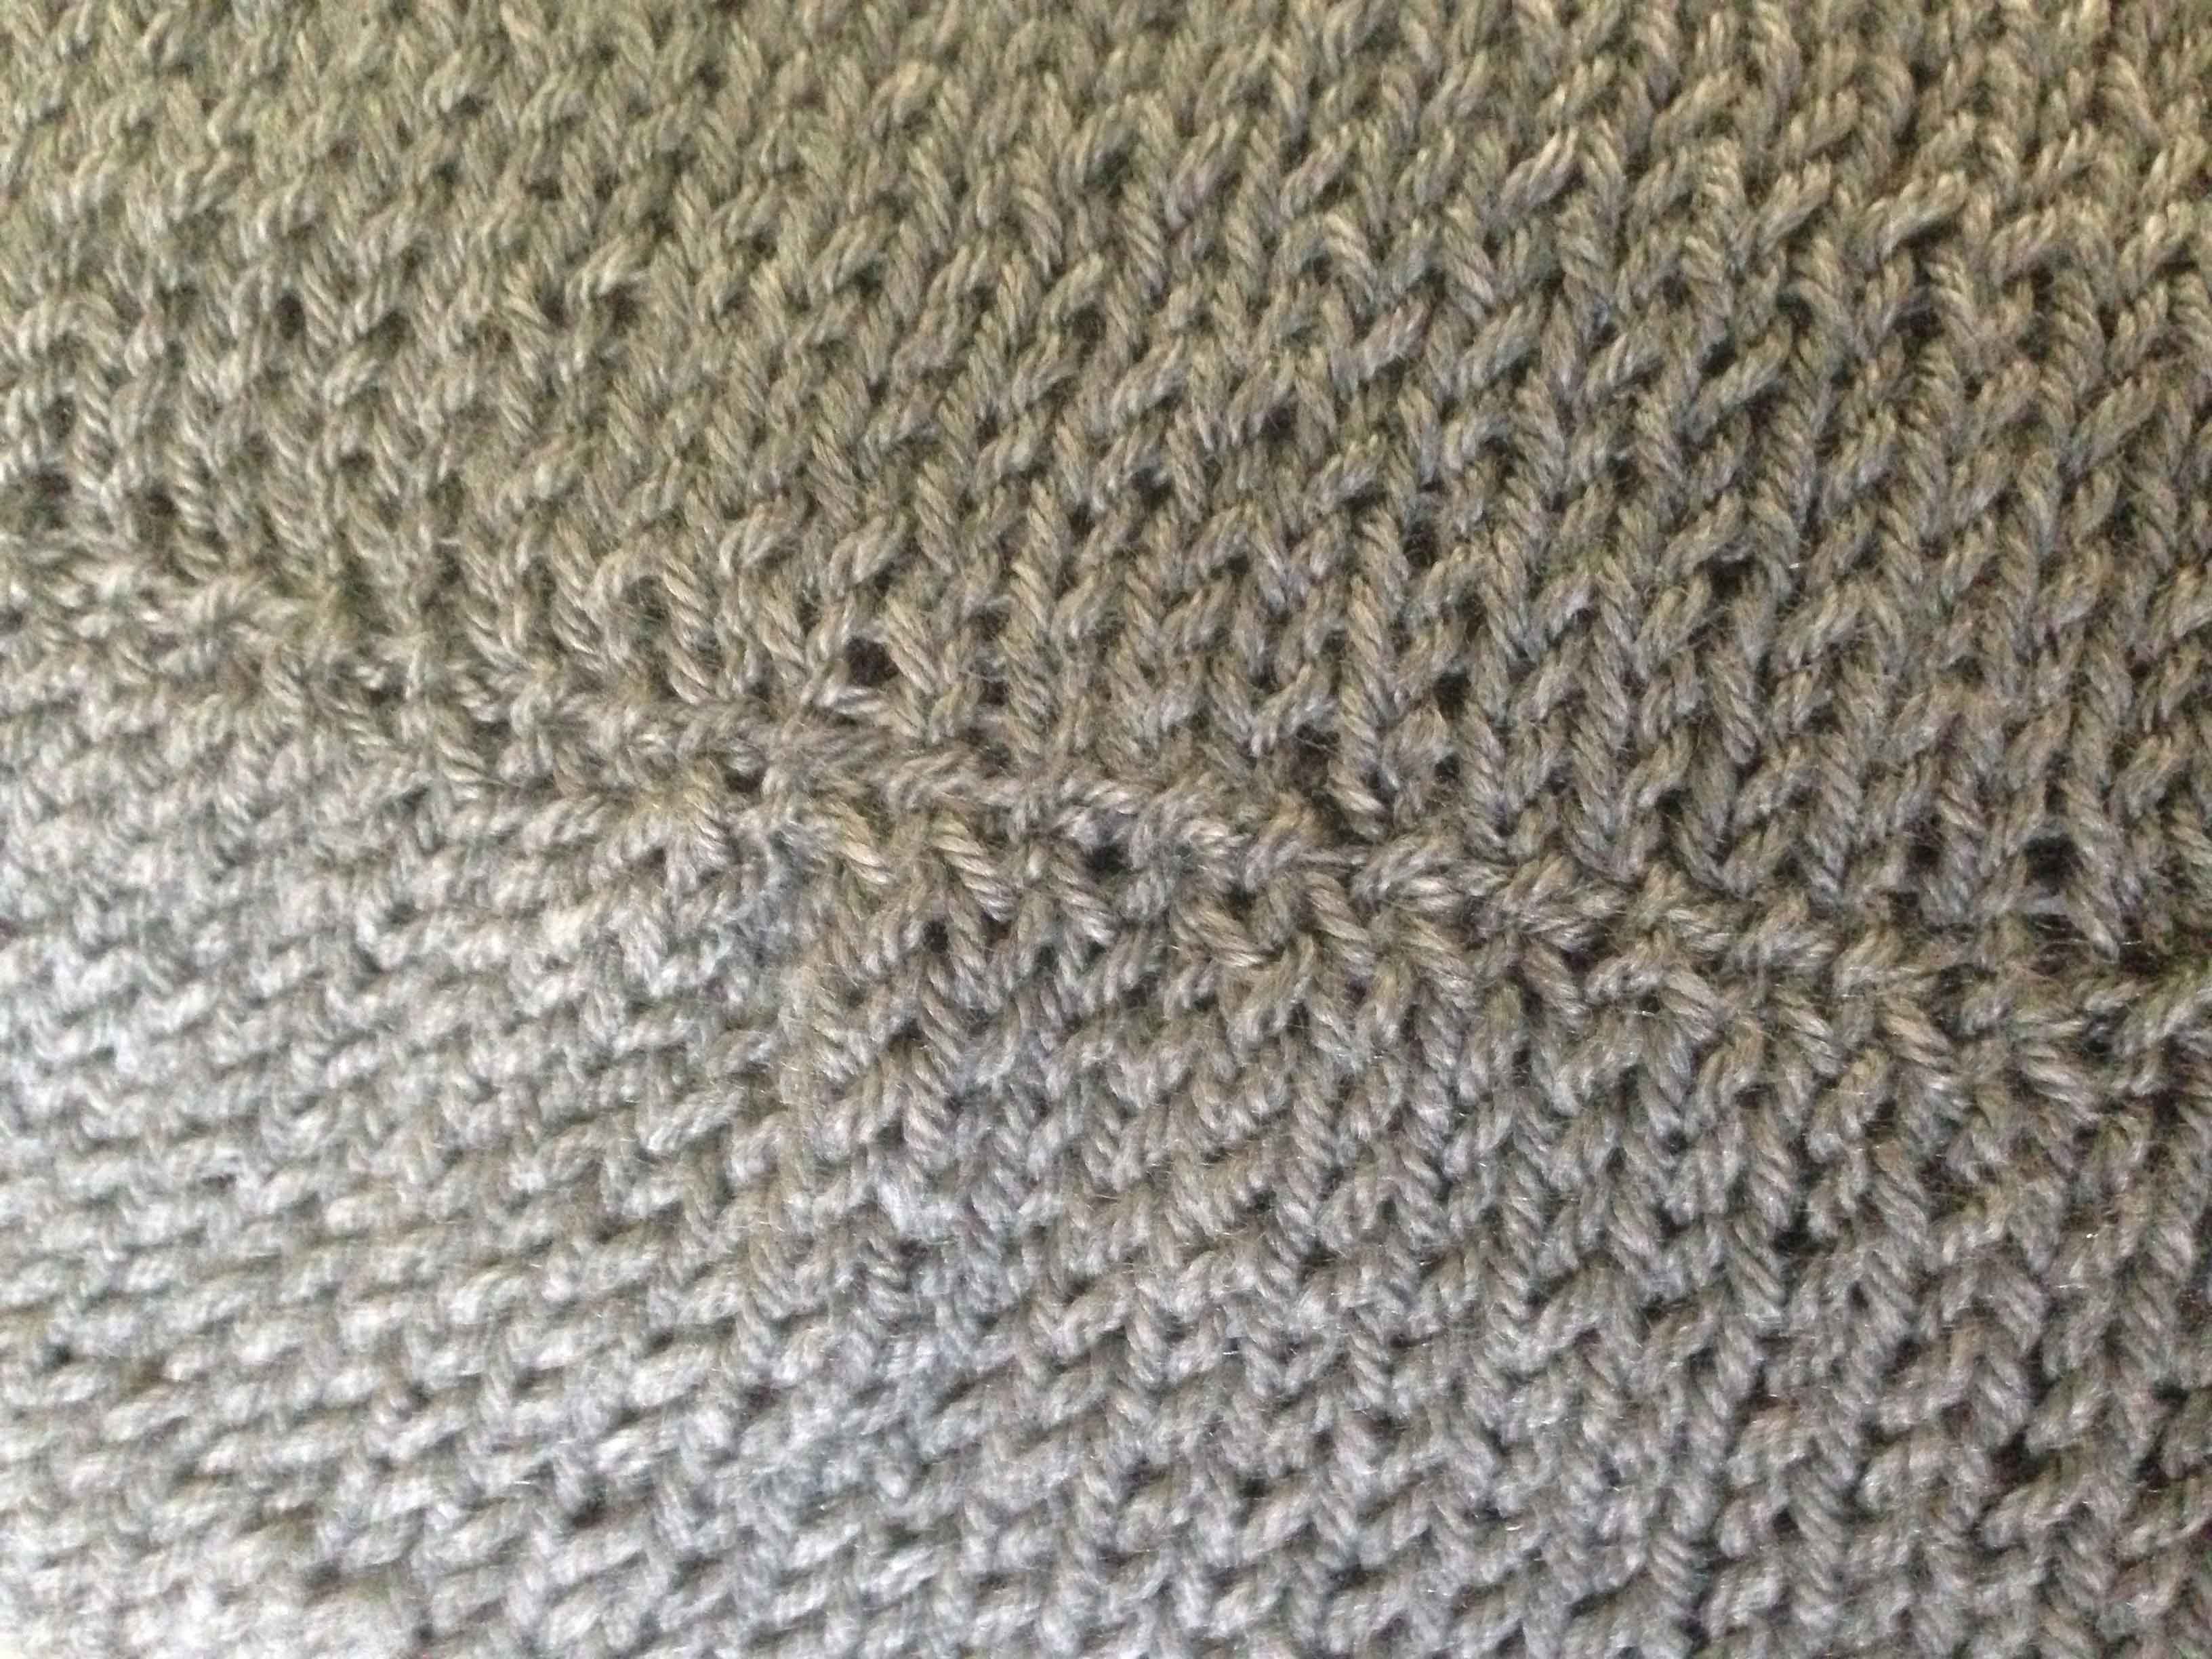
Grafting
The best way to join stitches held on 2 separate needles. Have the two pearl sides of the scarf facing each other and the both needles from the start pointing to the right. Thread the end through a blunt-ended wool needle.
*Putting the wool needle, as if for knitting into the first stitch of the front needle, draw it through the stitch and slip the stitch off the needle.
Putting the wool needle, as if for purling, into the second stitch of the front needle, draw the wool through and let the stitch remain on the needle.
Take the wool under the front needle and putting the wool needle, as if for purling, into the first stitch of the back needle, draw the wool through this stitch and slip off the needle.
Putting the wool needle, as if for knitting into the second stitch of the back needle draw the wool through and let the stitch remain on the needle.*
Bring the wool forward under the needles and repeat from * to * until all the stitches are worked off.
Final thoughts: I have made several of these circular scarves. Easy to knit. The grafting of the 240 stiiches of the start and the end is the most tedious part. Measurements from nine to eleven inches wide and approximately seventy-eight inches around. Keep in mind that I am a very loose knitter.
Beacon Tate