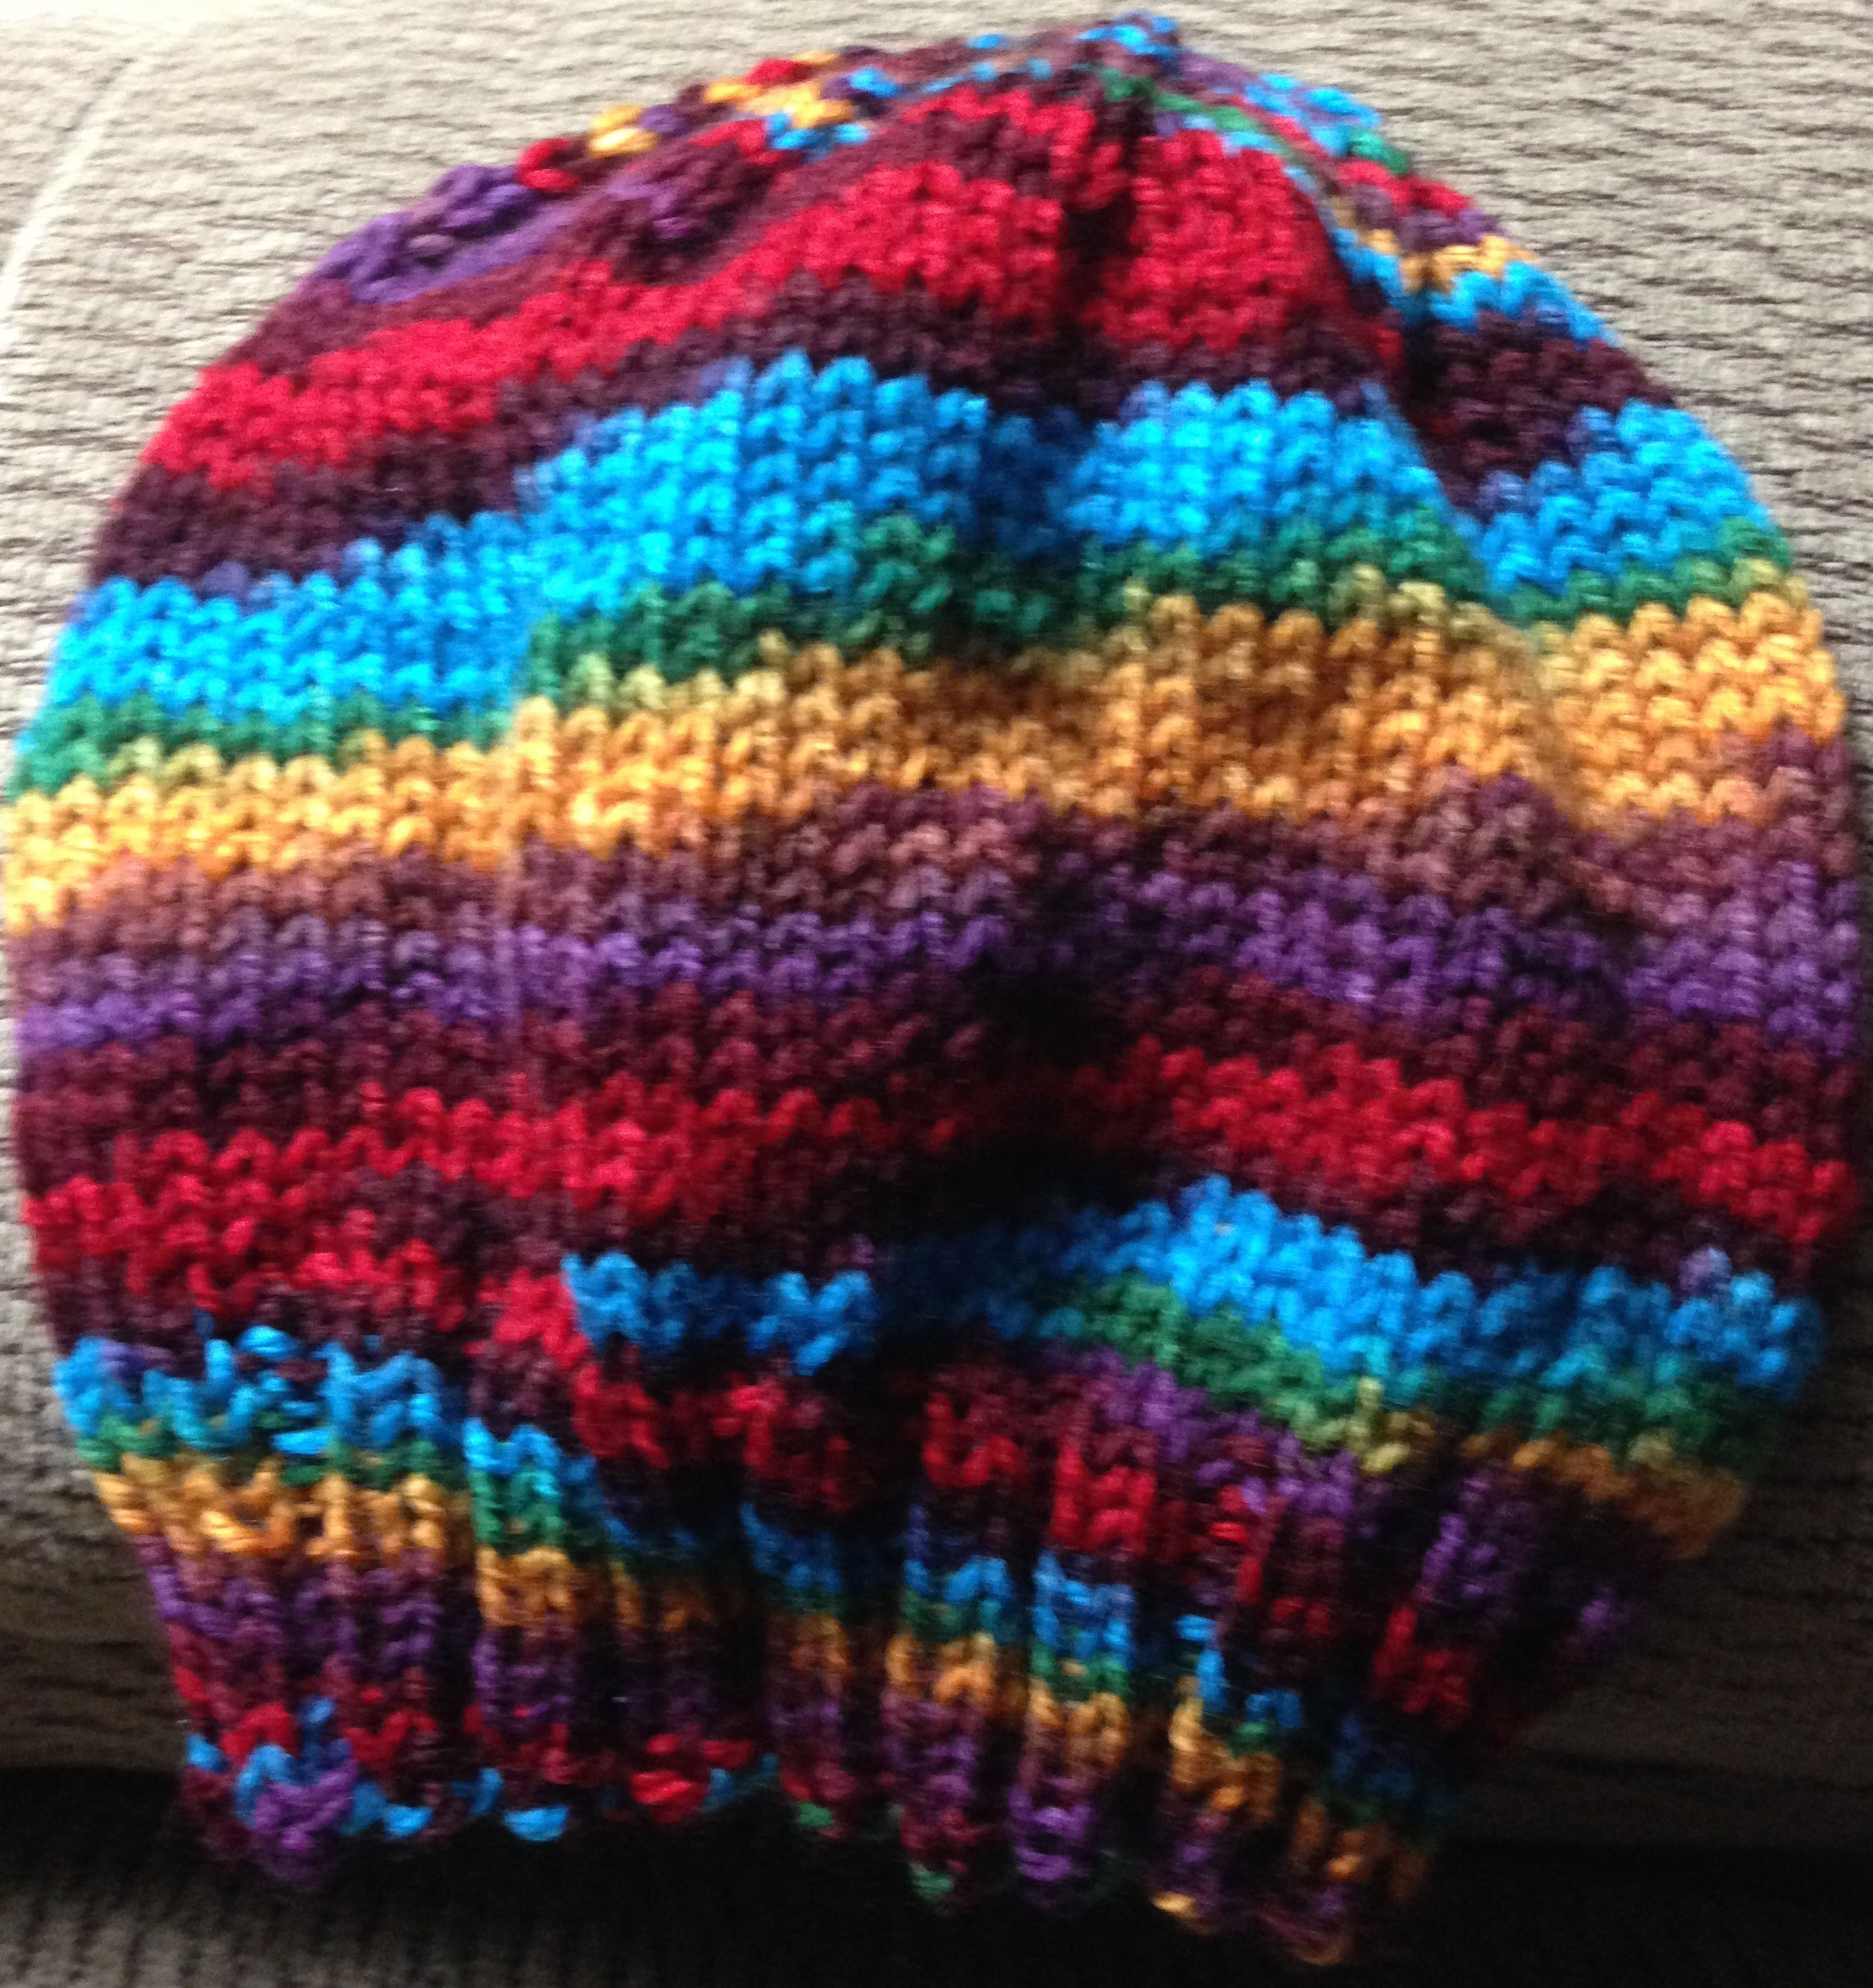
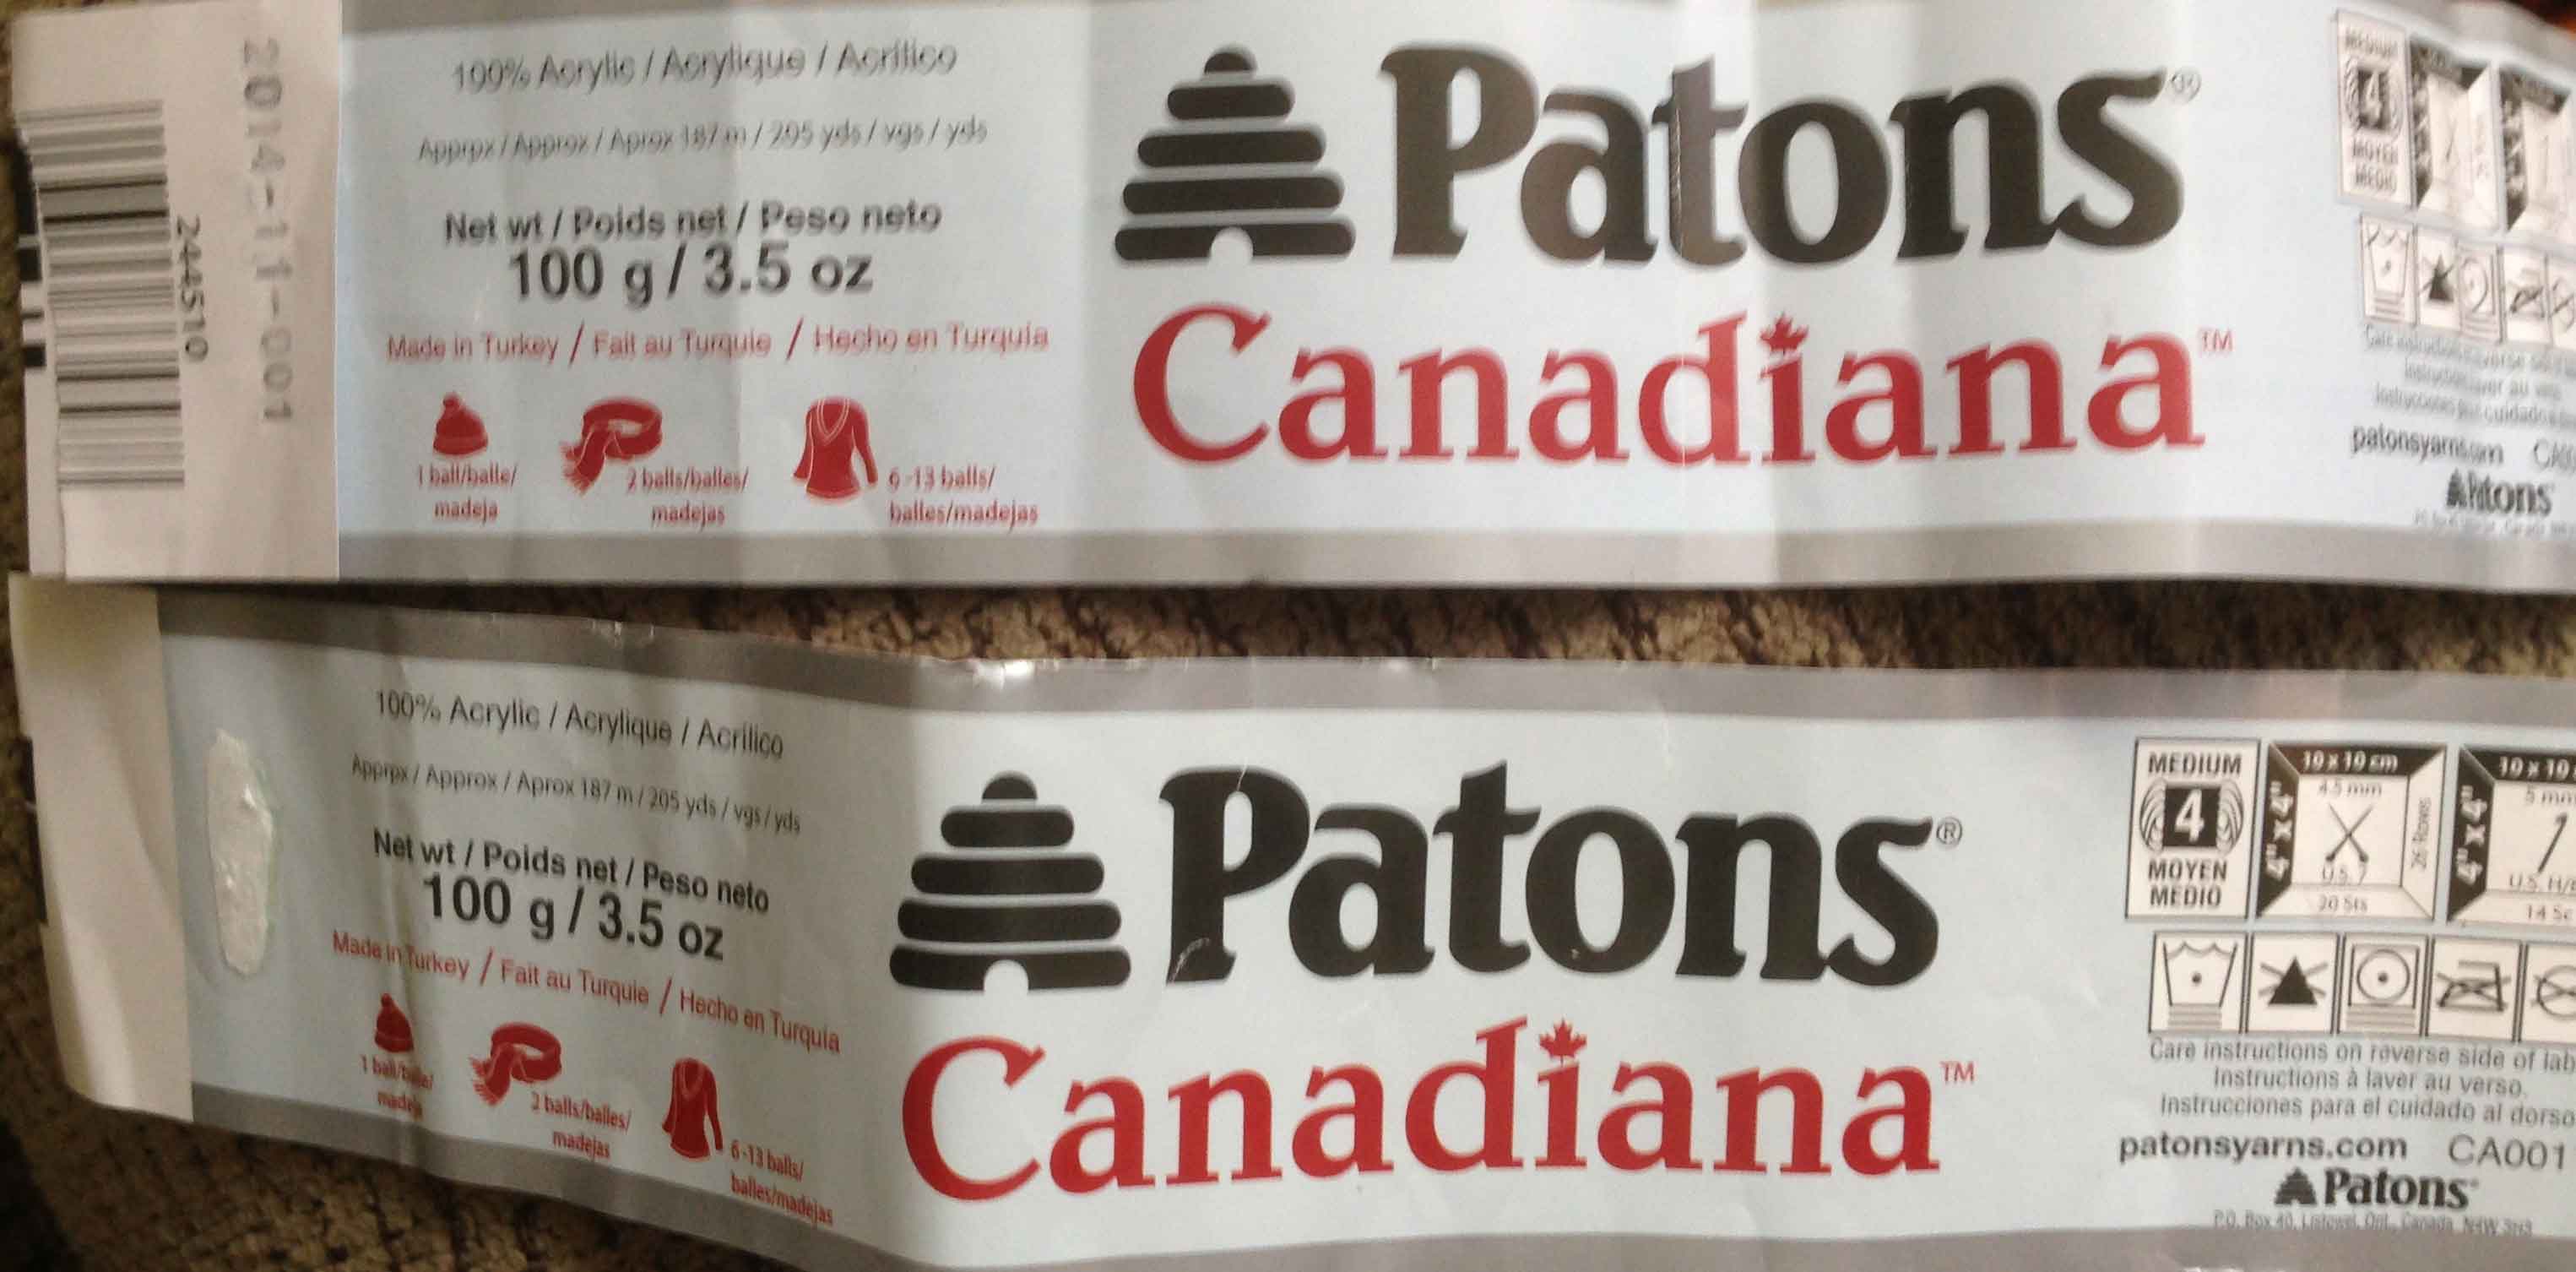
Required one ball each colour in medium 4 – 100% Acrylic yarn – I used: Patons Canadiana yarn and 80 cm by 4 1/2 MM circular knitting needles by Prims.
Final thoughts: This pattern can be found at your favourite yarn shop or online. Enjoy
Required two balls 50 g / 1.75 oz in light 3 – 100% Acrylic yarn – I used: Patons Astra yarn.
With two strands of yarn cast on 40 stitches on 16 inch (41 CM) number 11 (8.00 mm) circular knitting needles. I prefer Clover Bamboo Circular Knitting Needles.
Rib (Knit 2 Purl 2) for 6 inches.
Change to 16 inch (41 CM) number 13 (9.00 mm) circular knitting needles, continue in stocking stitch until work measures 8 1/2 inches in length.
To shape the crown:
Row 1 – Knit (k) 8 Slip 1 knit-wise(sl1k) Knit(k) 1 Pass Slip Stitch Over (psso) continue until end of row
Row 2 and every other row – Knit
Row 3 – k7 sl1k k1 psso continue until end of row
Row 5 – k6 sl1k k1 psso continue until end of row
Row 7 -k5 sl1k k1 psso continue until end of row
Row 9 -k4 sl1k k1 psso continue until end of row
Row 11 -k3 sl1k k1 psso continue until end of row
Break yarn, leaving a long end, draw through remaining 16 stitches. Pull through top inside the toque. Work in ends.
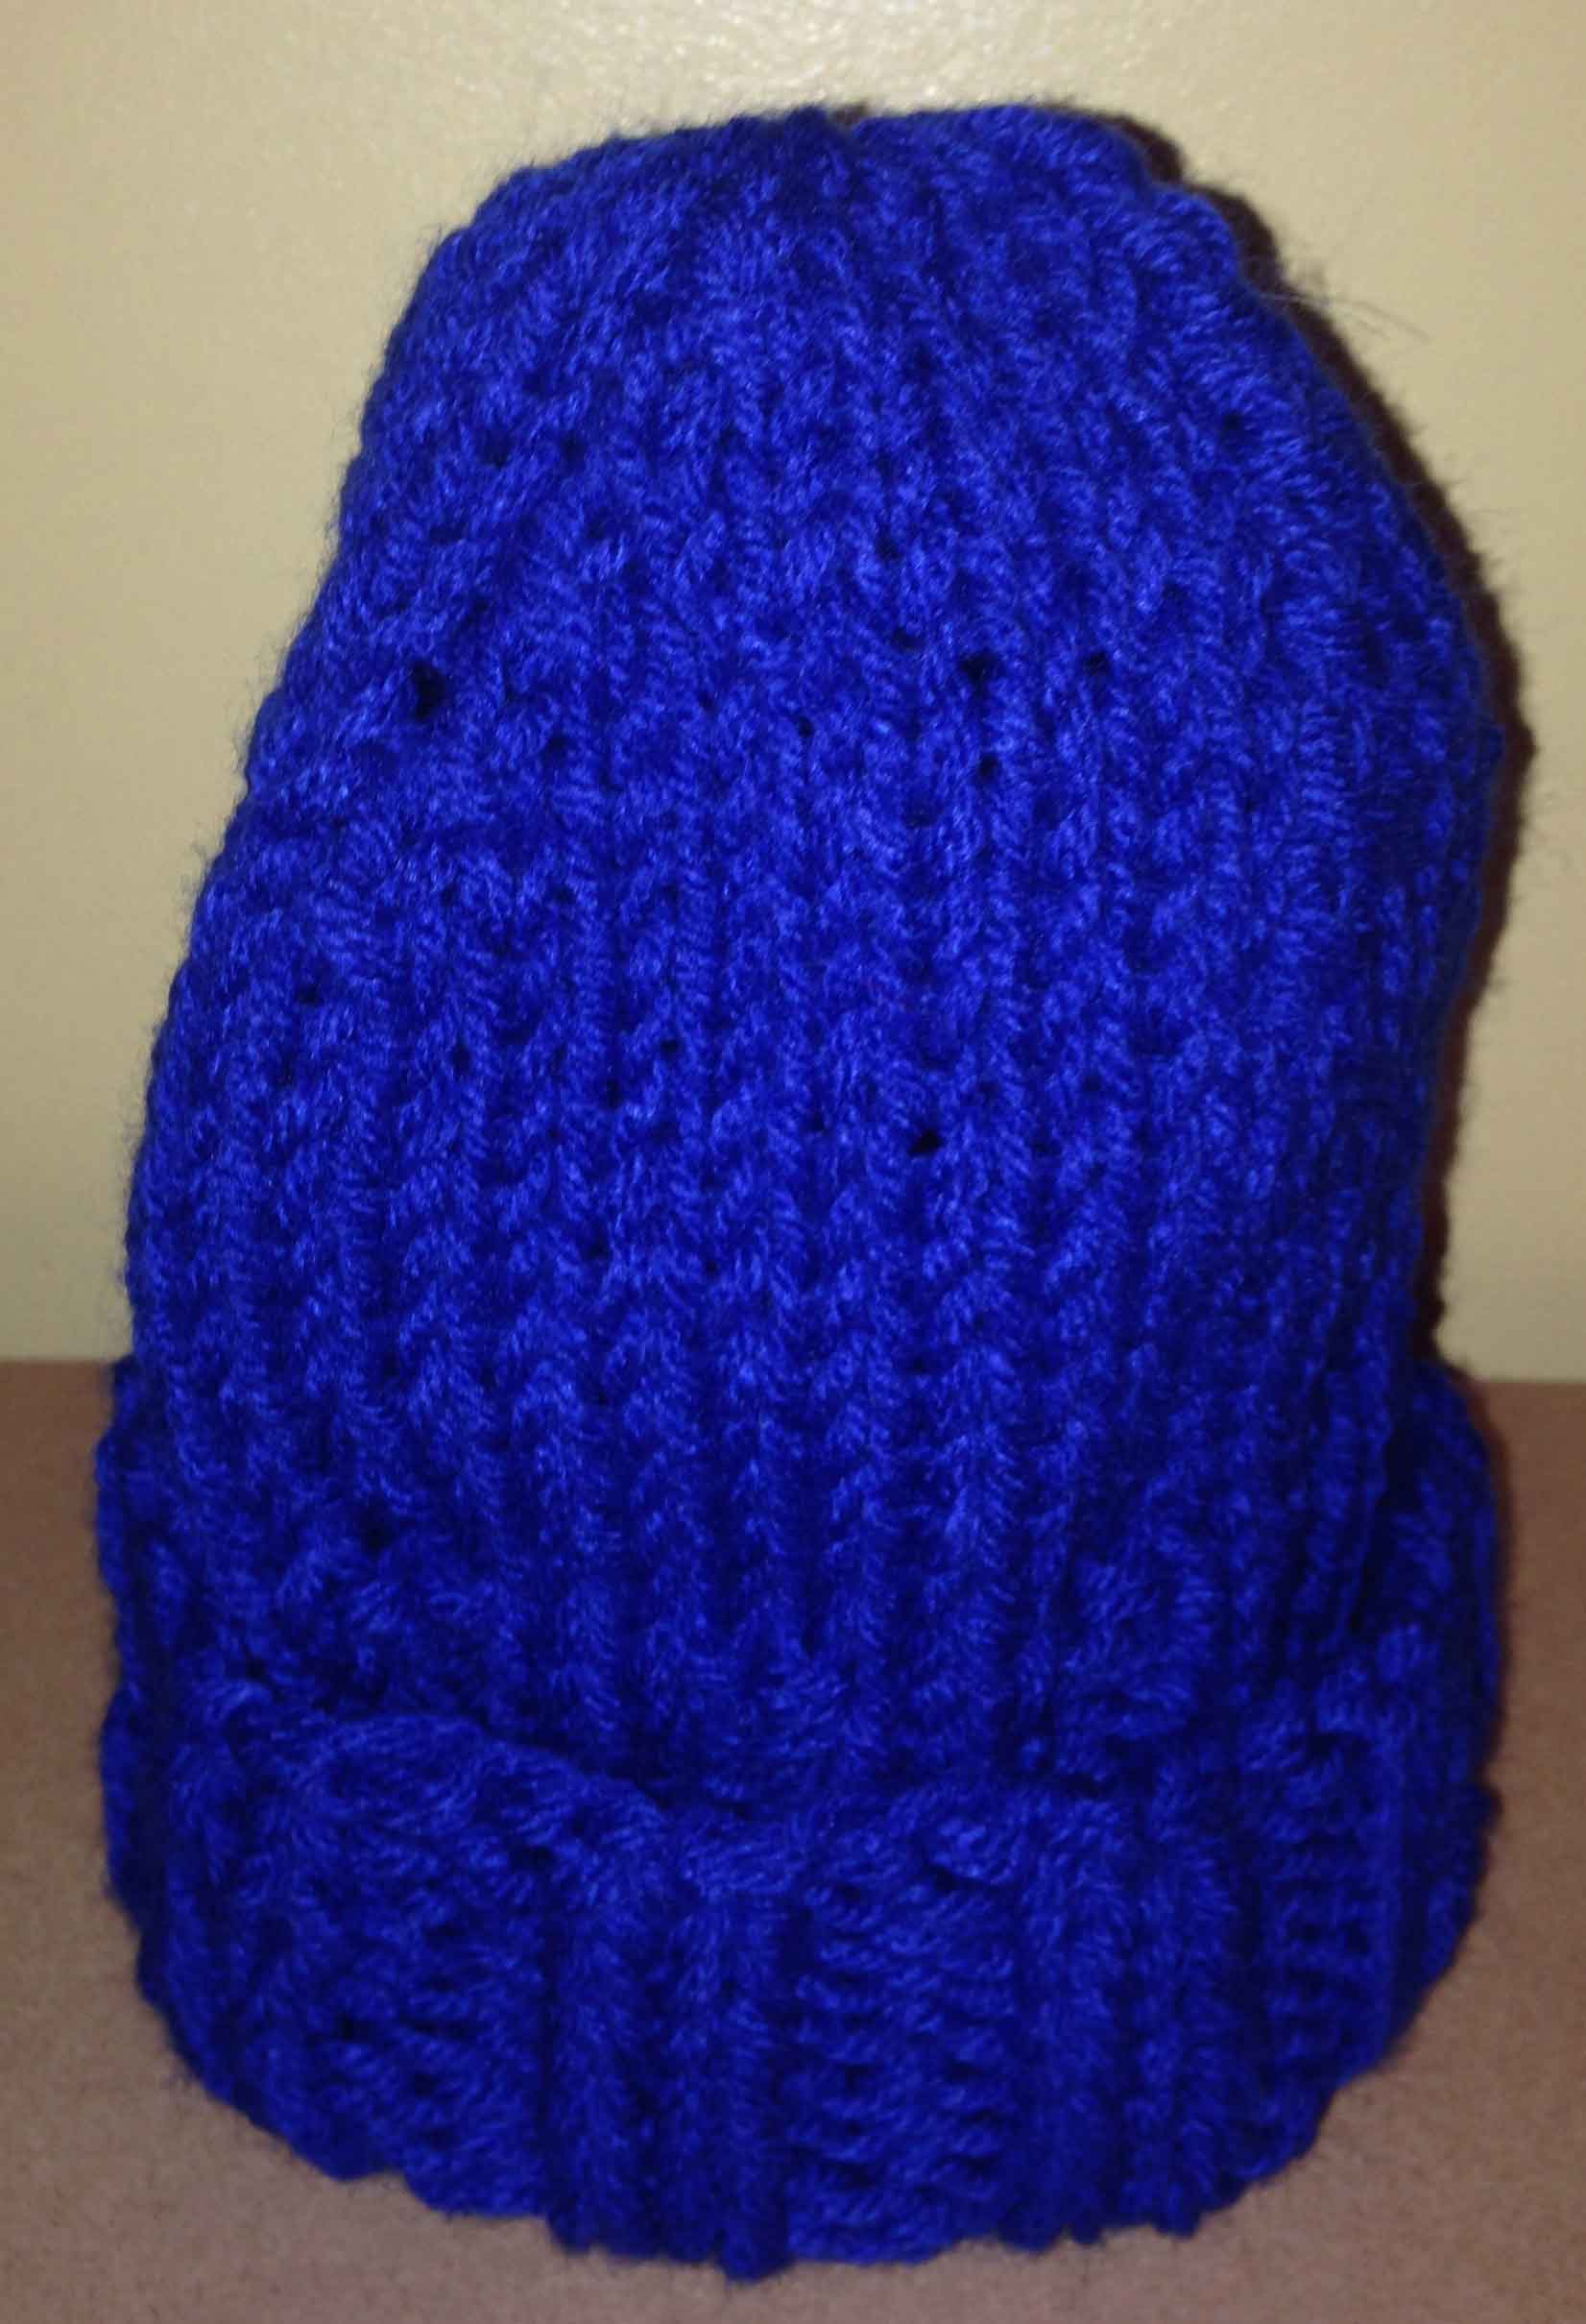
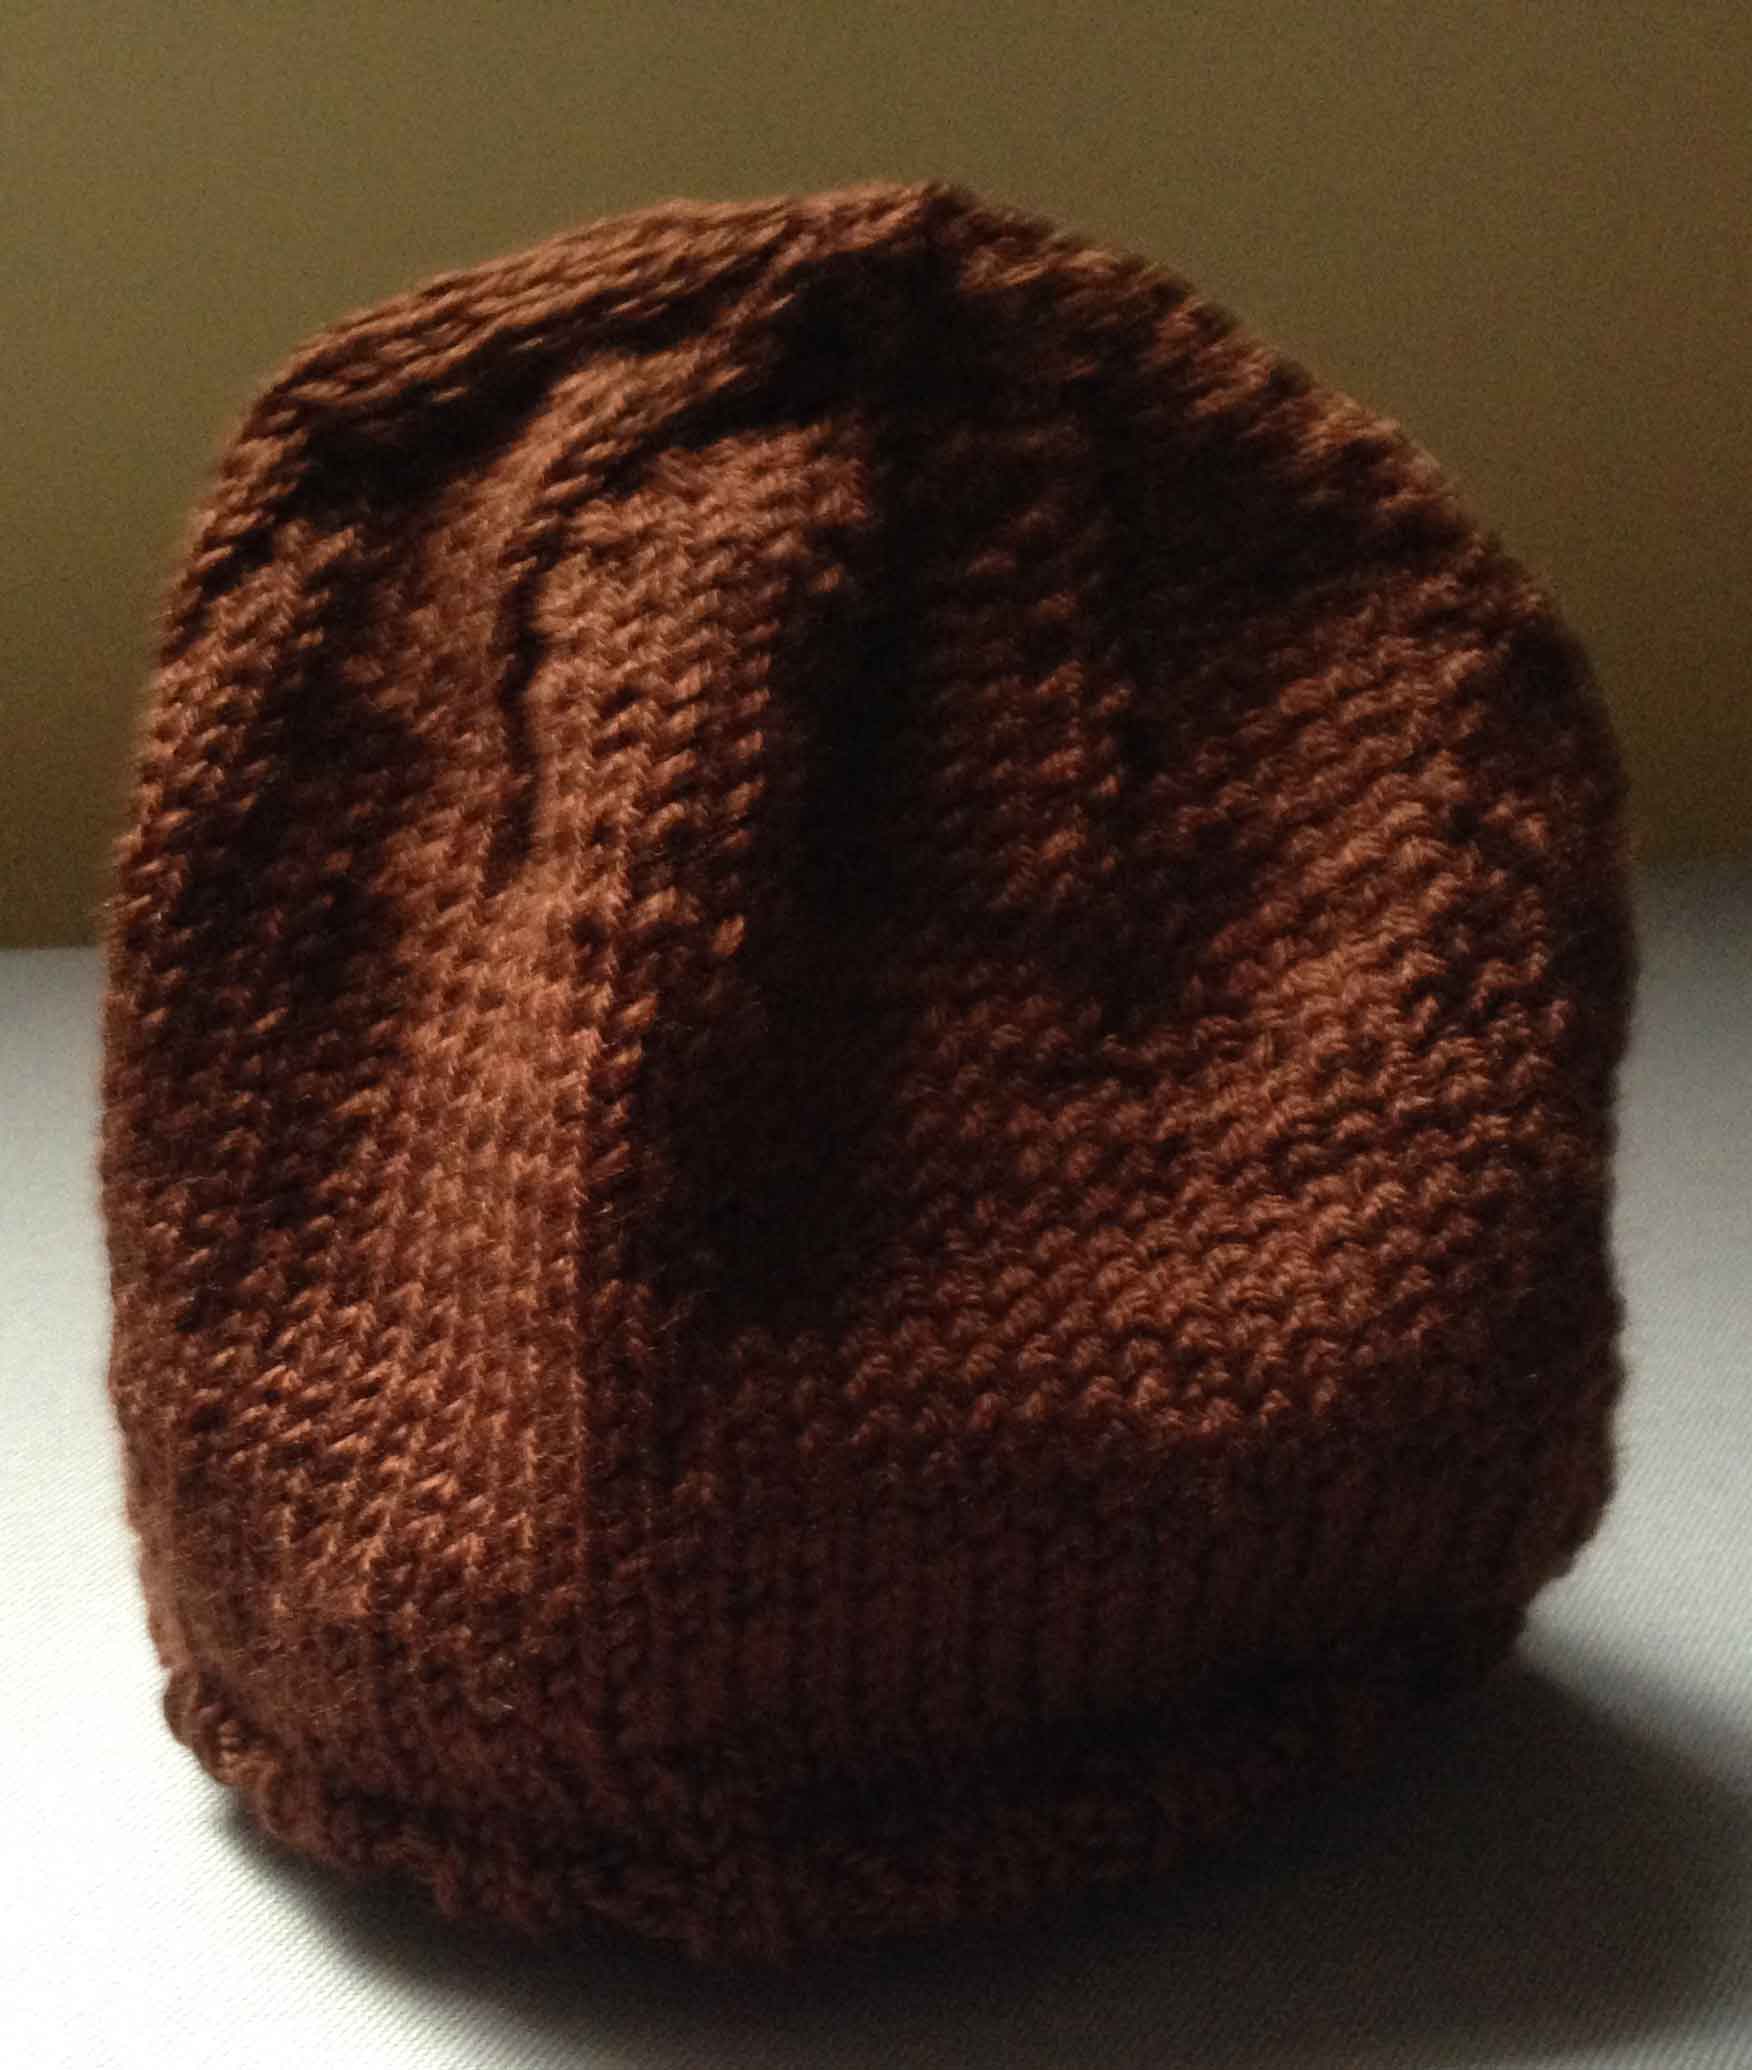
Required one ball 1.75 OZ ( 50g) in light 3 – 100% Acrylic yarn – I used: Patons Astra “Wild Wizard” yarn.
Cast on 80 stitches on 16 inch (41 CM) number 4 (3.50 mm) circular knitting needles.
I prefer Clover Bamboo Circular Knitting Needles.
Rib (Knit 2 Purl 2) for 2 inches.
Change to number 6 (4.00mm) circular knitting needles and increase 1 stitch (to 81 stitches); continue knitting in stocking stitch for 5 inches. With circular needles you knit each round. Please refer to the post “Toque” to shape the crown. NOTE – this is a lighter weight yarn – therefore smaller needles were used.
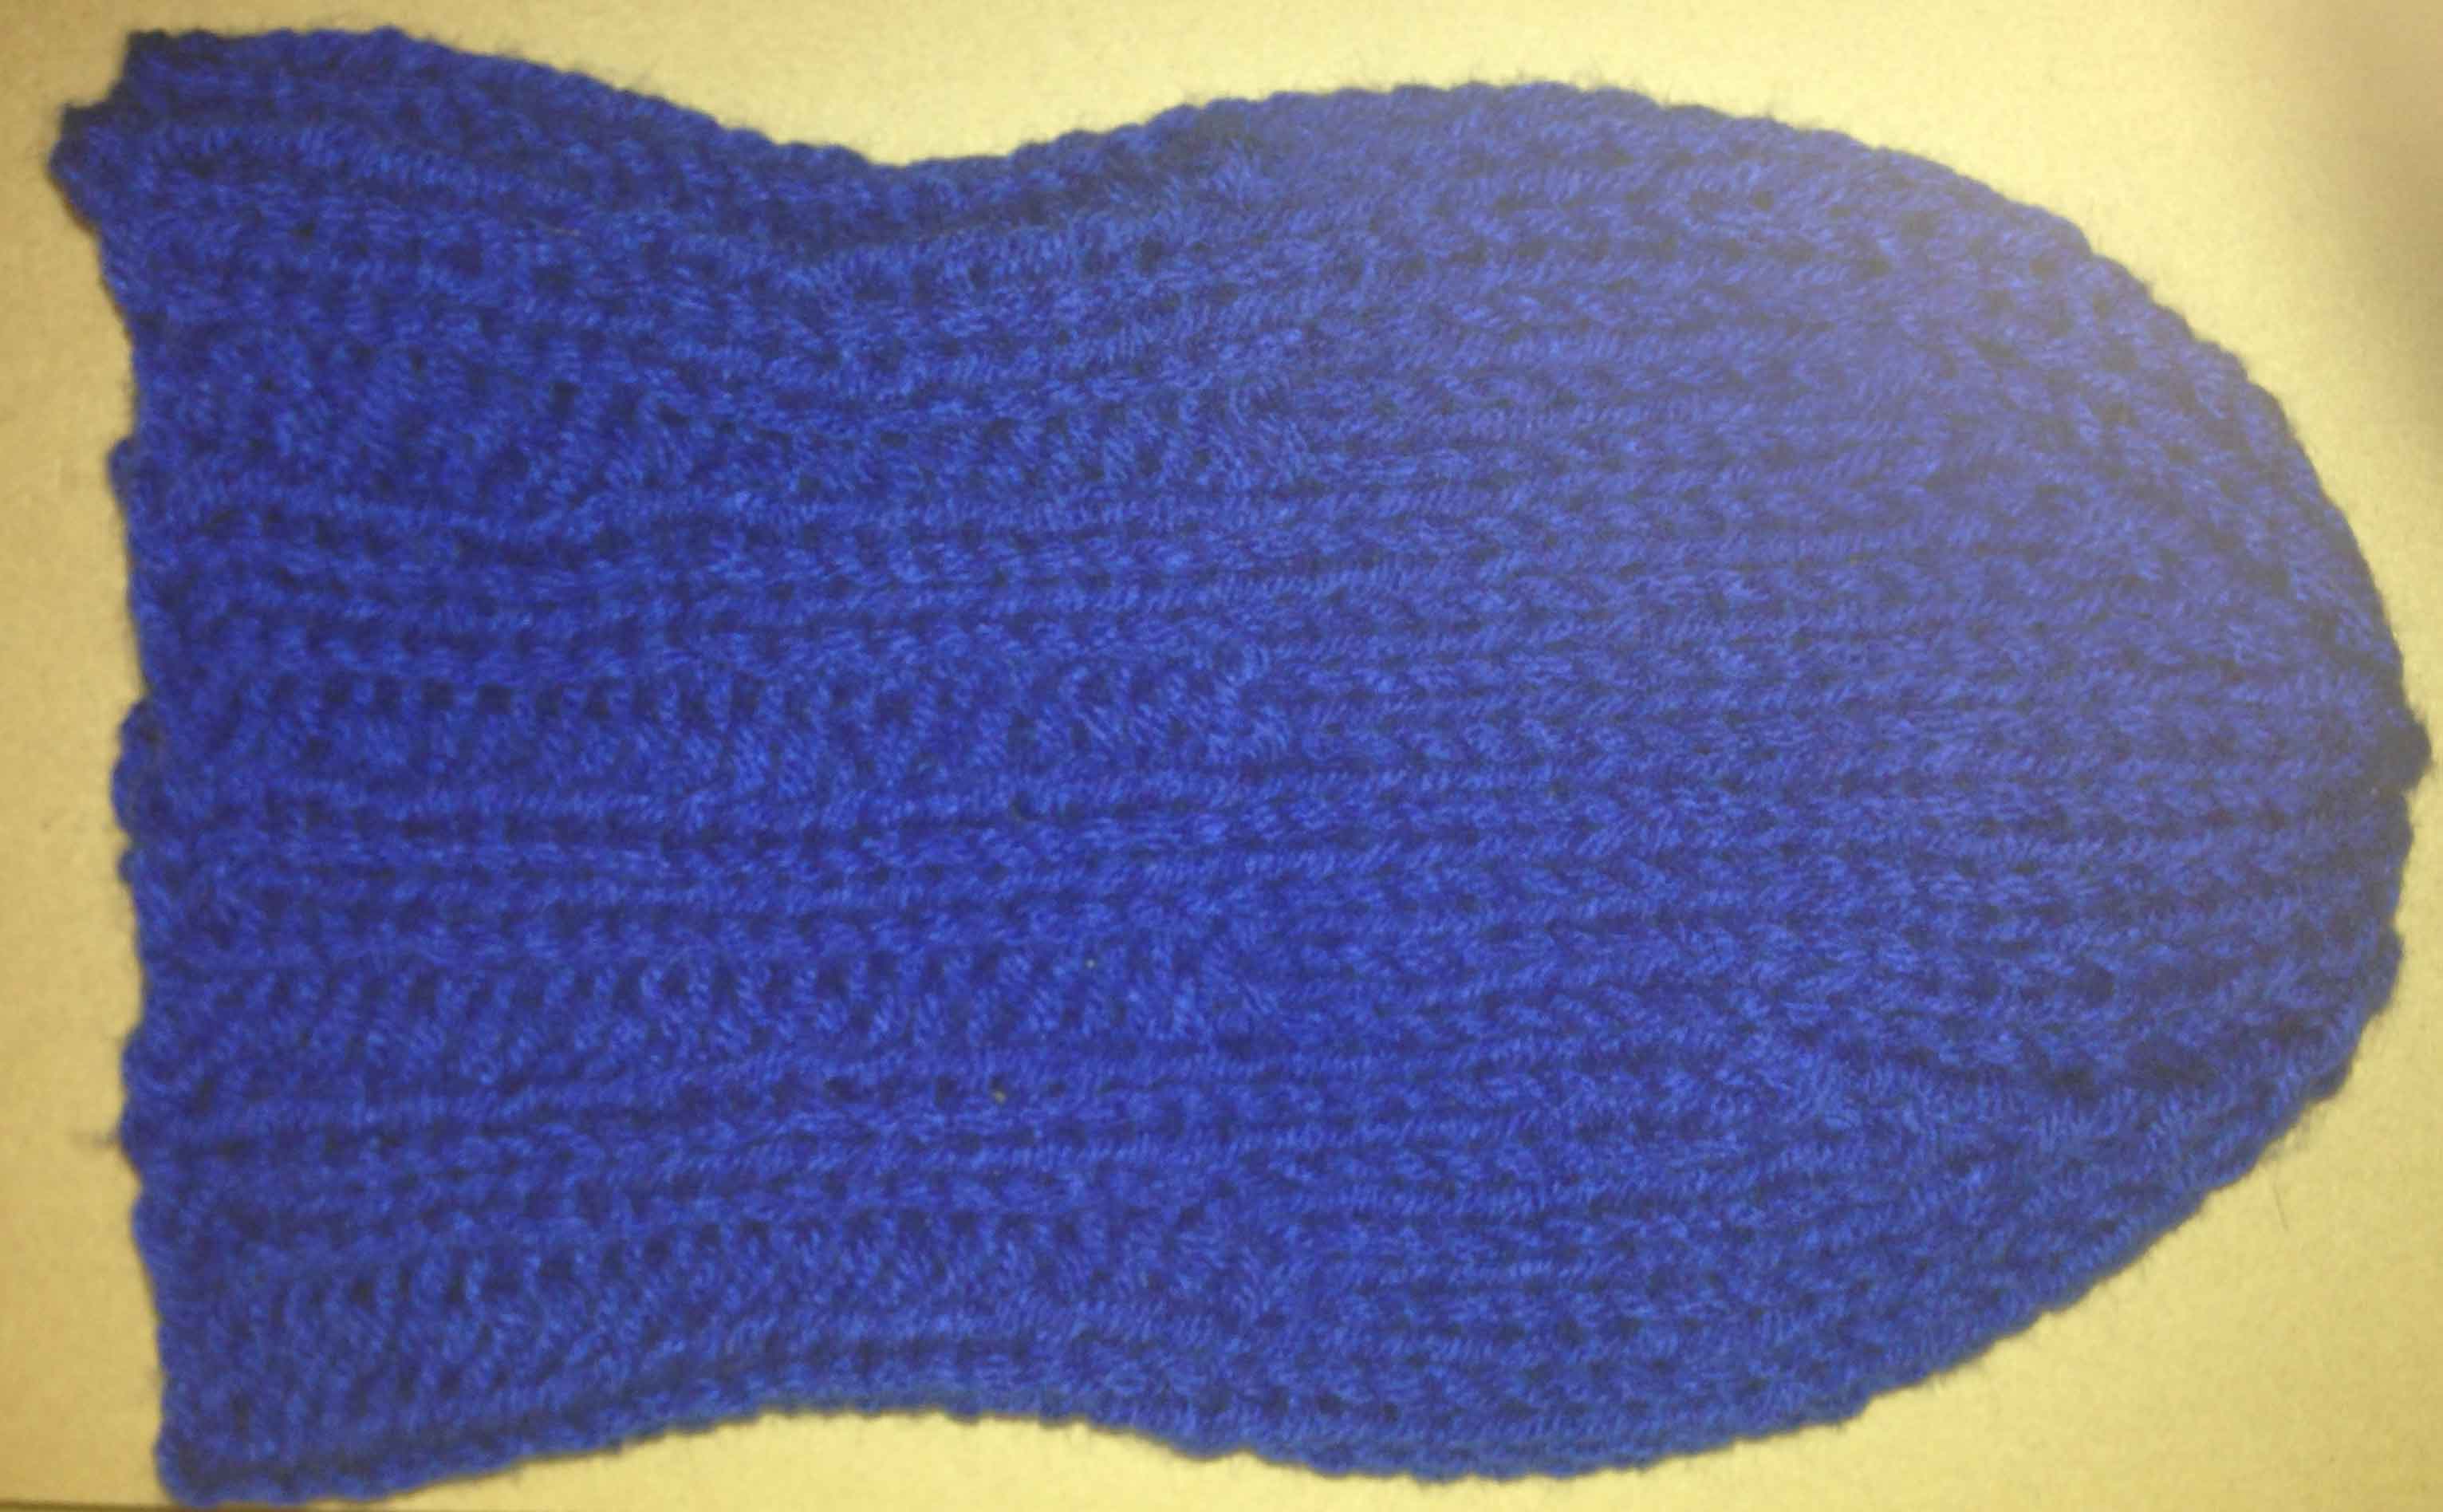
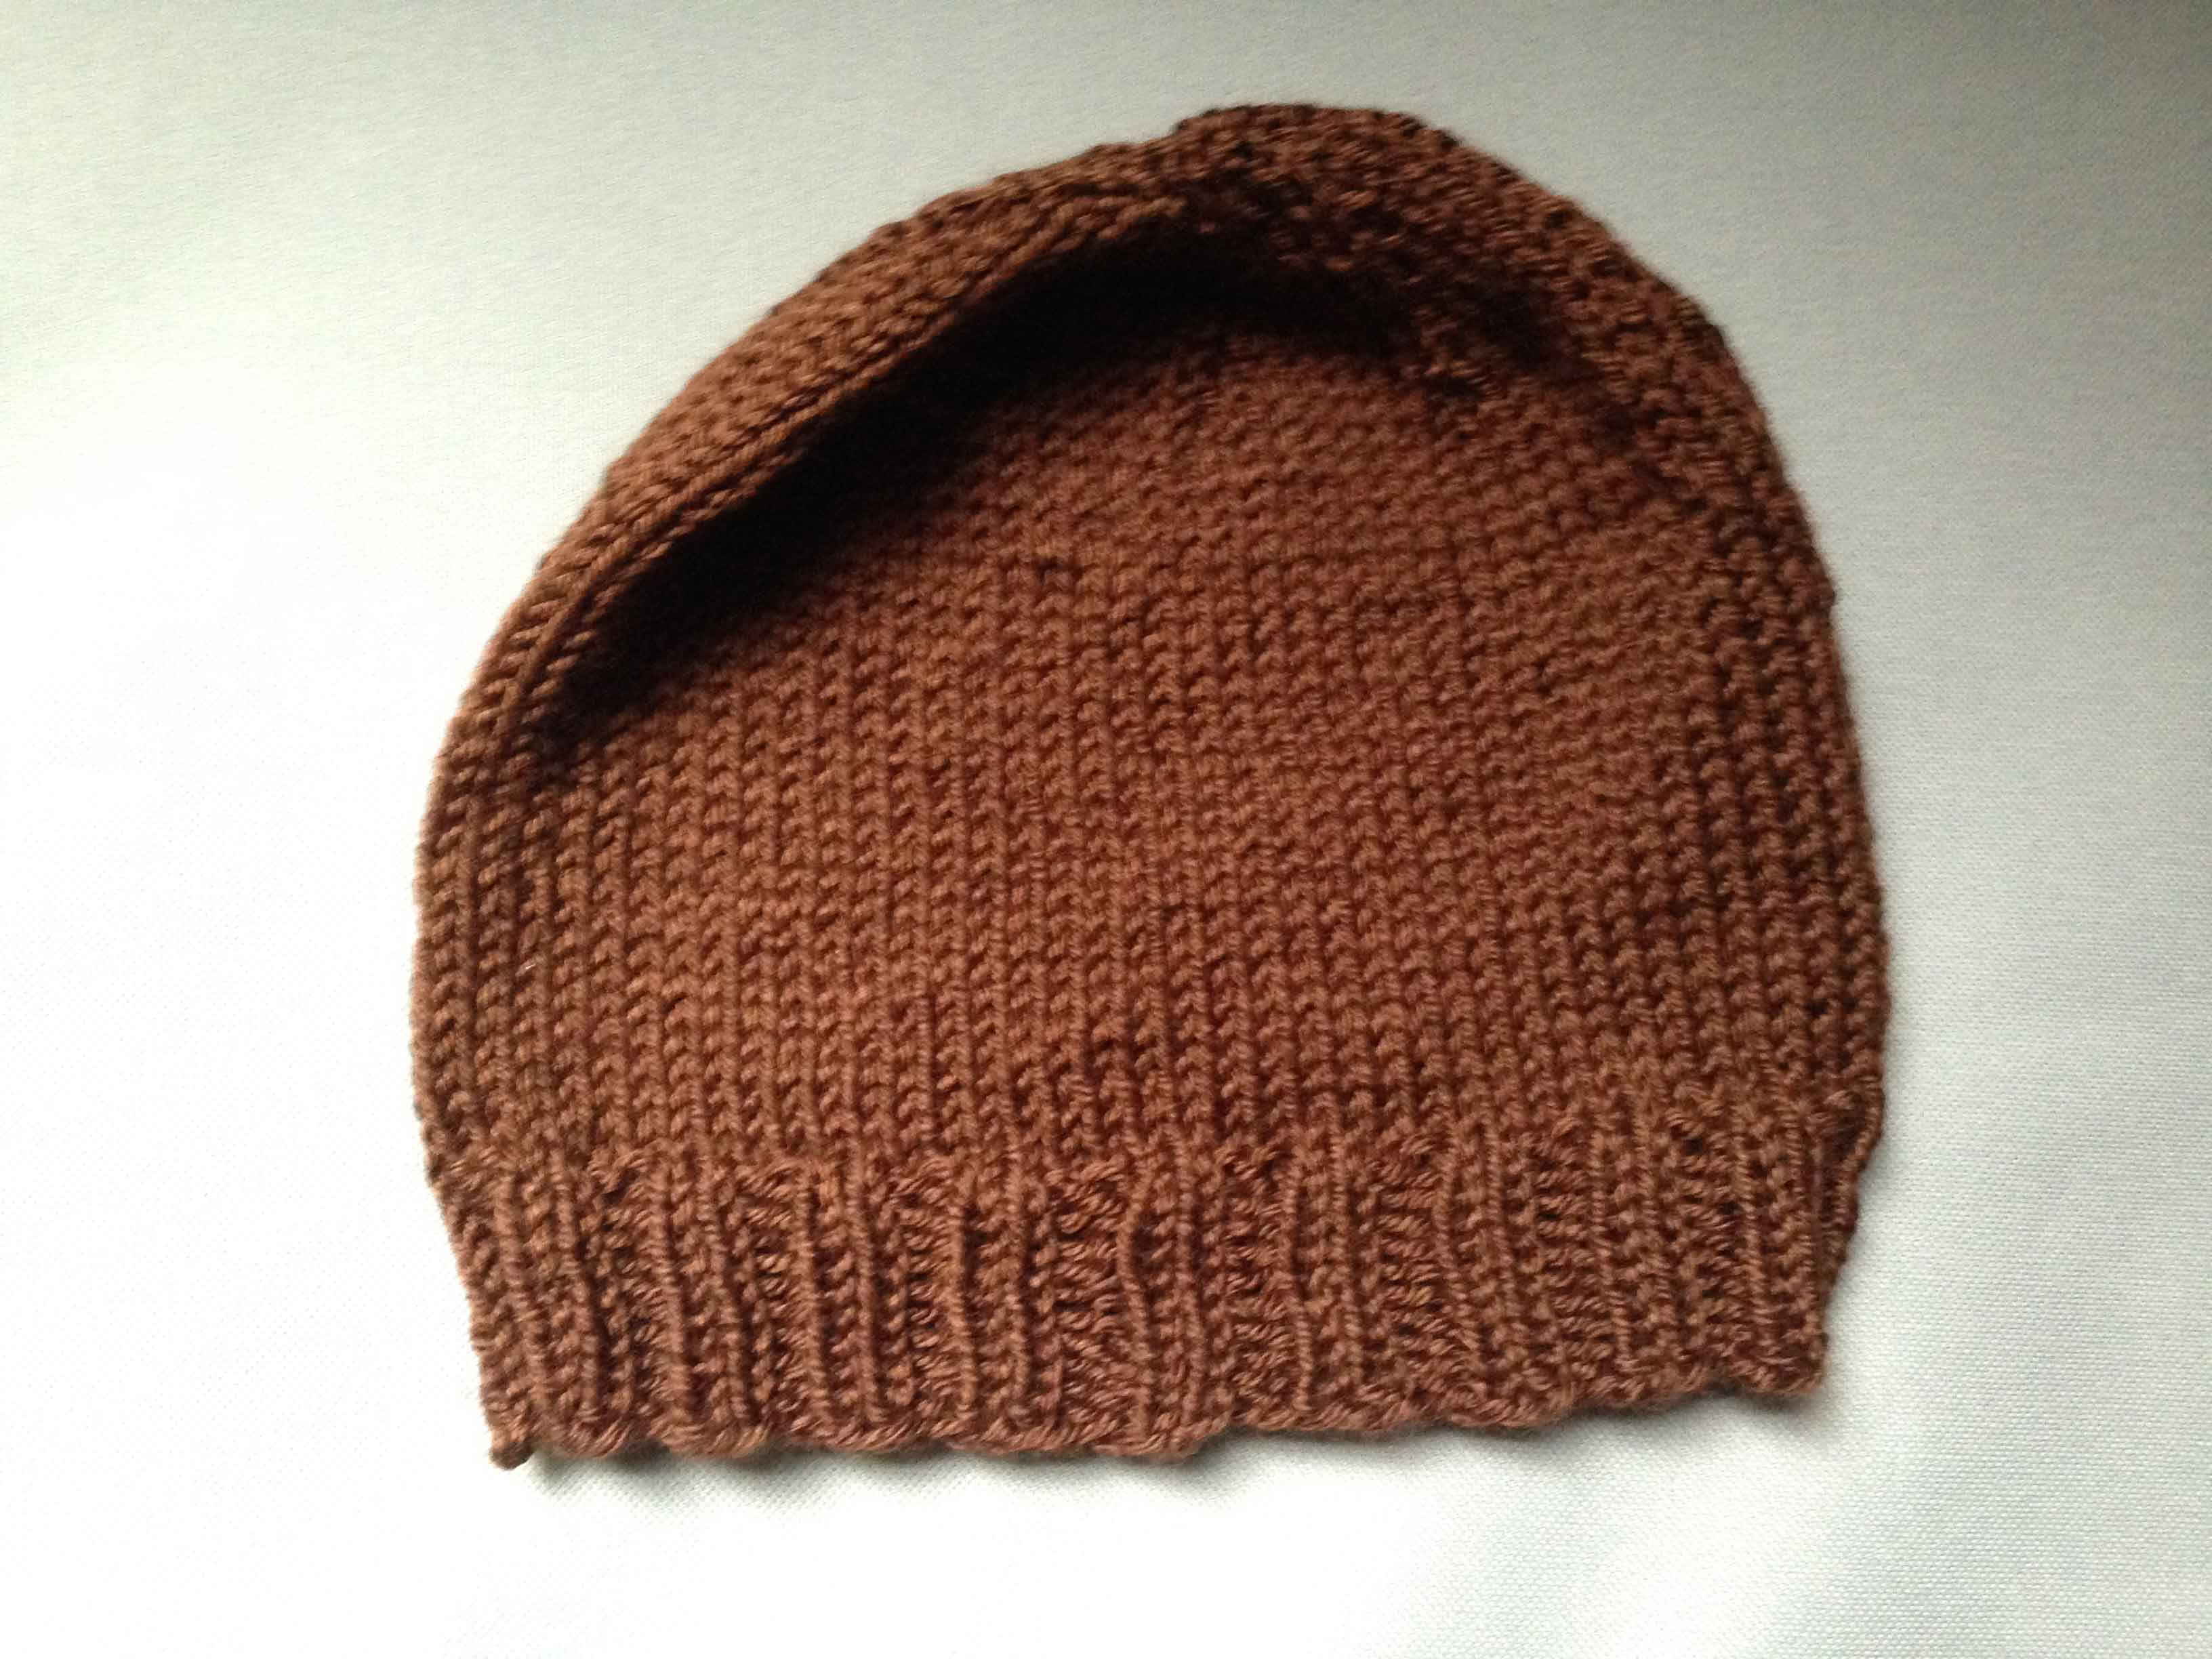
Required one ball in medium 4 – 100% Acrylic yarn – I used: Red Heart Soft yarn.
Cast on 80 stitches on 16 inch (41 CM) number 6 (4.00 mm) circular knitting needles.
I prefer Clover Bamboo Circular Knitting Needles.
Rib (Knit 2 Purl 2) for 2 inches.
Change to number 7 (4.50mm) circular knitting needles and increase 1 stitch (to 81 stitches); continue knitting in stocking stitch for 5 inches. With circular needles you knit each round.
To shape the crown.
Row 1 – Knit 7 stitches knit 2 together for whole round
Row 2 – Knit and every other round
Row 3 – Knit 6 stitches knit 2 together for whole round
Row 5 – Knit 5 stitches knit 2 together for whole round
Row 7 – Knit 4 stitches knit 2 together for whole round
Row 9 – Knit 3 stitches knit 2 together for whole round
Row 11 – Knit 2 stitches knit 2 together for whole round
Row 13 – Knit 1 stitches knit 2 together for whole round
Row 14 – Knit
Row 15 – Knit 2 together for the whole round
Break off enough to feed through remaining 10 stitches. Turn inside out and pull yarn so the top comes nicely together. Work in remaining yarn threads.
Ribbing measures 16 inches around; stocking stitch at ribbing 19 inches around. The top of the crown to end of ribbing measures 9 inches.
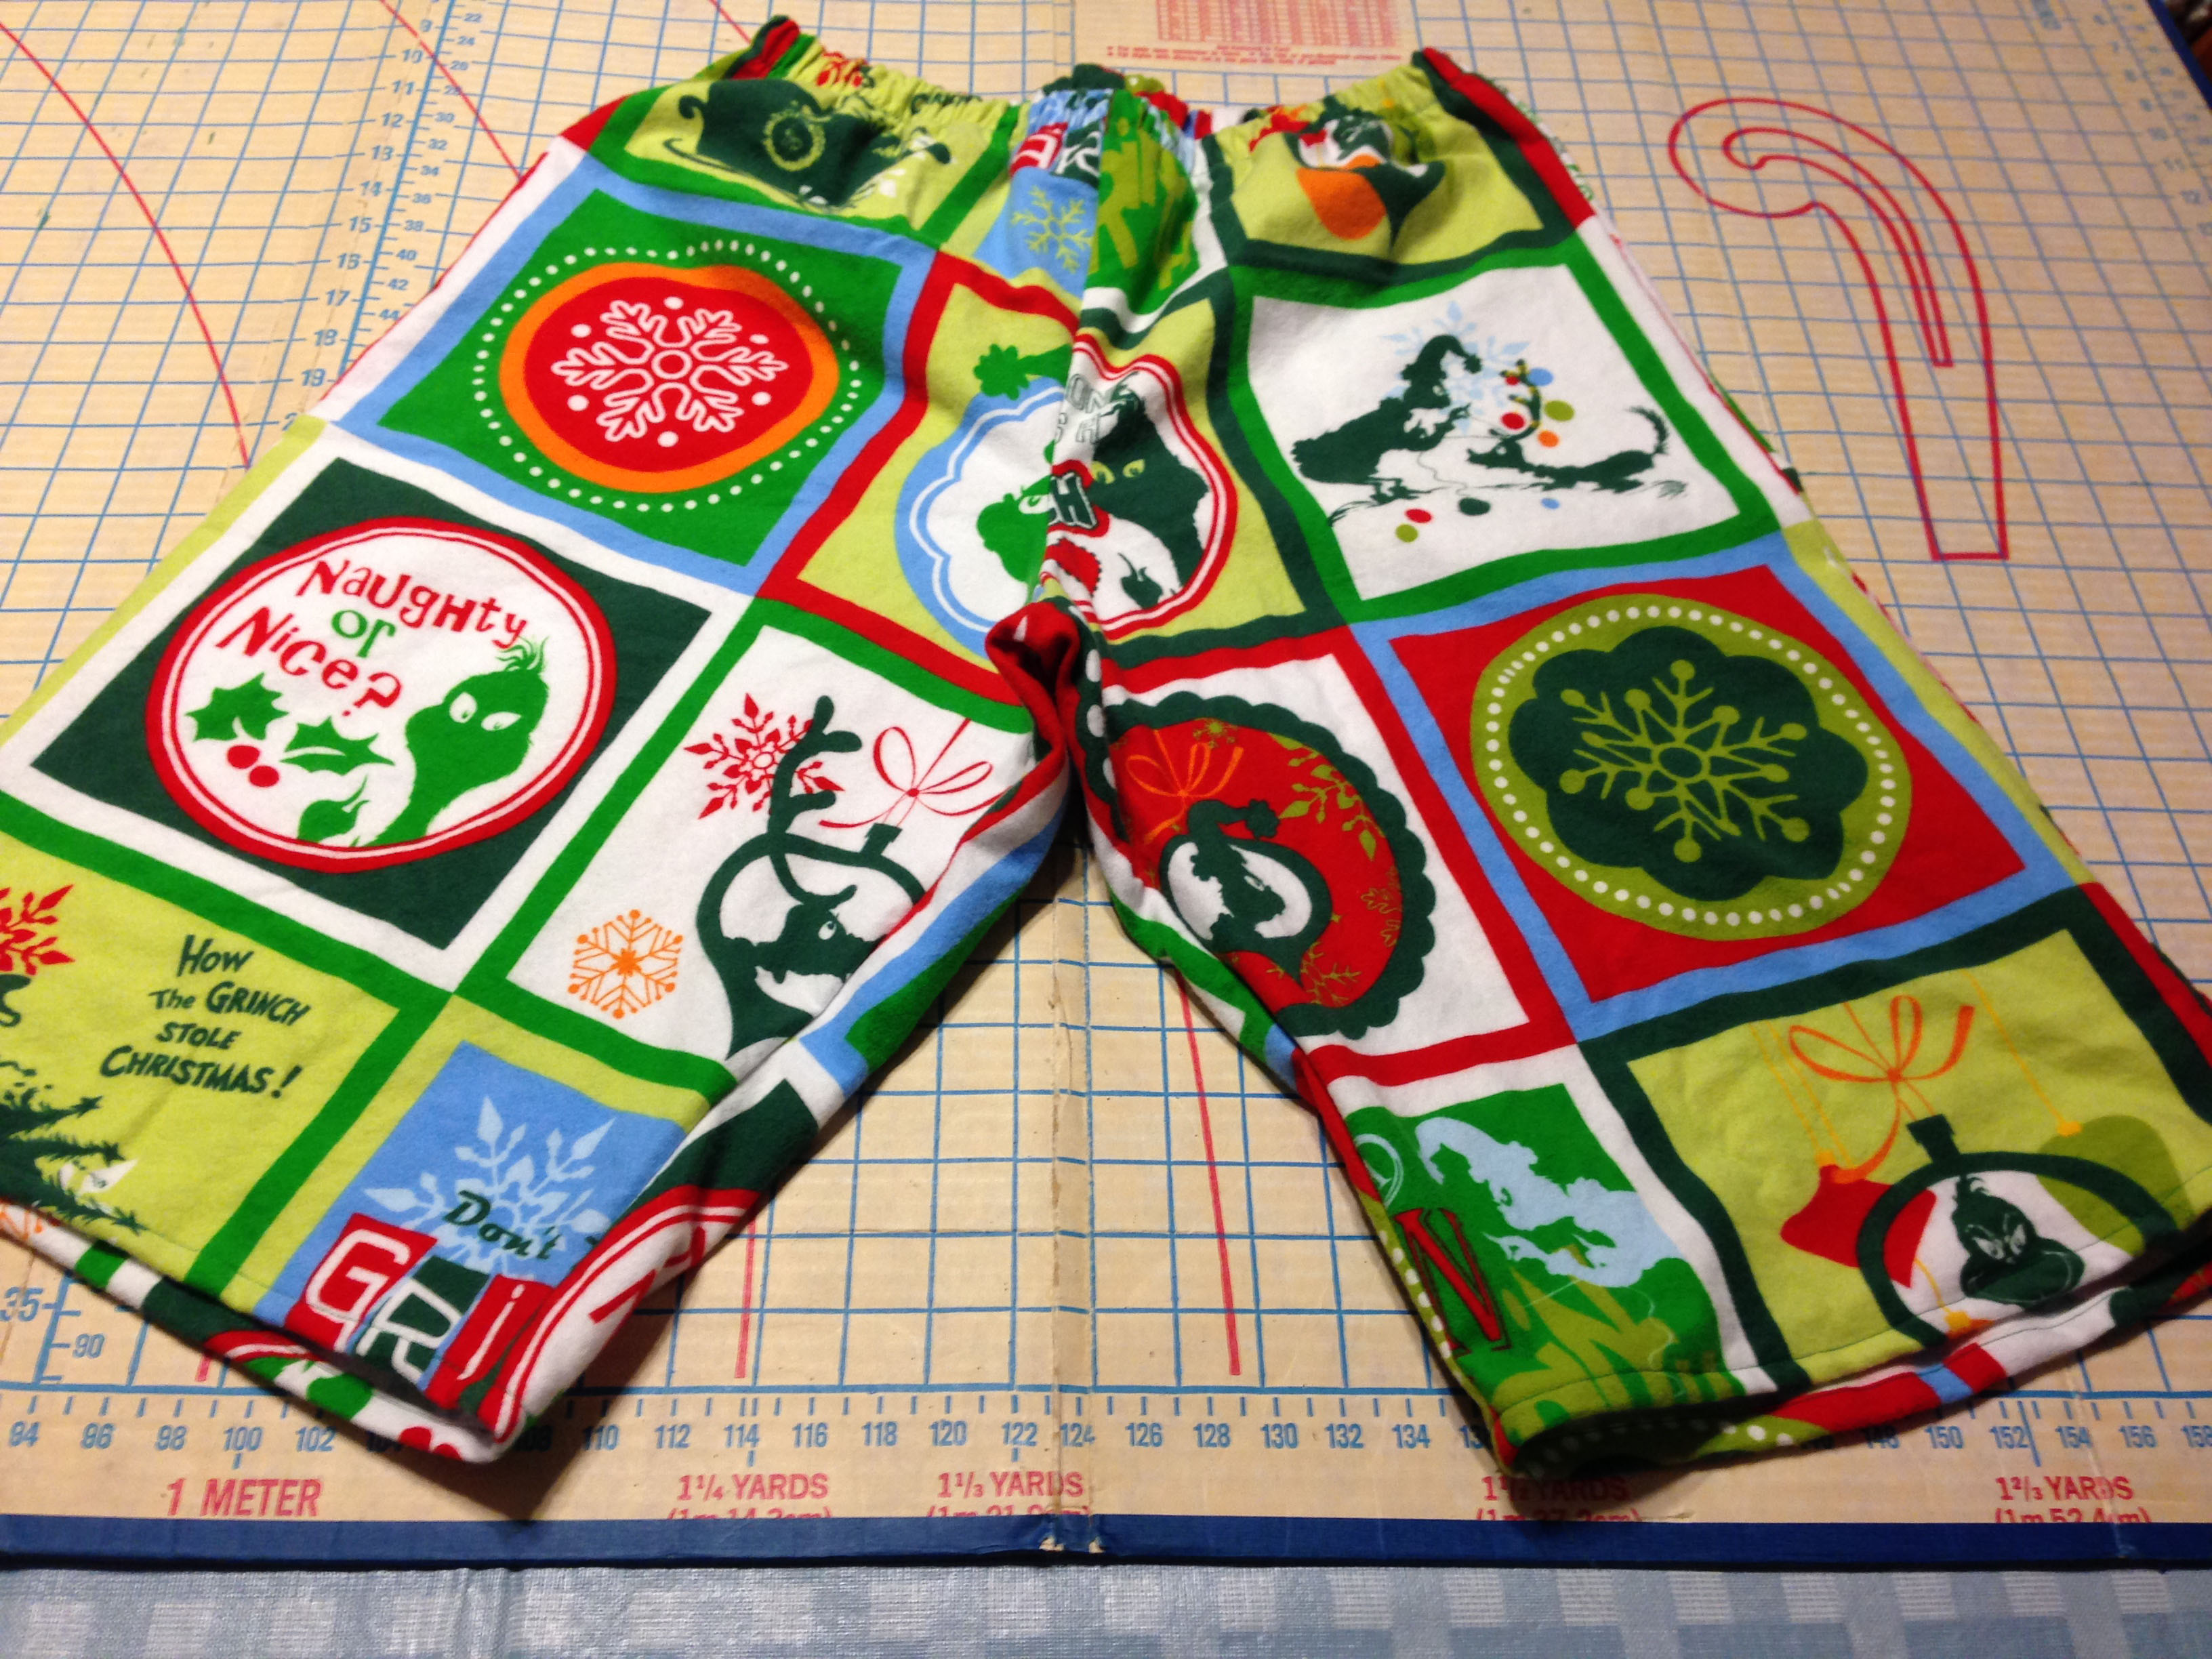
I make these PJ pants for myself and my girls. My daughter and her friends call them Linda Pants. I try to pick crazy designs – made out of flannel. I love Kwik Sew patterns – these are made from pattern number 3602. Easy to make – takes less than one hour.
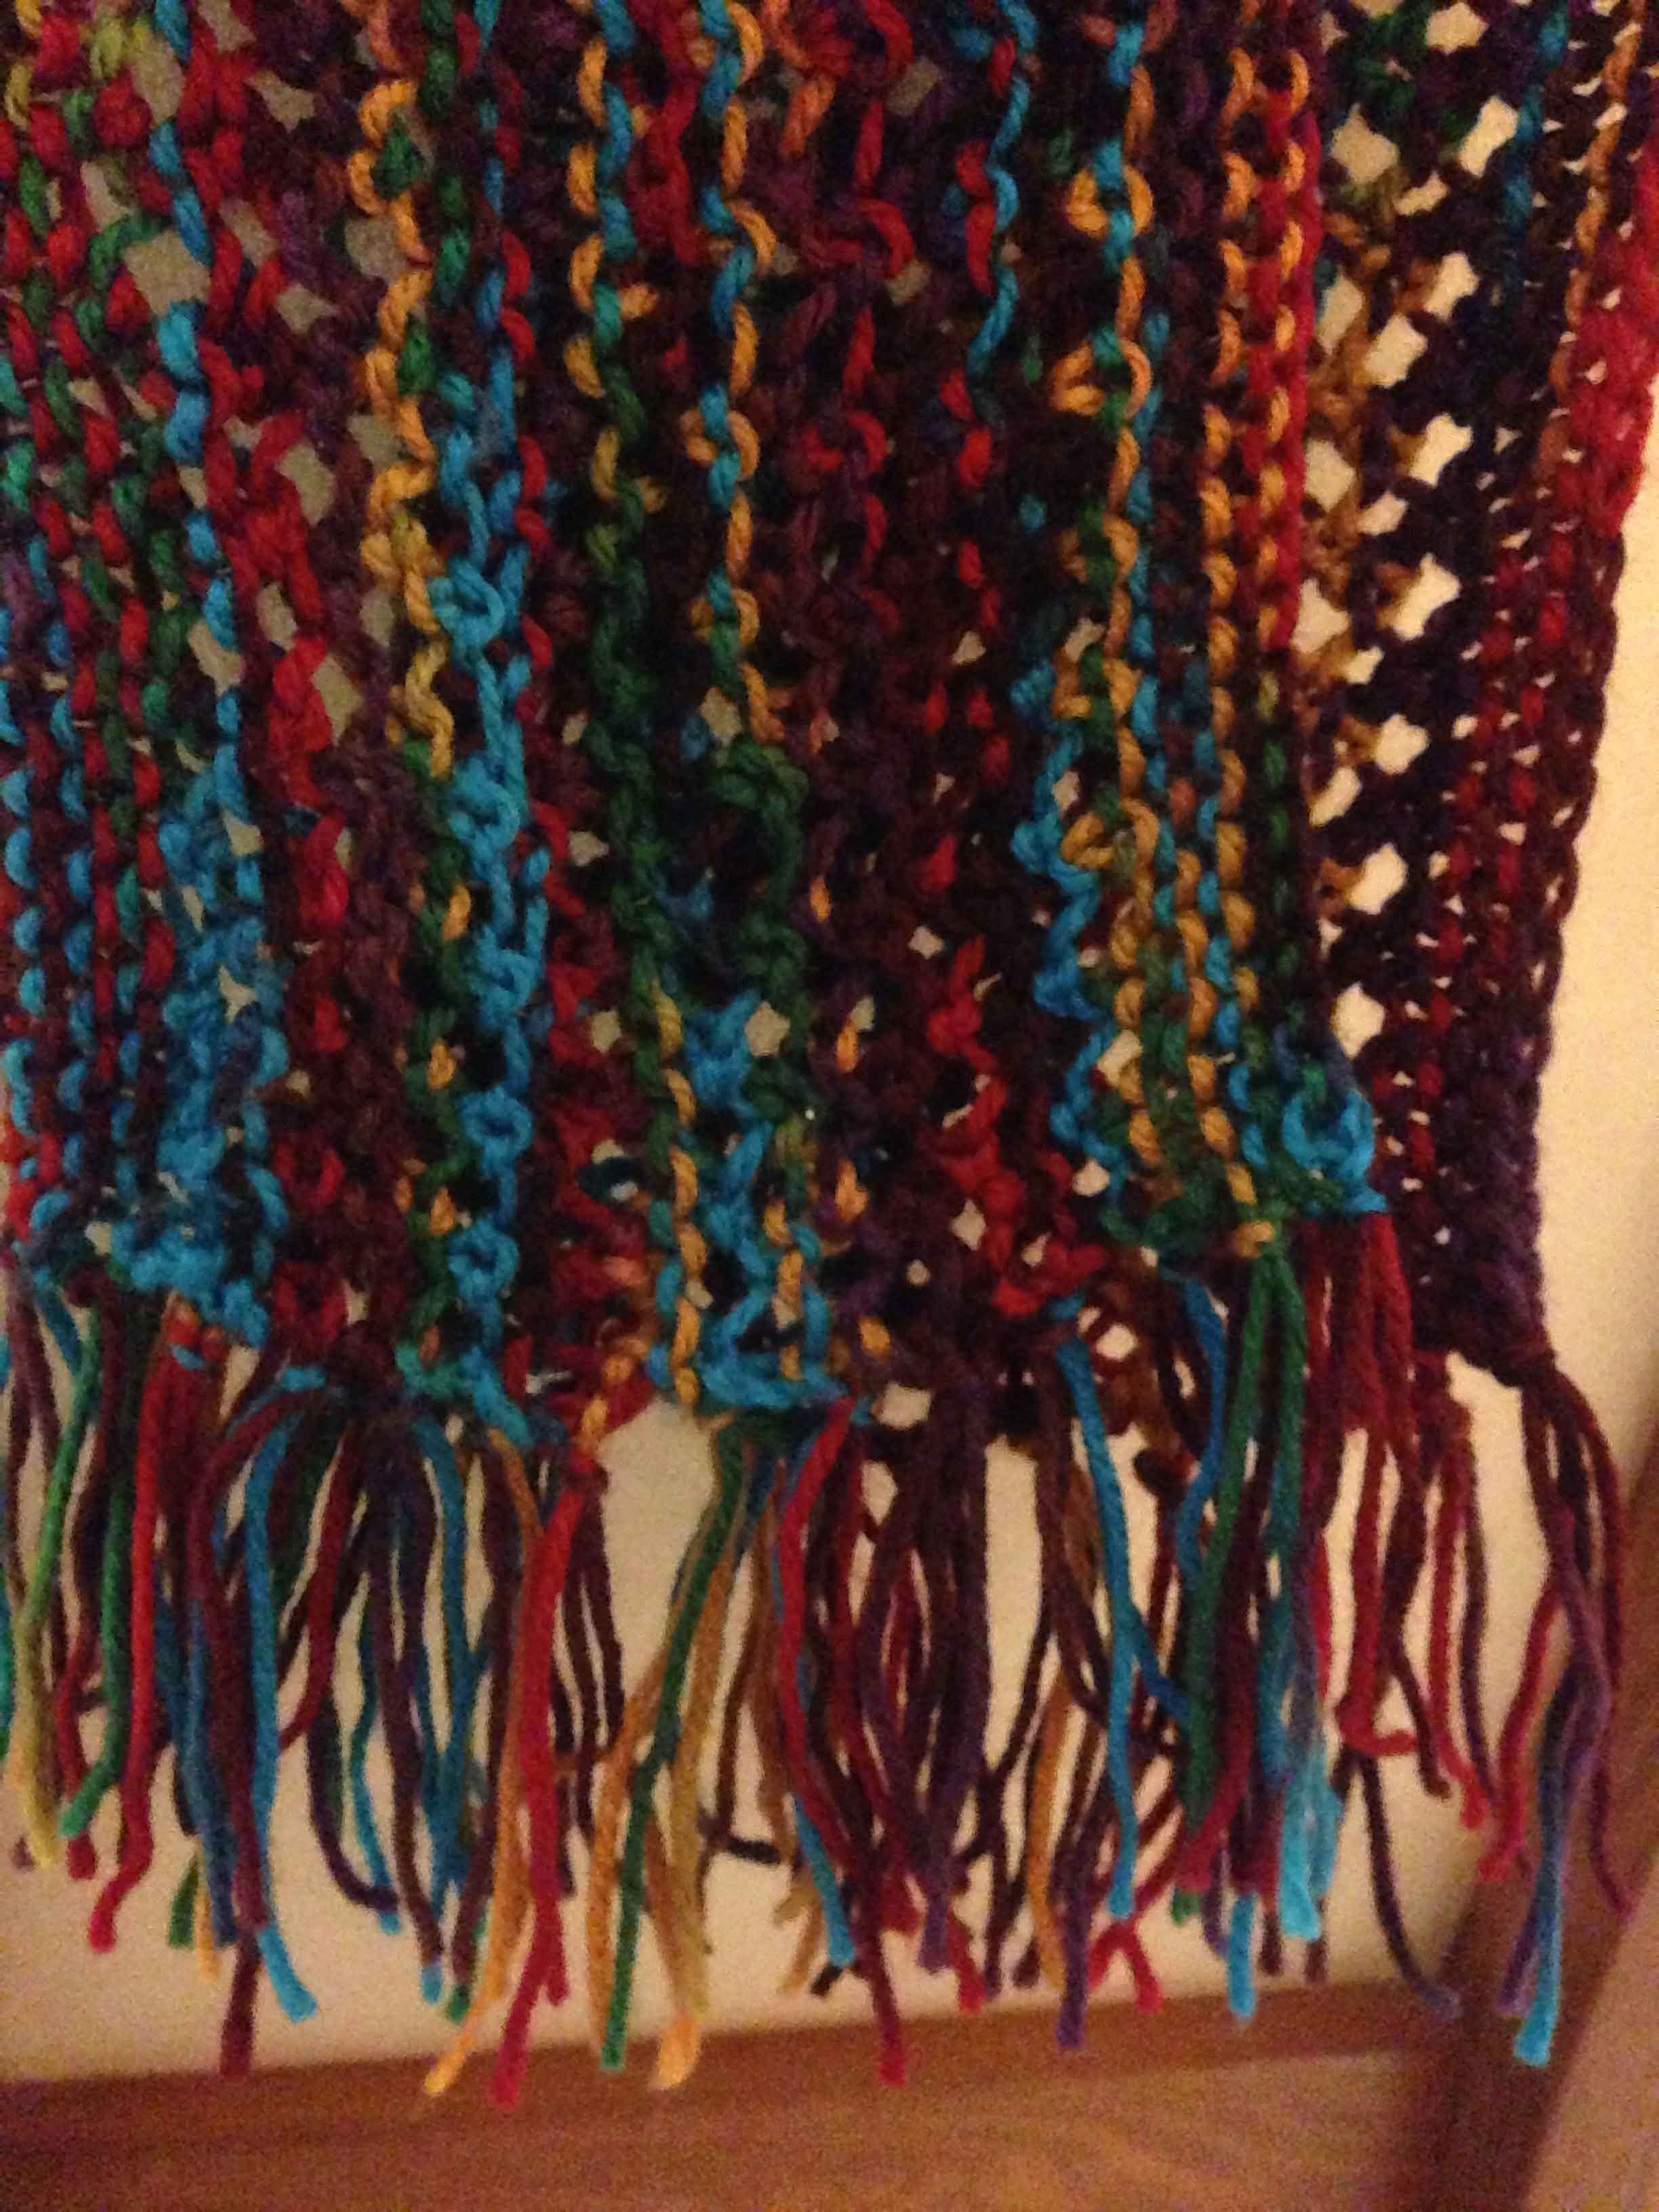
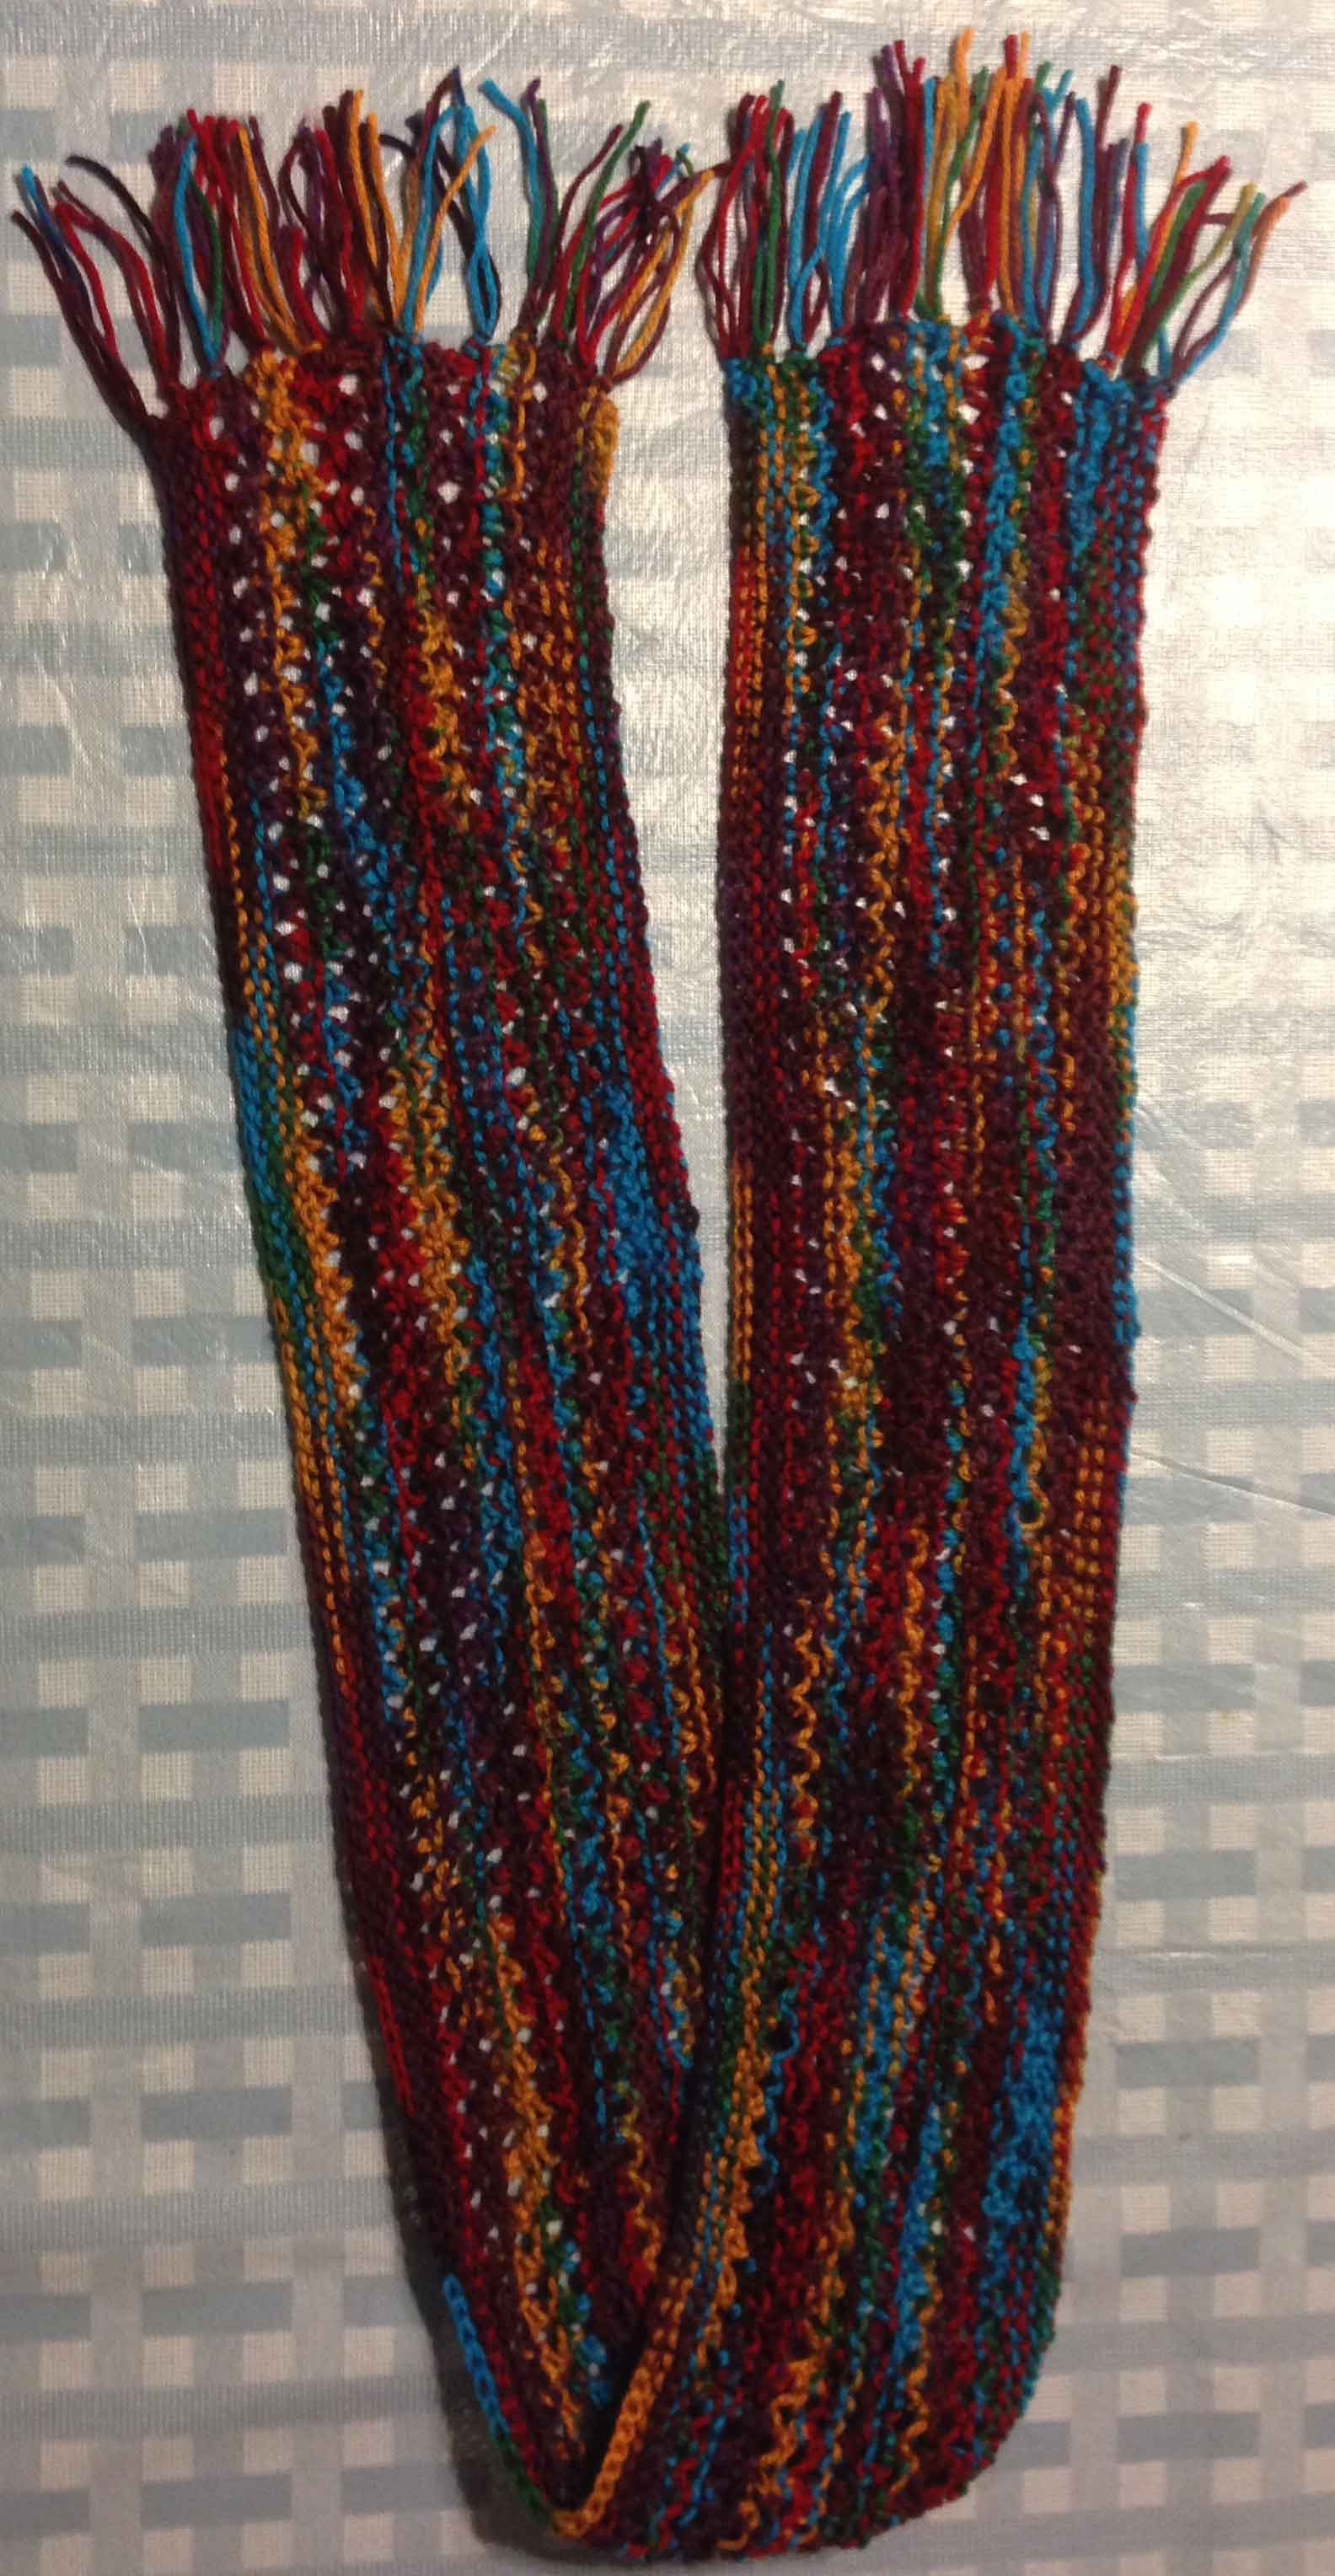
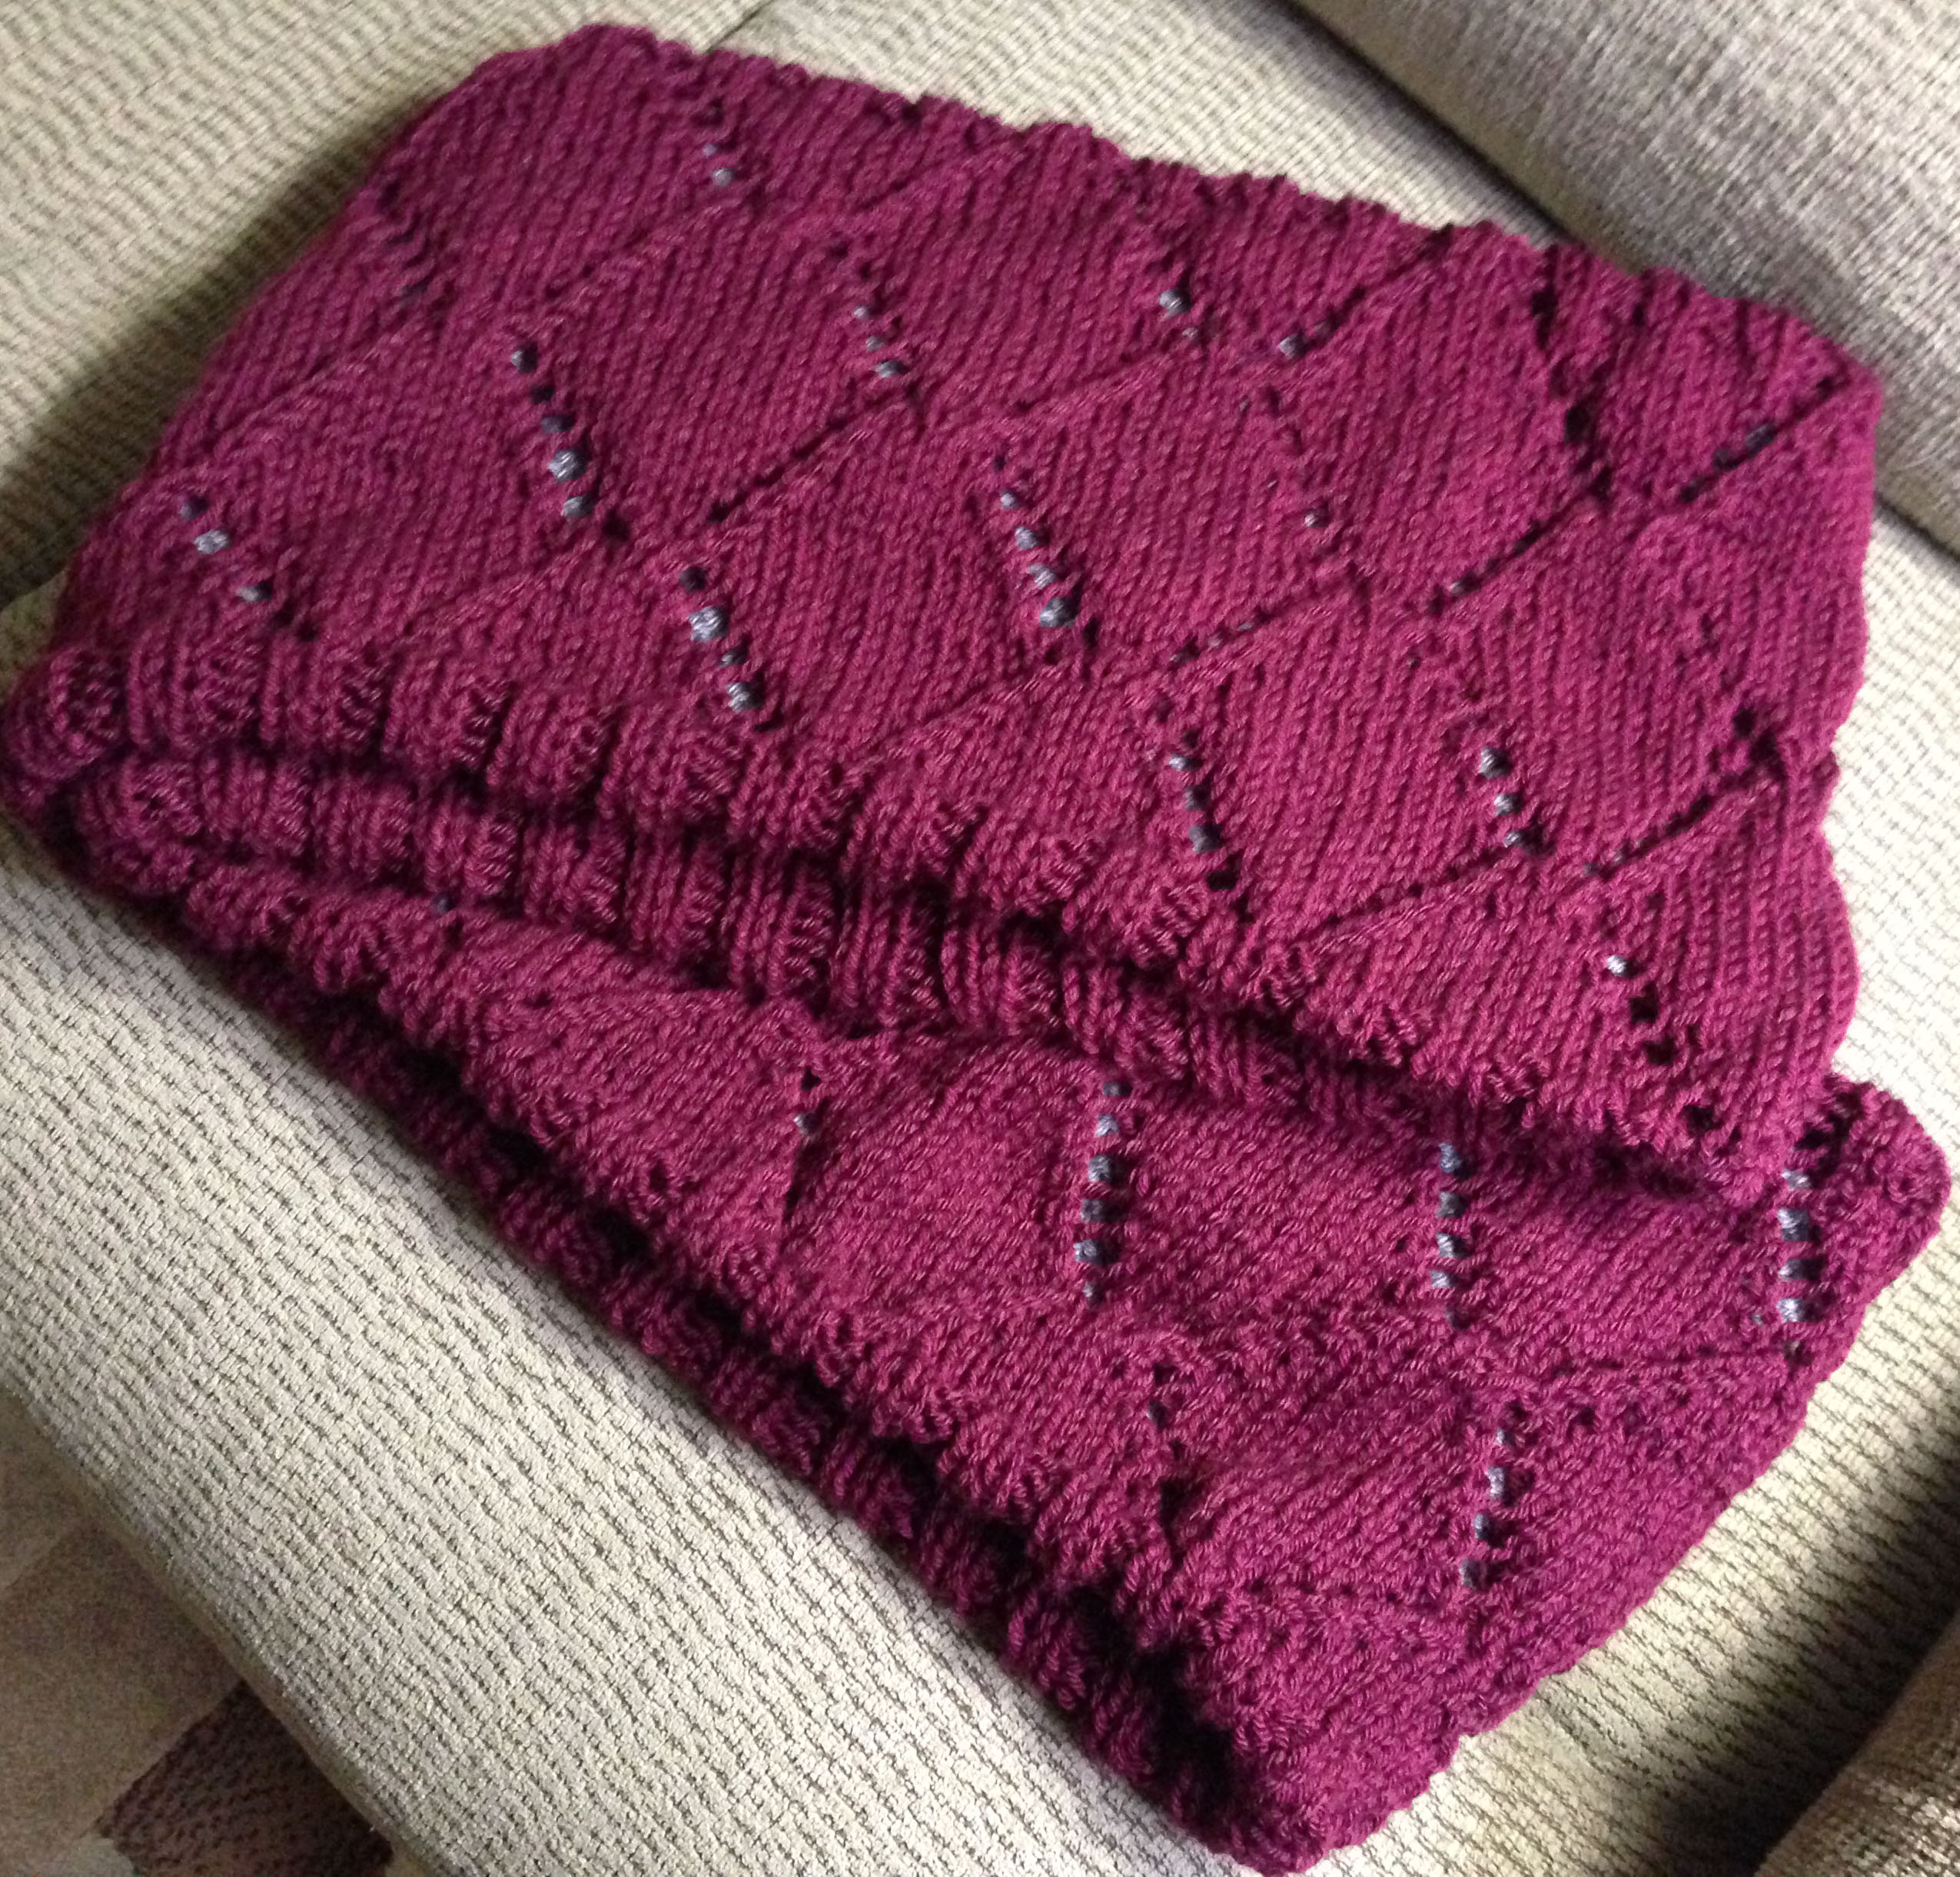
Required three 3.5oz (100g) in pattern colour and two 3.5oz (100g) back colour medium 4 100% Acrylic yarn – I used:
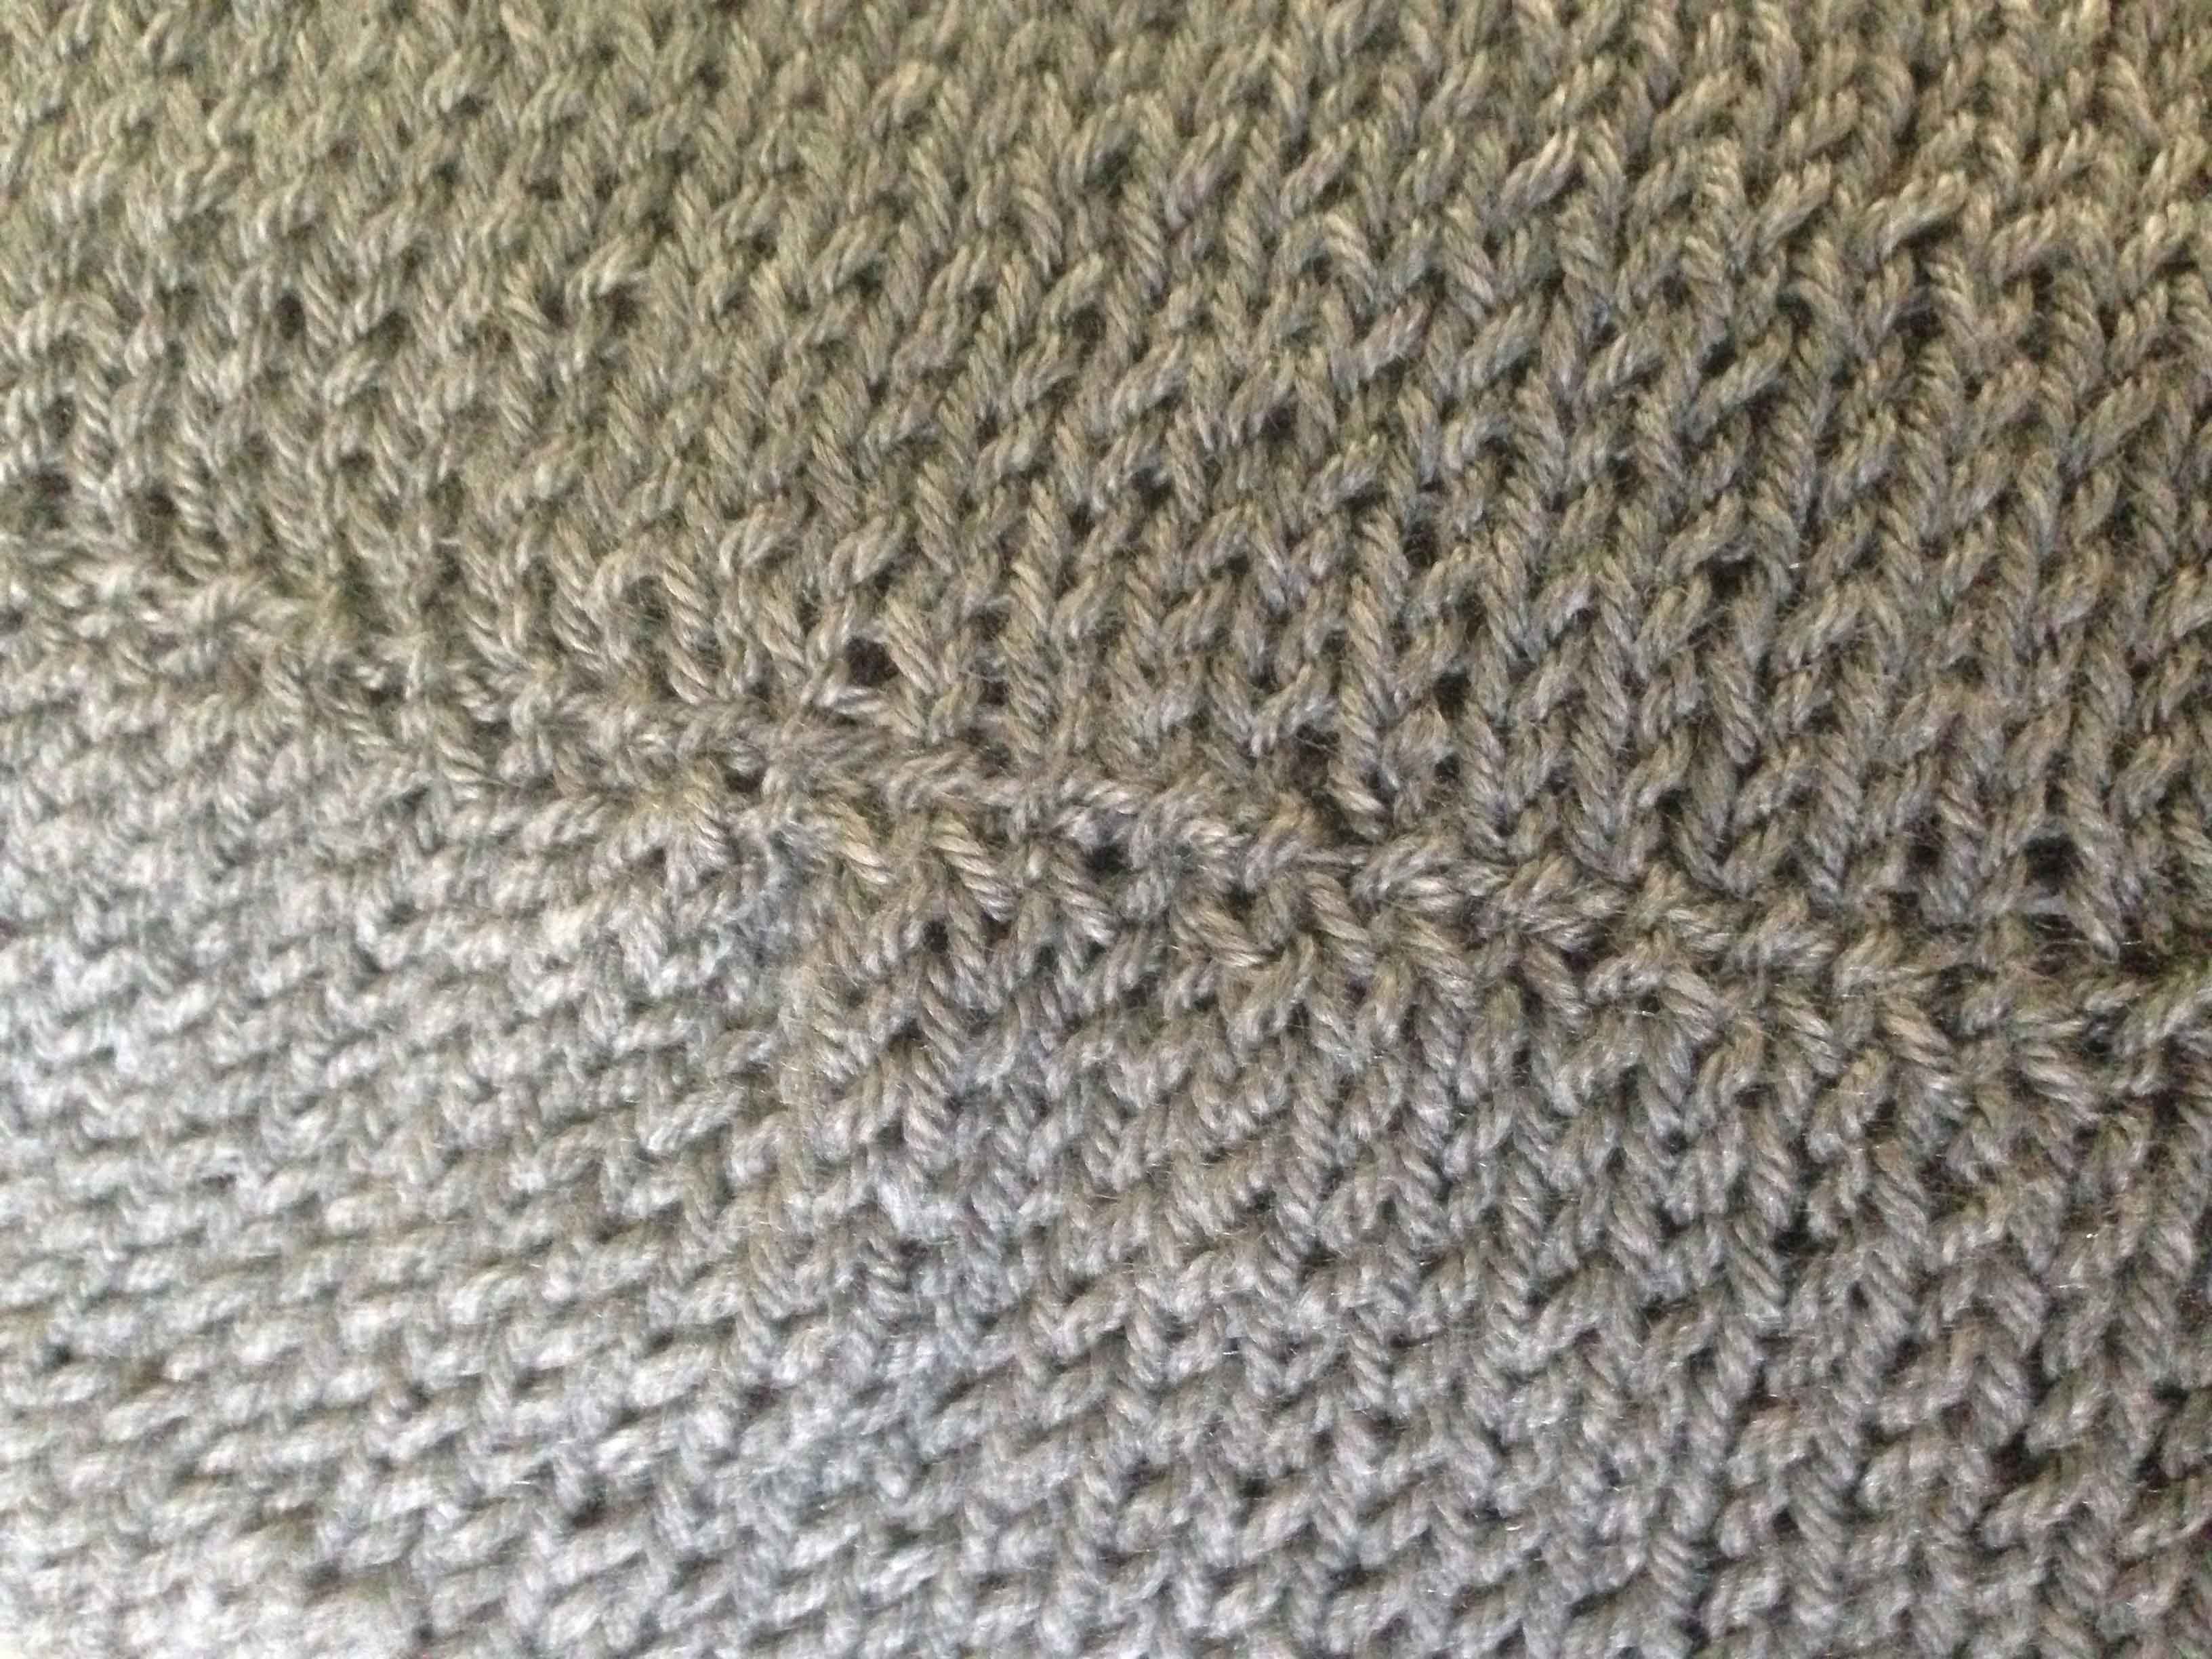
Cast on 240 stitches in the back colour (grey), on 29 inch (74 CM) number 10.5 (6.5 MM) circular knitting needles. I prefer Clover Bamboo Circular Knitting Needles.
Place yarn from another project through each of the 240 stitches. This makes it easier to pick up the 240 used when grafting scarf together.
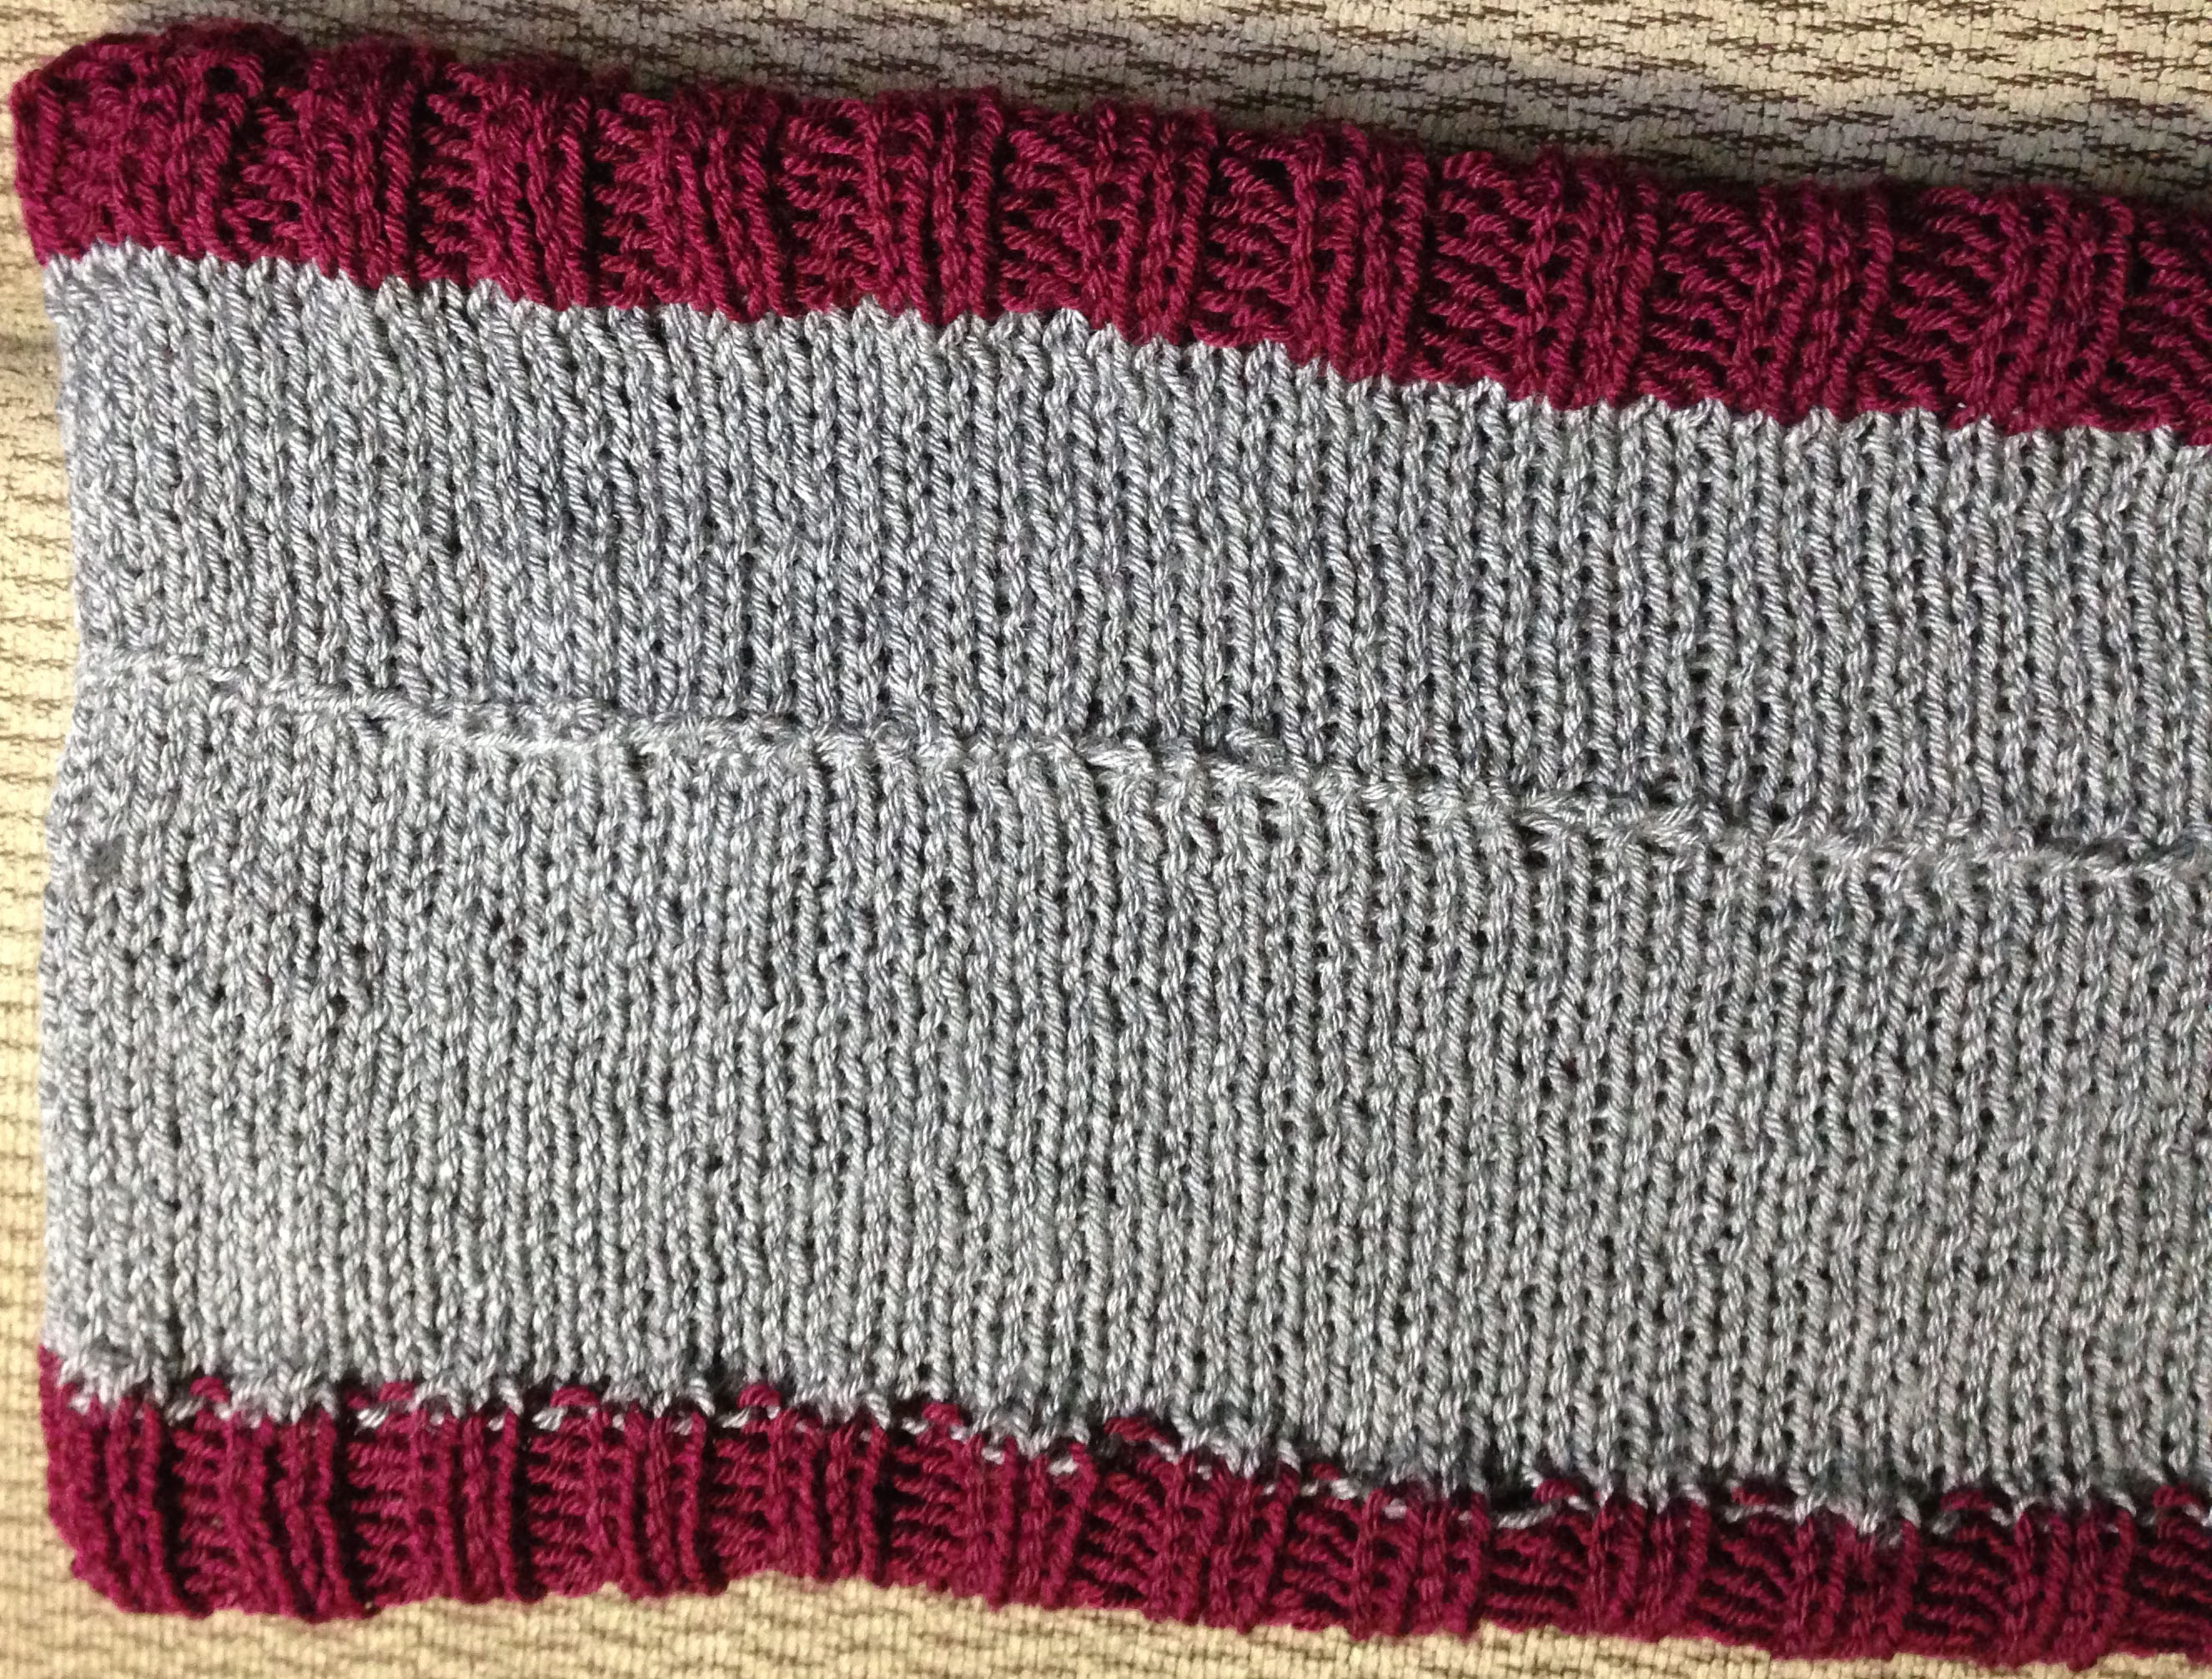
Join the end stitch to the first stitch being careful not to twist and place a marker. Knit until the first ball of 3.5 oz (100 G) of back colour yarn is done, ending on last stitch. Change to main colour
K2 P2 – ribbing for 2 1/2 inches, ending on the last stitch
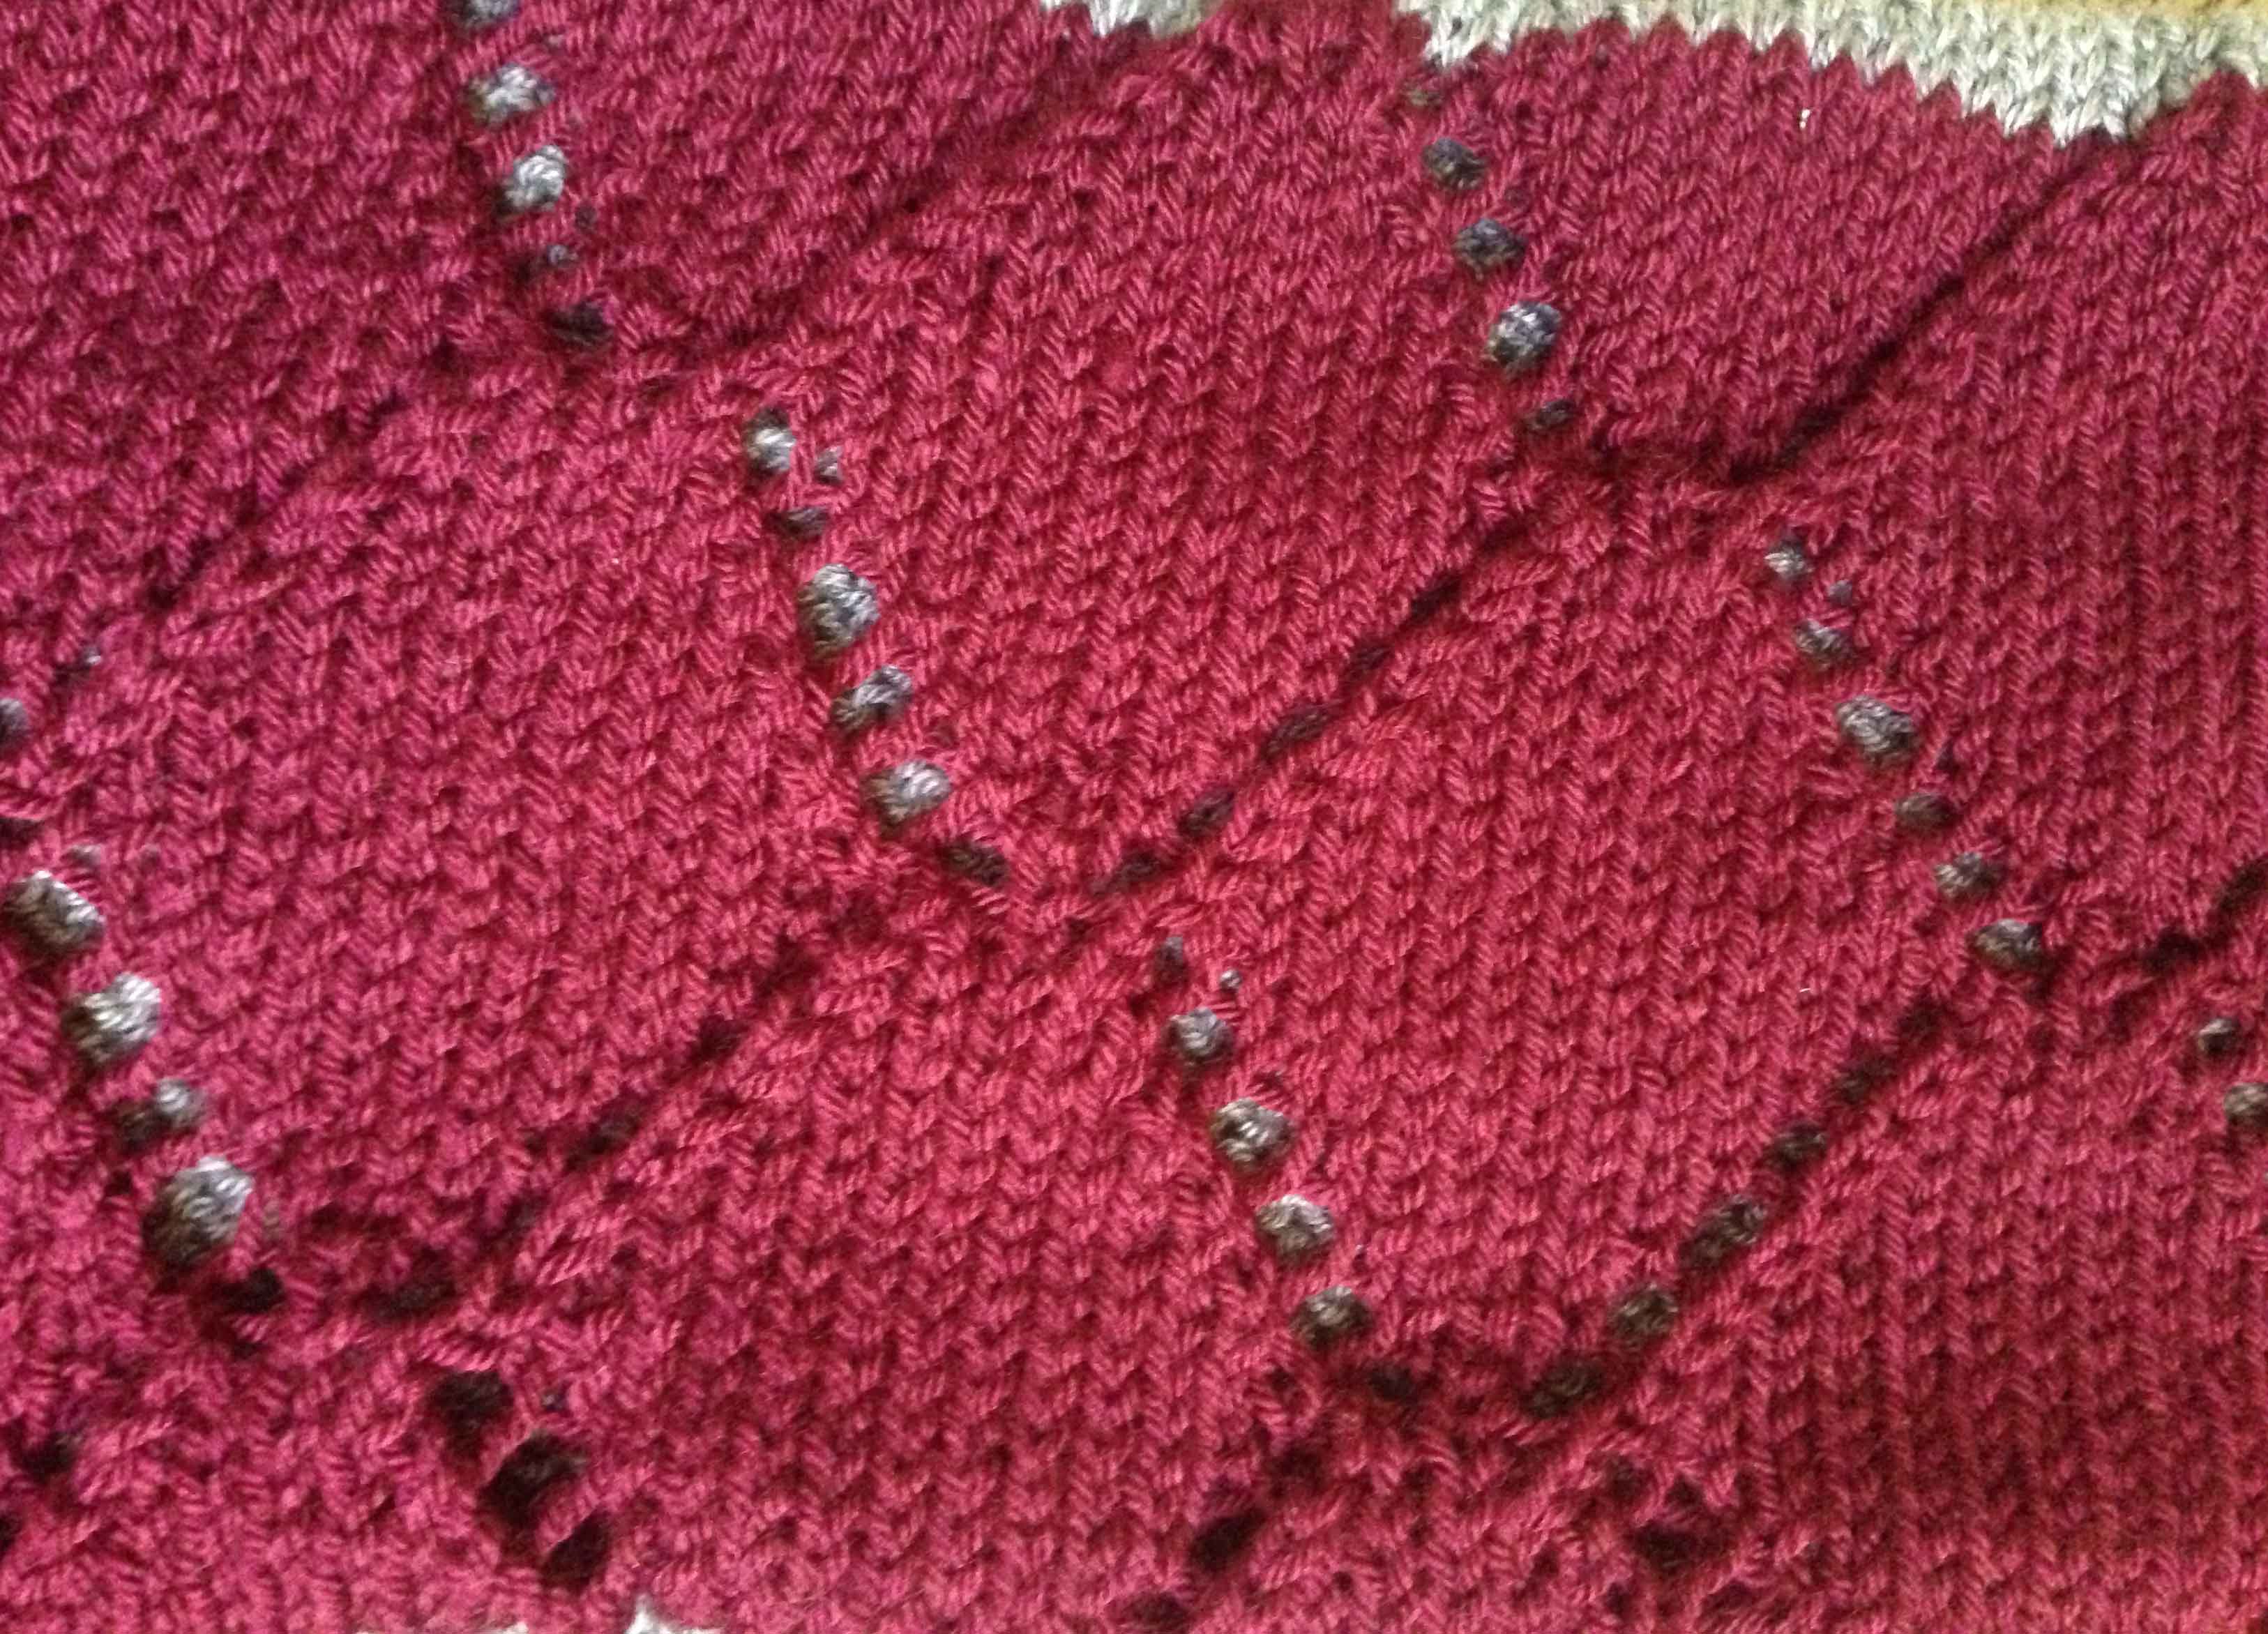
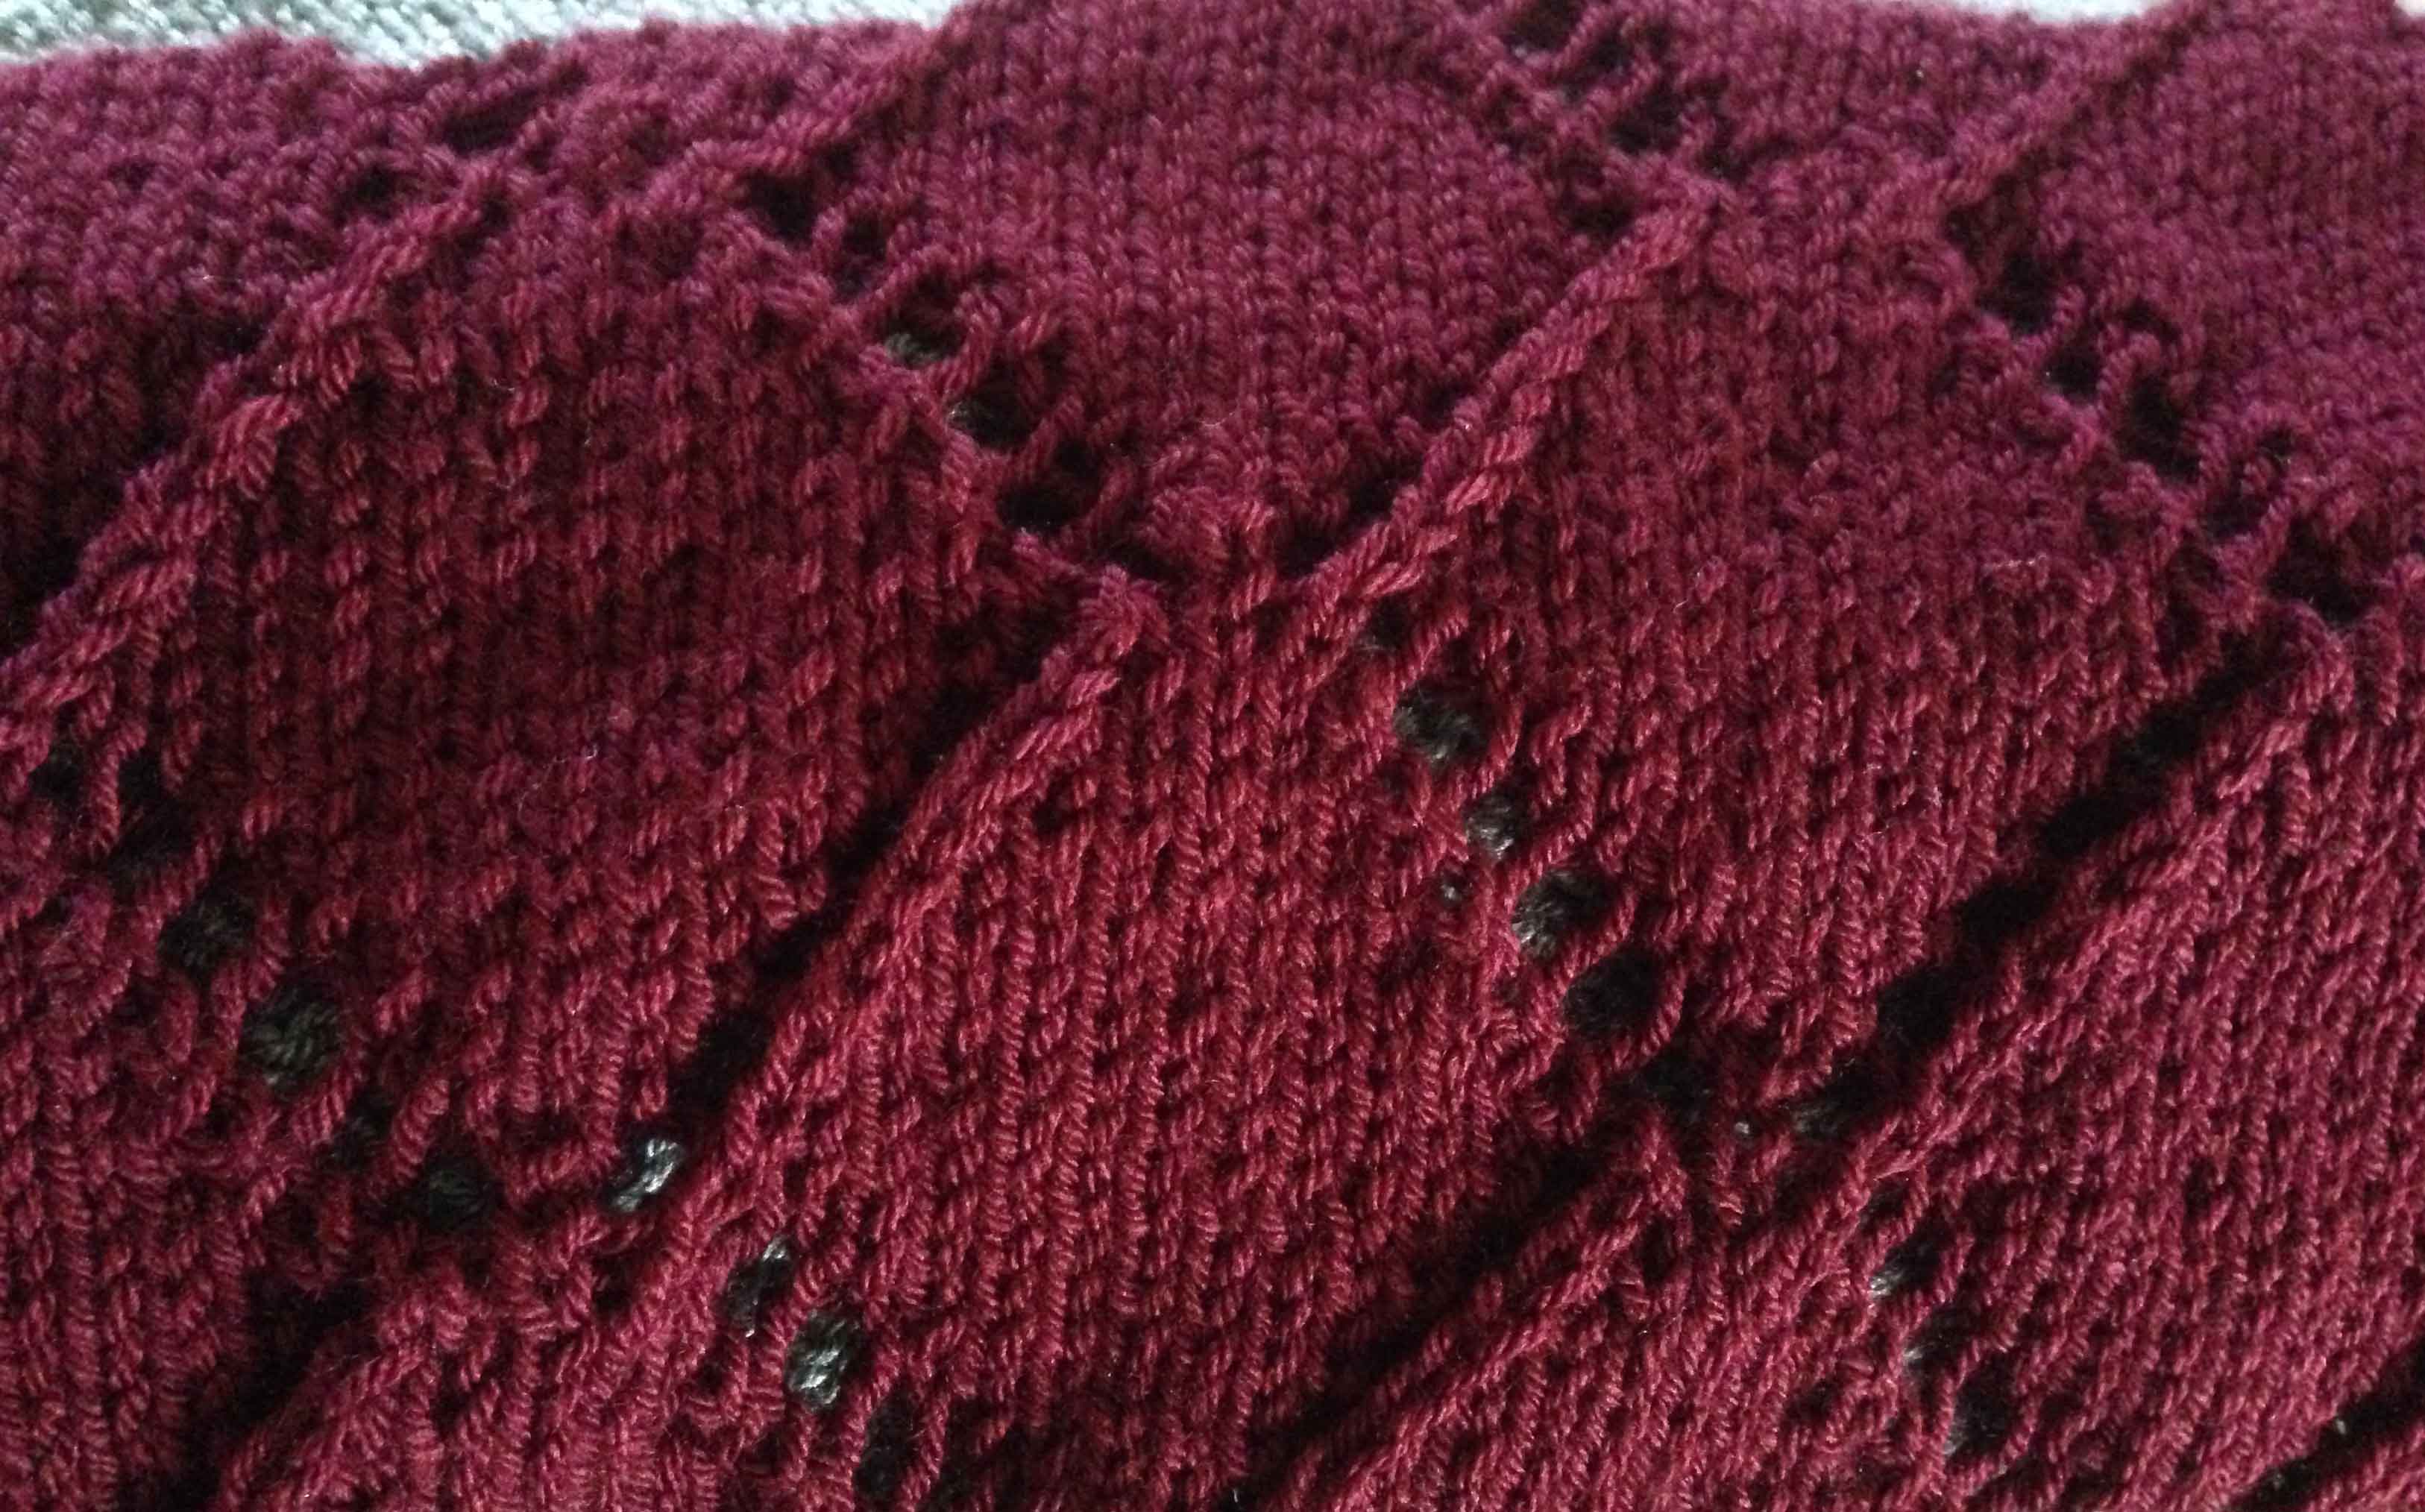
Begin pattern.
Pattern
Row 1 – K6 K2tog M1 K1 M1 K2tog K5
Row 2 and every other row knit
Row 3 – K5 K2tog M1 K3 M1 K2tog K4
Row 5 – K4 K2tog M1 K5 M1 K2tog K3
Row 7 – K3 K2tog M1 K7 M1 K2tog K2
Row 9 – K2 K2tog M1 K9 M1 K2tog K1
Row 11 – K1 K2tog M1 K11 M1 K2tog
Row 13 – K1 M1 K2tog K11 K2tog M1
Row 15 – K2 M1 K2tog K9 K2tog M1 K1
Row 17 – K3 M1 K2tog K7 K2tog M1 K2
Row 19 – K4 M1 K2tog K5 K2tog M1 K3
Row 21 – K5 M1 K2tog K3 K2tog M1 K4
Row 23 – K6 M1 K2tog K1 K2tog M1 K5
Knit these twenty four rows twice in the main colour.
K2 P2 – ribbing for 2 1/2 inches, ending on the last stitch.
Change to back colour knit until the total (first ball and these) back colour measures the same as the pattern and two inches of ribbing (approximately 11″ length ). Leaving 1 1/2 inch ribbing border of the main colour on the back. Total length over all 22inches.
Pick up the stitches from the start (remove the off setting yarn) and graft the two sections of the back colour together. Be careful not to twist. Break off yarn leaving an end of 10 inch thread. (note you actually need more length but better to do it in several to graft 240 stitches).
Grafting
The best way to join stitches held on 2 separate needles. Have the two pearl sides of the scarf facing each other and the both needles from the start pointing to the right. Thread the end through a blunt-ended wool needle.
*Putting the wool needle, as if for knitting into the first stitch of the front needle, draw it through the stitch and slip the stitch off the needle.
Putting the wool needle, as if for purling, into the second stitch of the front needle, draw the wool through and let the stitch remain on the needle.
Take the wool under the front needle and putting the wool needle, as if for purling, into the first stitch of the back needle, draw the wool through this stitch and slip off the needle.
Putting the wool needle, as if for knitting into the second stitch of the back needle draw the wool through and let the stitch remain on the needle.*
Bring the wool forward under the needles and repeat from * to * until all the stitches are worked off.
Final thoughts: I have made several of these circular scarves. Easy to knit. The grafting of the 240 stiiches of the start and the end is the most tedious part. Measurements from nine to eleven inches wide and approximately seventy-eight inches around. Keep in mind that I am a very loose knitter.
I am thankful for the sunrise. Beautiful day on the west coast!
Category – Sewing
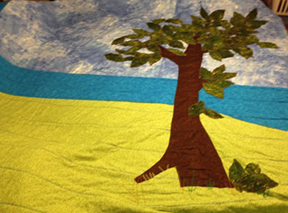
Tree Quilt
I decided I would like to make a queen size quilt for my son. I wanted to make something that would fit into his life right now. I searched the Internet for different quilt patterns, pictures, and ideas. I found a small quilt with a beach, water, sky and a tree. My next decision was should I make the tree look as real as possible or go the other extreme and make it look like a cartoon.
I went to the fabric store and talked to a few people. I have never made a quilt this large before. I had made kids quilts when my nieces, nephews and my children were younger. It seemed like people were buying the fabric with the scene already on it, this did not seem like much fun. I wanted to make something I created myself, not something that a cloth maker had produced. I was also told I could put it together and the fabric store knew a lady that would do the actual quilting. I wanted the full experience; I wanted to do it myself.
Whenever I make something I think about it, sometimes for weeks, I work it out in my head. Once the thought process was done I headed on down to the fabric store. That was an eye opener quilting is expensive!
I found it rather difficult working with such large amounts of fabric. Back to the fabric store, there must be tools available. There are things that look like those hoops you put on your pant leg when you are riding a bike so your pant leg does not get caught in the spokes of your bike tire. You roll the fabric up and clip it in these hoops, I got six and found a couple of those bike hoops at home. I was set. Notice the top is rolled up in those bicycle pant leg hoops.
I found it hard to push that much fabric around and it was heavy. You can actually buy quilting gloves with flexible fingertip grips; go figure – I had so much to learn. I always thought if there is a need someone probably thought of it already.
My sewing machine is a machine built for quilting but not one of those expensive ones; mine is one of the cheaper ones. One thing I realized is the distance from the arm to the needle makes a big difference when you have such a large amount of fabric. Oh, why did I cheap out on the sewing machine??
I was also told to quilt from the middle and work to the outer edge. Another question, how do you hold the 3 pieces together – the backing, batting, and top? No easy task. Safety pins!
I placed the tree unto the fabric before I layered the batting and the back. I pinned the leaves in place with straight pins and just started sewing them on. Some of the leaves got displaced as I was sewing, I just picked them up and sewed them on. I thought it turned out good.
This is the queen size quilt on my dining room table. I did some machine stitching to add the effect of grass in green, yellow and gold. The back is the same fabric as the water. I love the fabric I used for the sky. I also quilted ten-inch rows across the fabric. It probably would have looked better with free stitch quilting – but I had never done that before and will need to practice. Another consideration was the tread – different colour on the front and back or the same??
Lessons Learned:
Buy a sewing machine meant for quilting, if you plan to quilt large projects
Check out the quilting shop for accessories (whatever your issue, there’s likely a solution):
Quilting clips
Quilting gloves
Safety pins is one solution for holding the pieces together
Quilt from the middle and work to the outer edge
Your batting and back fabric should be about three inches on all sides bigger than the quilt front
Final thoughts
I had a lot of fun making this quilt. I think it would be beneficial to take a few lessons from a quilt shop, to learn quilting techniques that would make it easier.